That must be it! I remember Sister Edna when I was in third grade who made it a mission in her mind to get me to write well......I tried and tried......
People say I write like a doctor.
")
Creative, yet scary...
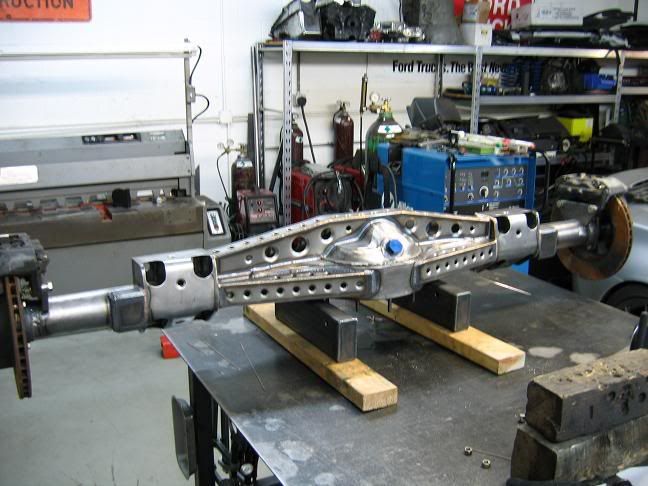
Speaking of scary, let me introduce , the Raptor.
Some time ago. Someone came by with this already started project.....
The idea. Stick a motorcycle behind two seats on wheels....I like it!
The idea sounds strait forward enouff for this guy, so he gets a bioke and draws up a 'cage' and has one made out of .080''walled tube.......
Now what?
That's when it landed in my lap.
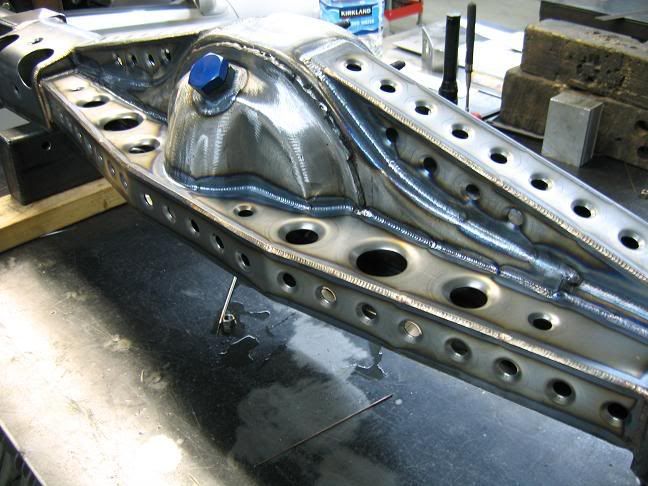
So ,working with what I had. I married the two together using cro-moly tubing.
That seat is only for mock up.
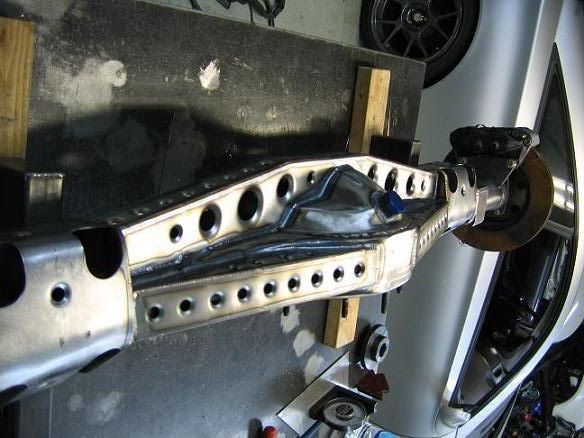
I designed and built the front inboard push rod suspension using chevy front uprights.
Rod ends and crushed cromoly tubing A-arms.
I worked on this project incrementally.The owner would save up for a weeks work at my shop and trailer the Raptor up here then bring it back home and tinker.
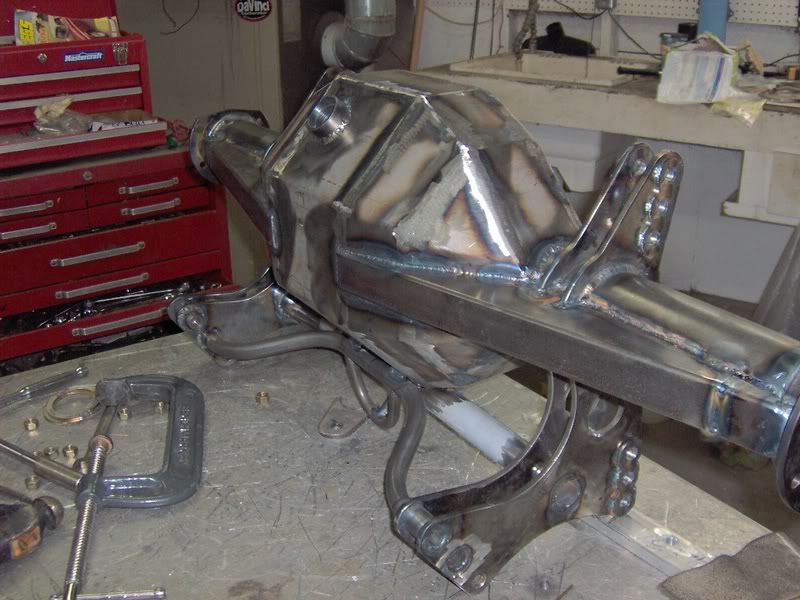
Sadly, this is as far as the Raptor has been developed.........
The owner conceiver of the Raptor was a passenger in a head on accident of which he walked away.........
Two weeks later at his home, he told his 5 year old daughter he wasn't feeling well and was going to take a bath...............his last.....
He sent me these pictures a few weeks before he passed on.
Godspeed Pierre Luc! Hope your on your celestial reversed trike in the sky.