Not sure if this has been posted before, but I'll take a chance just to illustrate a point.
This Bimini top frame/solar panel support was the first project I did using my tube bender. It was built in my shop using a somewhat similar method to the above project. IE I took careful dimensions and patterns of the boat, and then made a building fixture at the shop to duplicate deck crown and existing pushpit (aft rail) mounting hole locations. While the welding is very important, it is the design approach that is critical to its success, particularly insofar as it simply bolted into place once delivered to the boat.
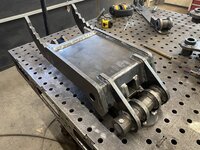
For scale, it is ~13' wide.


 I sure hope that's not the real product name - I'm concerned what my targeted ads will start showing if I search that!