amlee
Well-known member
Nothing happened with the bearings, but the grease melted out.


her is a DIY. frame kit that i am designing for my hidden trailer hitch.

Nice. Are you going to TIG this together? I would love to see some final pictures with close ups of the welds if you don't mind.
Mike.


A few more and it could be a wall clockJust started welding so be nice.
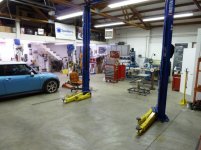
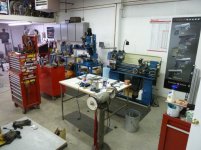
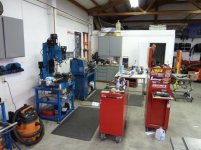
Nice job. Do you have any more pics of your shop and equipment? I see a mill in the background, wondering what you have. I have a thing for machining equipment in home shops.
Mike.
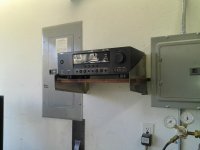
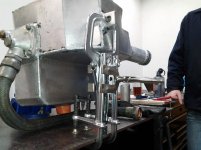
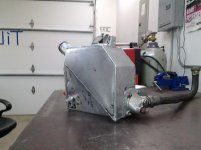
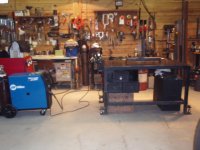
Sorry for taking a few days but here are some pics of the machine tools area in the shop.
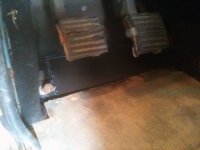
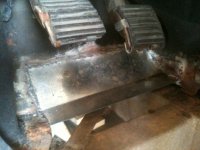
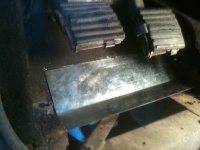
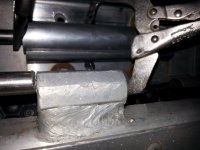
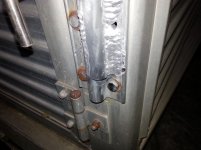
I was doing some experimenting and wanted to see if the welding experts could tell what I welded this with. It is a bit rusty now but wasn't when I did it.


Double oven for powder coating.
8" pipe arc, 6013 pass with 7018 cover pass? good luck on your test!!Practicing some B pressure in my last year of college[
ATTACH]425543[/ATTACH]
6010 root, 7018 fill and cap. 1/8" root opening with a 1/8" land8" pipe arc, 6013 pass with 7018 cover pass? good luck on your test!!
James
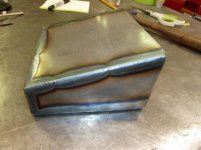
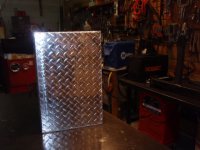
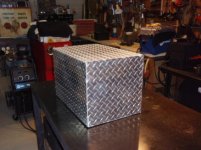
Decided to build a storage box for my tig welder's foot pedal. I used .100" mild steel sheet metal and used 2 pieces. The main piece had 3 bends so I scored the bend lines to make it easier to bend. All the welds are tig, very fun project. I still have to make a mount for the tig cart so that's tomorrow's project.


So she's playing tennis and shopping for her own jewelry while you're working for a living..... yap I know I am going to pay for this.........
So she's playing tennis and shopping for her own jewelry while you're working for a living.
Yeah, "paying" sounds like the right word to me!