great white tj
Well-known member
Very nice..


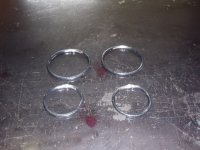
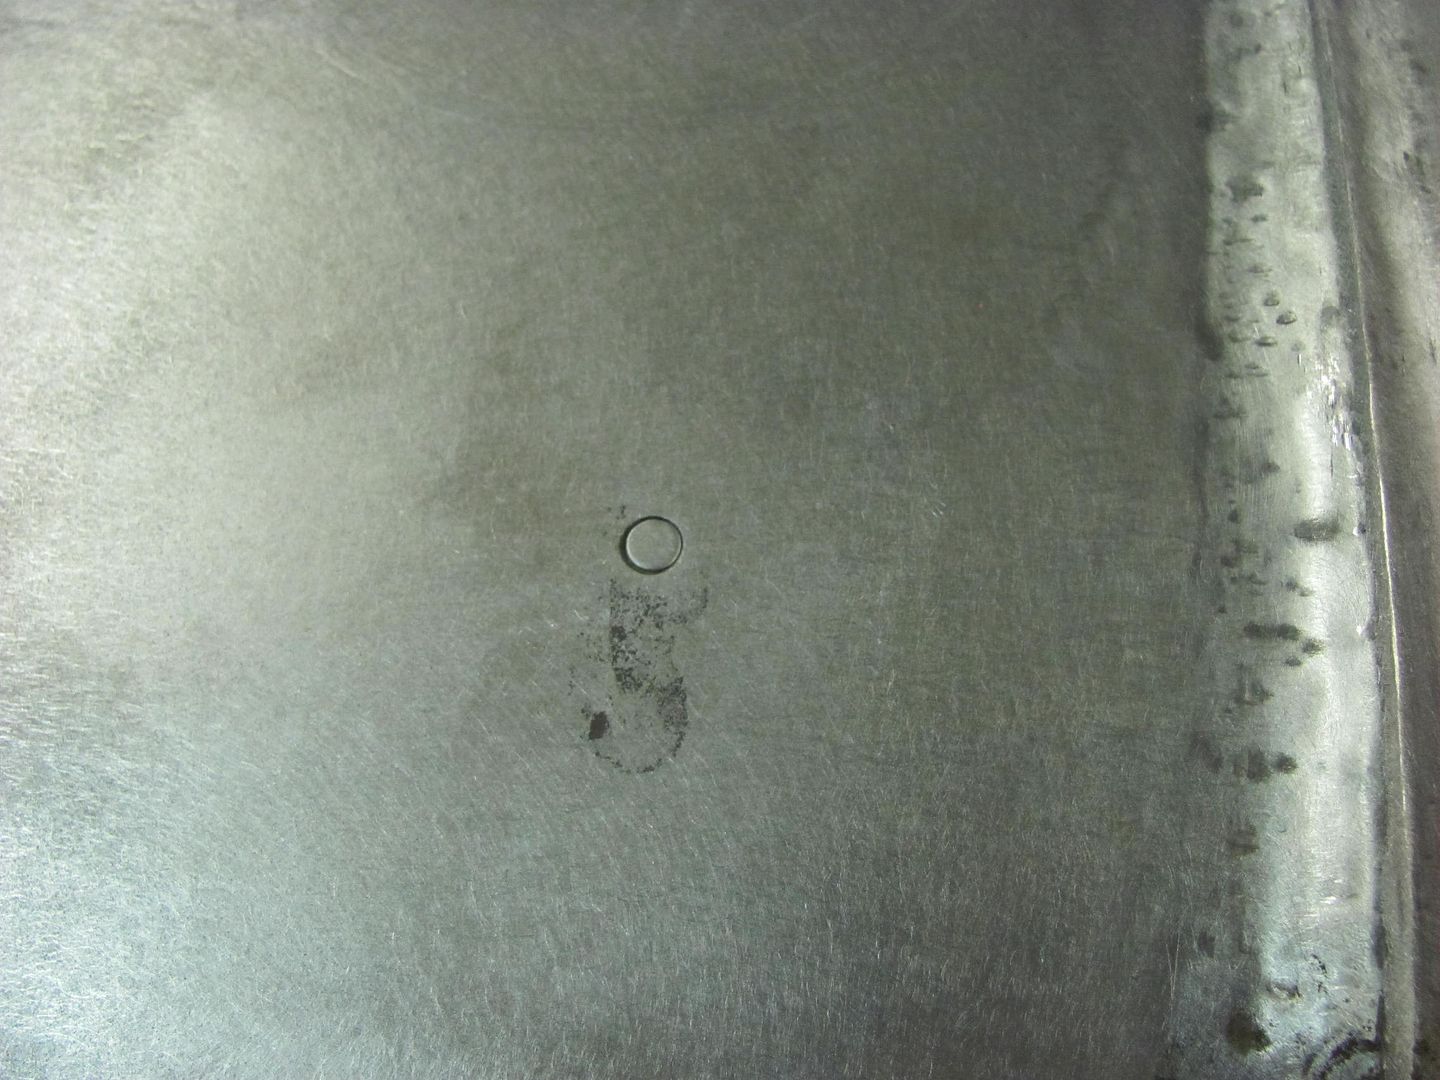
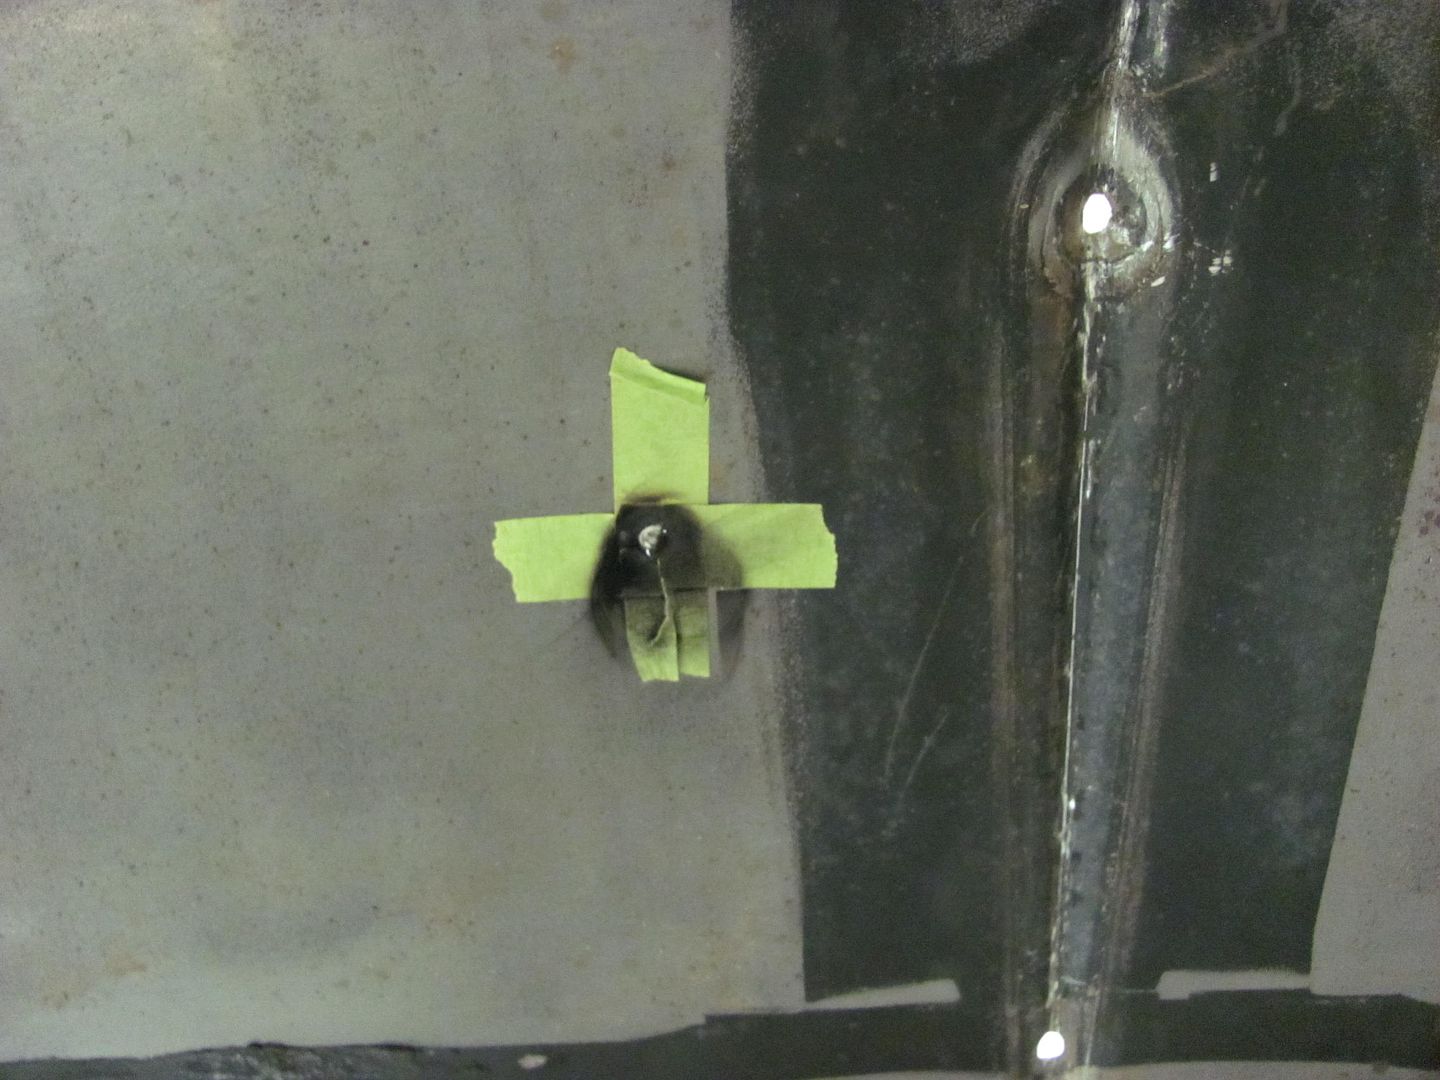
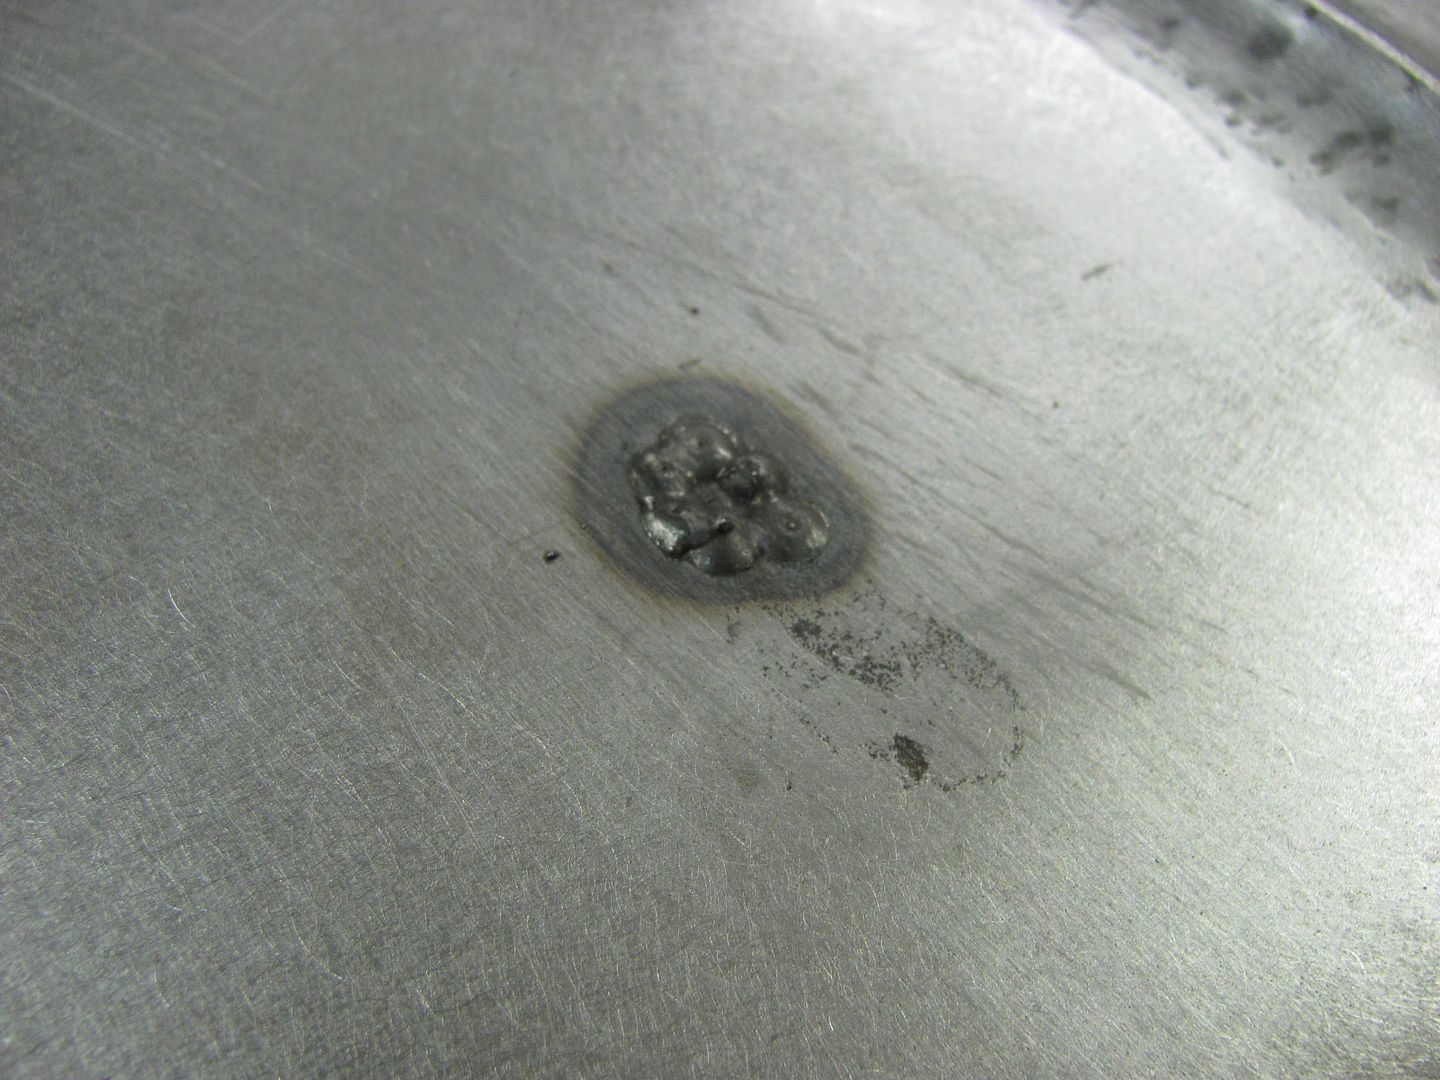
Any pointers on filling molding holes in sheet metal like these:

The holes are about 1/4" diameter. Should I make a small plug out of sheet metal to help bridge the gap? I have been building up weld around the edge of the hole then slowly filling it in but this leads to a ton of material to grind down and pin holes appear just as the metal becomes flush. Most holes are accessable from behind also.
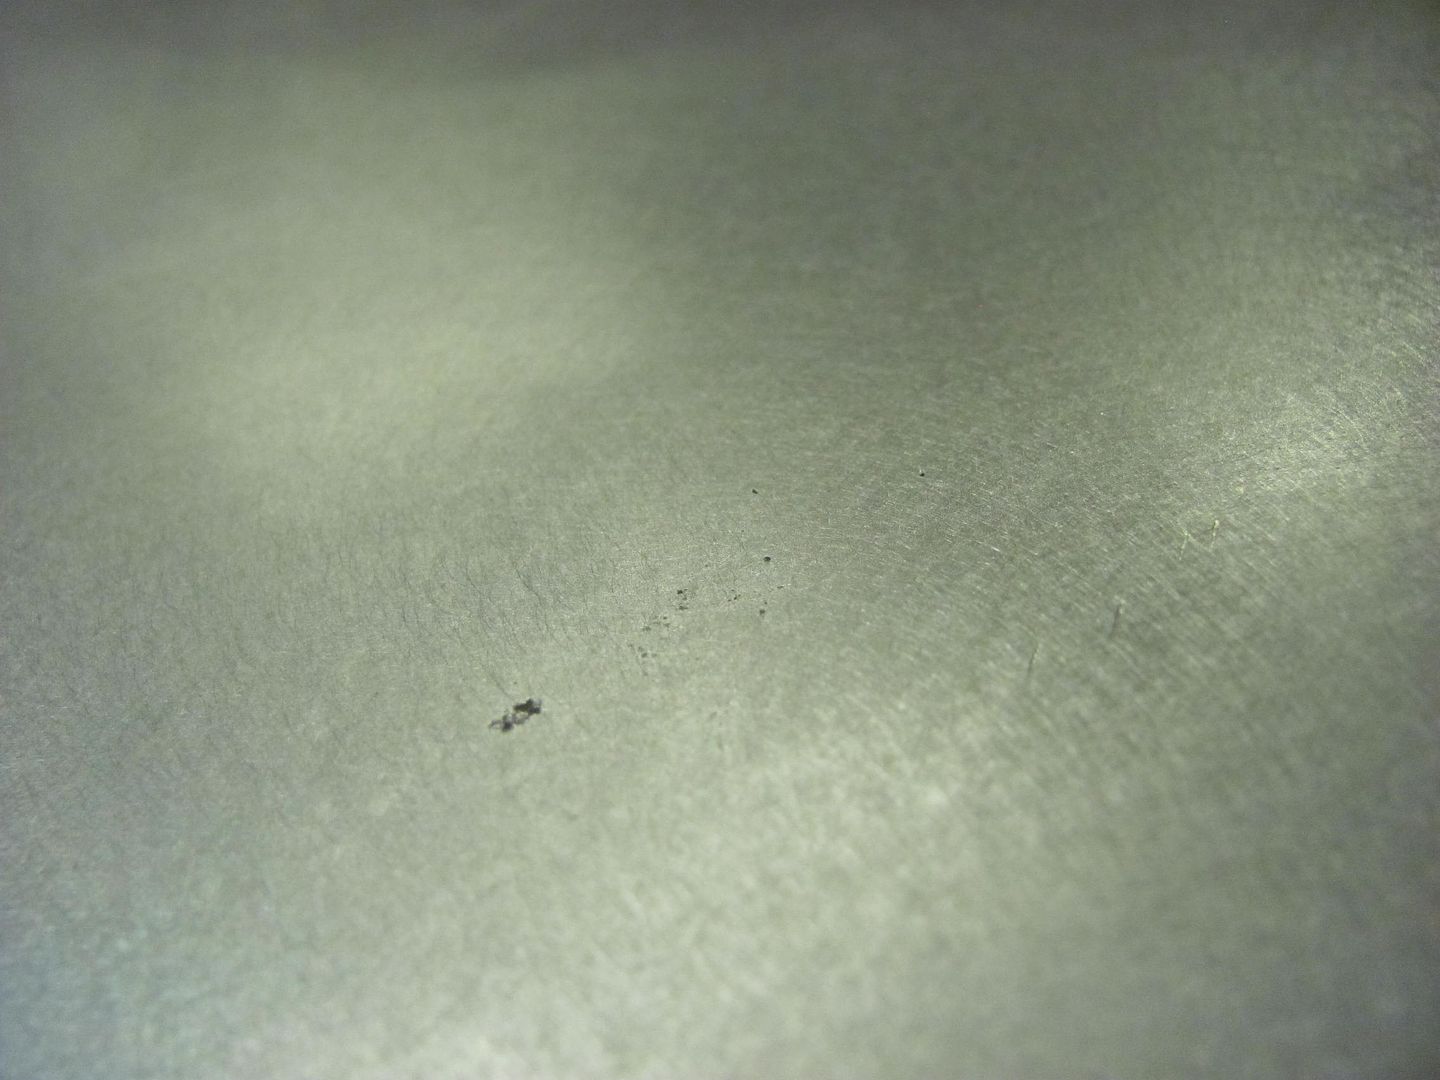
Here are a few that I've done already but I'm thinking my method is more time consuming than it needs to be.

There are about 40 holes per side of the car. There must be a better way
Any pointers on filling molding holes in sheet metal like these:
Most holes are accessible from behind also.
There are about 40 holes per side of the car. There must be a better way

")

Besides the plug welding mentioned, another way I'd consider (being a wooden boat builder/hobbyist) is to back up each hole with a bit of fiberglass wet with epoxy, let it cure, then fill the remaining indentation from the front with thickened epoxy (I like West System's line of products) on a plastic squeegee following that contour. You would be able to get it close enough to flush that all that's needed afterwards is some sanding and maybe a swipe of putty.
It's not a 'purist' way of doing it probably, but I know it would work well. In areas where it might be visible on both sides, you may want to just weld and grind.

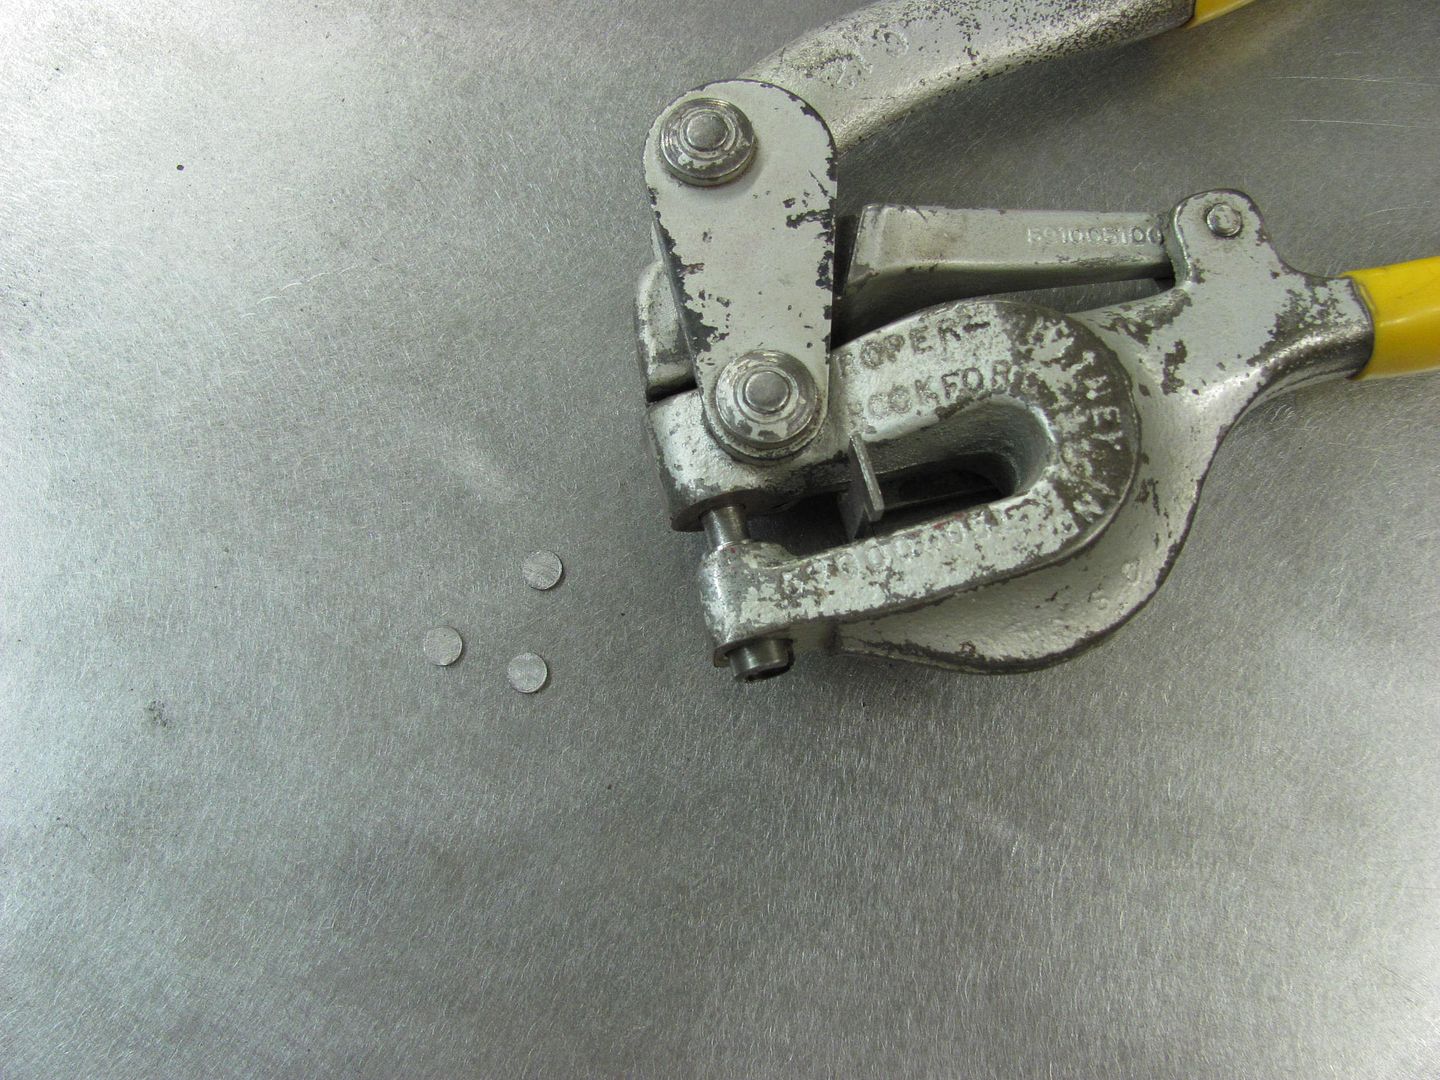
The absolute easiest method to plug weld trim holes is to use the head of a 16p nail. Have something to hold onto, plenty of material so it sticks quick, then zip it off with a cutoff wheel. Done. Some will disagree, but it's always worked for me.
Dan

The absolute easiest method to plug weld trim holes is to use the head of a 16p nail. Have something to hold onto, plenty of material so it sticks quick, then zip it off with a cutoff wheel. Done. Some will disagree, but it's always worked for me.
Dan


 ):
):
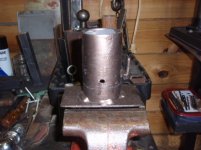
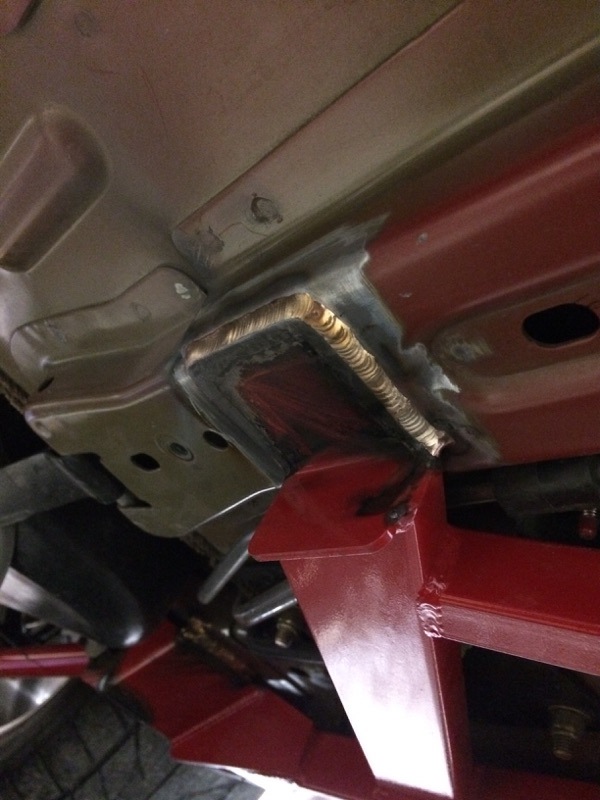
Just have to finish the mounting plate, the adapter for the pulley that will power the shafts, and the back gauge. Another 4 months and it should be done!
Andy
soon ; looks good.P.S.
Did I hear a 440 in a Coronet? That gonna be a wild ride.
68 Dart GT, oh the memories! 1st car. about 1978.
good luck on the Coronet. Looks nice.
Please skip all this and just post pictures of a adjustable straight edge so I can copy it

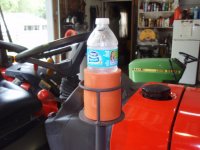
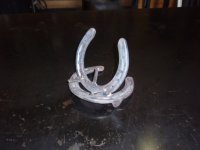
The little guy now has his own stand. Works good and is nice and quite.
Nortonscustoms - why did you add motor oil to the sand in your stand?
I'm guessing to keep any moisture in the sand from rusting out the stand. Could be something else though...