I built (overbuilt lol) this wagon for my cousins boy.
You aren't the same "dr pepper" that built 10 pennies, then never finished it, are you?

I built (overbuilt lol) this wagon for my cousins boy.
You aren't the same "dr pepper" that built 10 pennies, then never finished it, are you?


That'd be me lol.
I still have it. It's sitting at my aunts rusting away while my house is being built.
Here's my Brush Grapple that I built a couple of years ago. These are the SINGLE most handy implement you can have for a tractor.
It will pick up everything from a one foot long piece of 2x4 too a complete tree. To purchase one is $1200-$1800 including hydraulics. I ended up with about $650 in this. It did take about 40 hours of my time to cut, machine, weld and paint.
I'm not the best welder, but I'm learning....


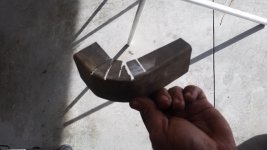
Medically I'm not suppose to weld, so I figured I'd try JB Weld. It might have held if I hadn't pried so hard lining up the tail pipe. The JB putty is nothing like the two tubes. The two tubes are much stronger when set up.
Thats pretty dang impressive. Tell me more about the materials and tools used
That would never last. Too much expansion/contraction and heat.
Medically I'm not suppose to weld, so I figured I'd try JB Weld. It might have held if I hadn't pried so hard lining up the tail pipe. The JB putty is nothing like the two tubes. The two tubes are much stronger when set up.
Get a face mask, and breath filtered clean air. Used one when I was grinding Beryllium bushings ... nasty stuff. Face masks were good, and the air is cool, and over pressurizes the mask so you don't get all sweaty.
Something to try out anyway.
My bet is his issue is having a pacemaker.

There are some more details starting in this post: http://www.garagejournal.com/forum/showthread.php?t=286260&page=7Got anymore pictures as you did it? My walls are plywood and behind that are 2x6's. I'm thinking I could run the base off the floor using plastic or wood shims on the concrete and bolt the 2x2 tubing to the wall. Just making sure I hit the 2x6's!!!
I need to do this with my stuff. I have a bunch of square tubing, cromoly round tubing, dom, steel round tubing, angle iron, and so on....


Maverick, maybe you should borrow Britt's shrinker/stretcher
You guys are all badasses with fab'n. I was proud of myself for fixing the front of a dumpster this morning LOL!
Started to fab this up today. It's a bracket for the pumper operators compartment on the fire engine. I'll leave it at that until it's finished. It's going to work tomorrow for mock up. If it's good, I'll make a second one for the other engine and finish welding this one up.


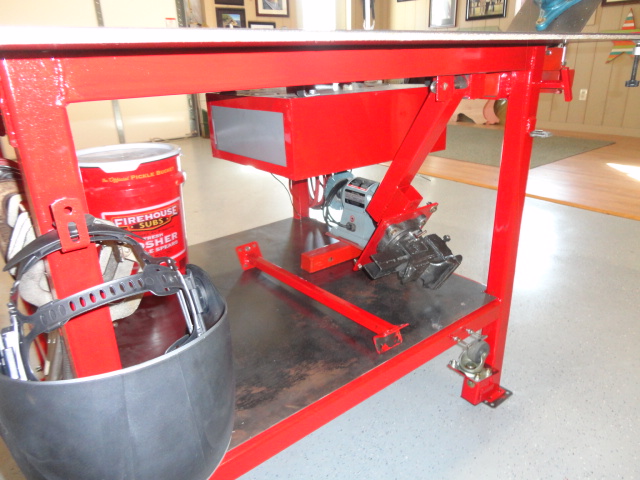
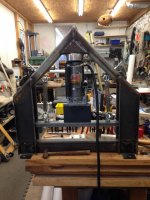
...Here's a pic of it flipped over. You can see how it all works.


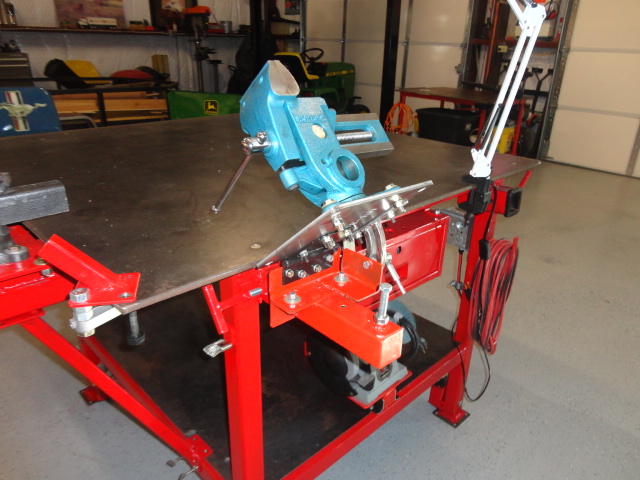
My picture links are busted. Can you repost? I'd really like to see your work.Made some clamps to go on my fabrication table.
5 dollars vs the stronghand model.
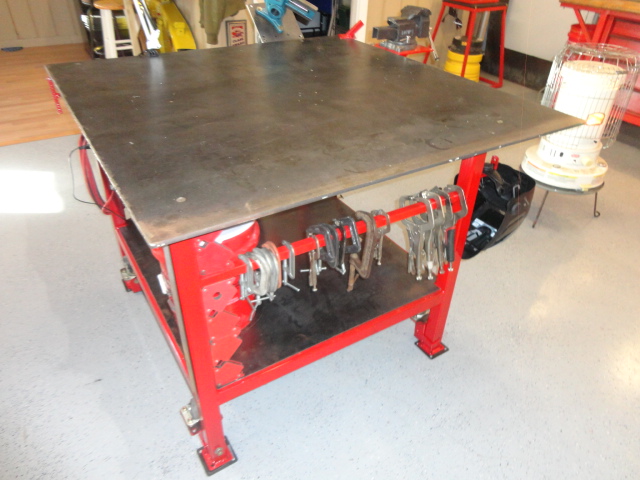
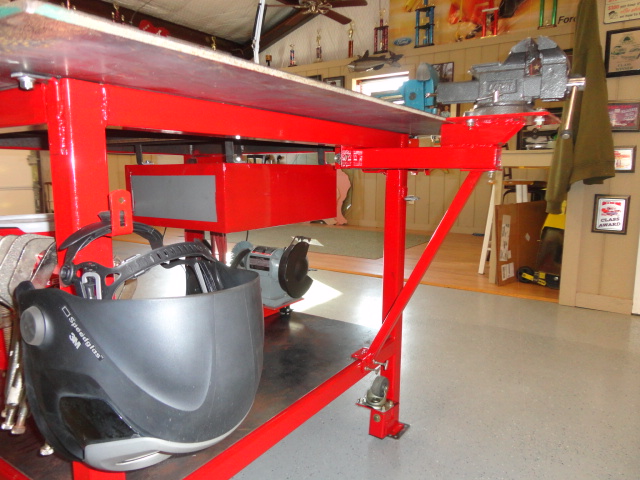
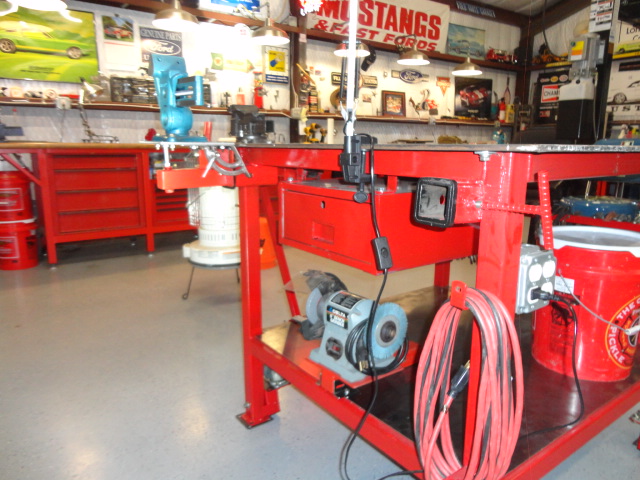
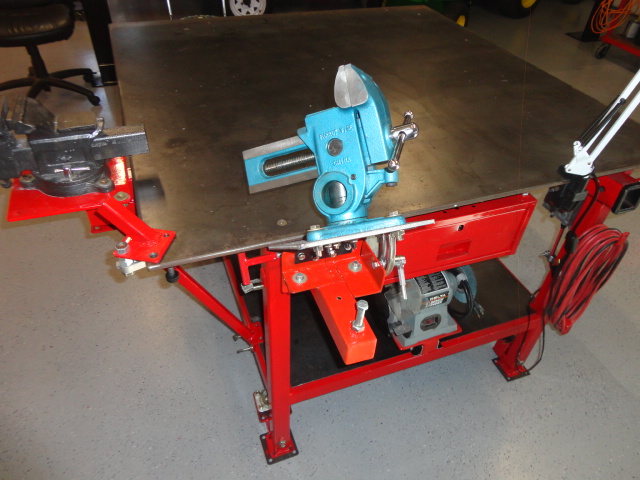
Finally posting some pics of my work table I built last fall. Nothing fancy, I'm just a weekend DIY'er. 4'x4' was about all the area I wanted to give up considering the projects I build. When I want to move it, I raise one end at a time with a floor jack and rotate the wheels down into position. Main Vice pivots up under for storage, but I find myself using the Versa Vice more often. Can hold something at just about any position.
Table
I built (overbuilt lol) this wagon for my cousins boy. He supplied the cash and parts, I did the all the fab and powder coated it all. I made all the hubs and steering linkage to make the quad steer work. It has rod ends on all the links, roller bearings on the hubs, and bronze bearings I machined to fit in pieces of tube on all the pivot points. I filled all the holes in the tub and made the rail sides that are welded on then fit aluminum panels with dimple holes in. Pretty bad machine, but boy is it heavy.


I had to bump this. That looks amazing.
Awesome job
Awesomeness needs no reason. That wagon IS awesome.I have to ask "Why?" It was only three pages ago!


![20151214_205752[1].jpg](/forum/data/attachments/372/372521-1fcfcefdd1e9666b5eb8acd2a1d33725.jpg)