E12-535iTurbo
Well-known member

I like your wire brush with the curved handle. Where did you get it?

I like your wire brush with the curved handle. Where did you get it?


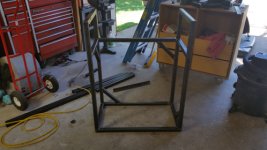
Looks pretty good. The top rail tabs for the lower run are to high at the landing posts. They should be lowered one rise height.
 - Actually I need to extend the posts by one rise as it turns the corner - bit of a cut and shut, will be hardly noticed after a flapper disc and blending - will be fixed before it goes off to the Galvanises.


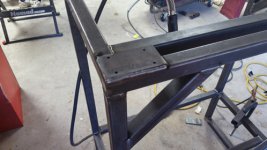
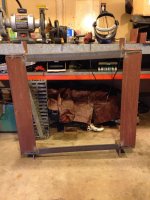
New front stairs getting closer!


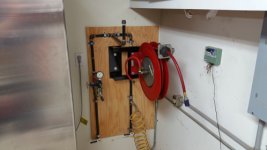
amlee - just make sure whatever is in the box won't melt when subjected to the exhaust. I used a similar setup on my gf's Highlander and it melted a few things.
Tire thumper for the car, made from scrap 1 and 2" shafts from work. Just need to get motivated to wrap the handle with a fancy paracord wrap.

Tire thumper for the car, made from scrap 1 and 2" shafts from work. Just need to get motivated to wrap the handle with a fancy paracord wrap.


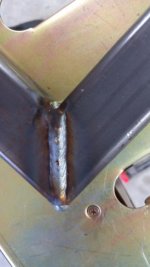
The key is to start with something that doesn't need much to be polished.
") I don't mind polishing welds out, hah
I don't mind polishing welds out, hah


I keep that one in the car between the seats. Have a getback whip for the bike.


Stairs look great. Back on track with the hand rails I see. Are the bars in the rises a code thing there?


you know its a good project when the sawzall comes out on a transmission job...