jackson1701
Well-known member
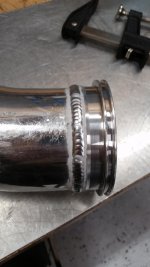
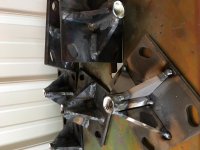
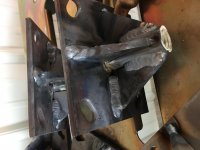
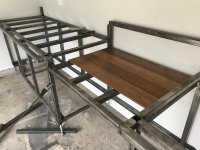
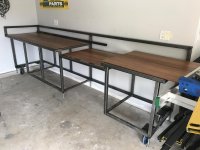
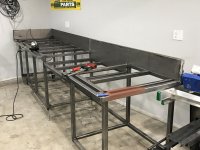
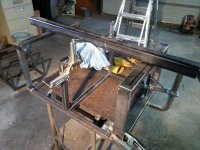
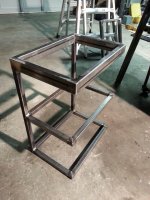
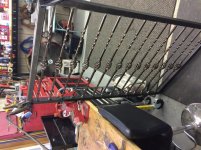
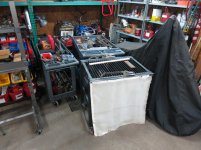
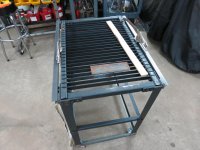
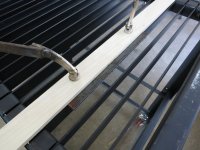
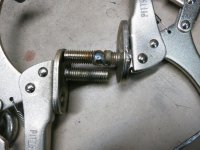
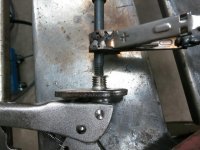
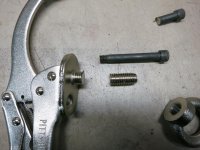
My TSC box blade upgrade. The original struts bent pretty early on. I took them off and welded in a new 2 1/2" tube to strengthen it up. It's pretty solid now.
View media item 68781
View media item 68782
View media item 68783
View media item 68784
View media item 68785
View media item 68781
View media item 68782
View media item 68783
View media item 68784
View media item 68785


 . Edit: i know realize this thread is more for finished projects

")