shedfullatools
Well-known member
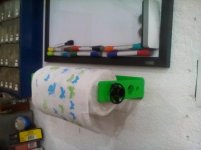
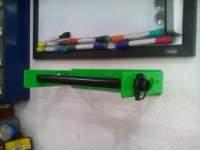
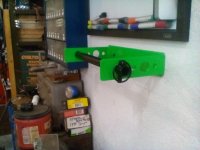
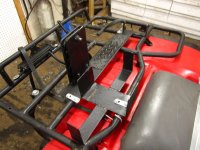
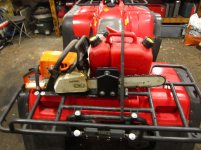
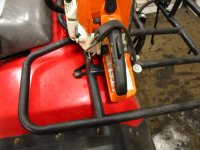
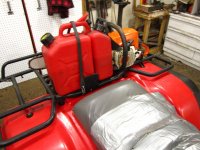
Wanted a secure way to carry a chainsaw and gas/oil can on the rack of my atv, really liked the look of the saw grip style clamp but found that the body of the saw moved more than I would like. I came up with this which has a bungee around the handle of the saw as well as the clamp over the bar. A simple bungee strap secures the fuel can in its cradle. The diamond plate looking stuff is made of rubber and is epoxied to the base and also to the jaws to protect the chain. A older style vented 10 liter fuel can also fits in the carrier so it can be used to carry extra straight gas for the bike, the whole deal is held to the rack with u-bolts and could be made to fit any bike pretty easily. There is no movement at all in the saw and you can move the whole bike with the saw handle 
Attachments


Last edited:


") . I have considered going back with tig to touch this up just a little bit for looks.
. I have considered going back with tig to touch this up just a little bit for looks.


 to run your tractor.