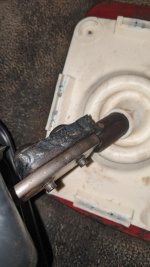
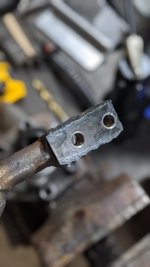
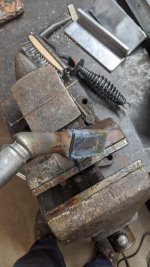
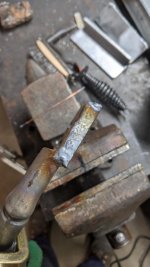
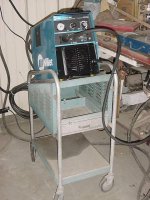
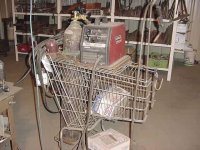
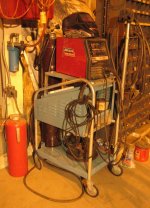
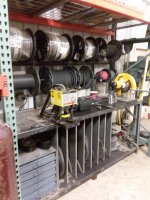
My faves are these. I am not sure, I might have added a clip and a couple screws or may have sat it on it. I did add a couple hangers eventually. There are some real benefits to this. 1st is cost,,, 2nd speed and often turn out as good or better. 3rd,,, it the lack of commitment to it,,, when its free and takes 10 minutes its not a gut wrenching decision to change, redo, or even abandon it. I should have replaced the shopping cart wayyyy before I did but it worked so well that one day lead to the next. I finally figured out how to remove 2 carts from the lineup, like adding 12 sq ft addition for free. I turned the plas in to welder and relocated it a bit to give it some more range out on the floor.