PhantomEB
Well-known member
Sweet I am up in the back 40 of Coventry!


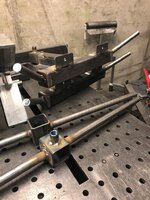
Excuse my ignorance, what keeps the clamps from pulling up? Looks like something I want to do for my welding table.
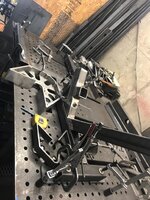
Here is a 4 way wedge I made for my wood splitter. The body is 3/8" and the wings are 1/2". All welding was done with a hobart 140 mig. It slips over the existing wedge. I have had over 20 tons on it with no problems.
Here is a 4 way wedge I made for my wood splitter. The body is 3/8" and the wings are 1/2". All welding was done with a hobart 140 mig. It slips over the existing wedge. I have had over 20 tons on it with no problems.
The bottom is open. It slips right over the single wedge.
It was made to be a snug fit and it has lossened up just a bit after about 6 or 7 cord.
I used to have to hit it to get it to pop off but now it just lifts right off.
I'm thinking of making a 6 or 8 way next.


e--well done.


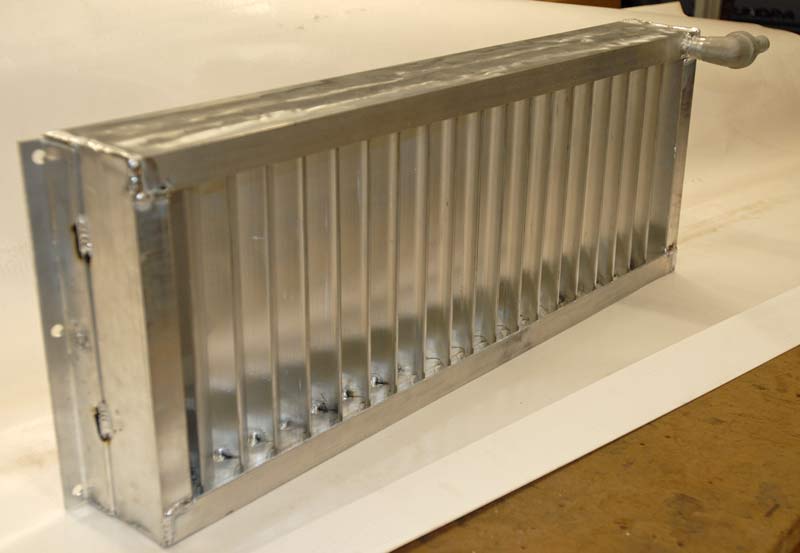
That's a lot of welding, good job[emoji106]I had to route an exhaust in a tight space ( not that tight , but gave me a chance to practice). I used 9 degree pie cuts.
I had to route an exhaust in a tight space ( not that tight , but gave me a chance to practice). I used 9 degree pie cuts.

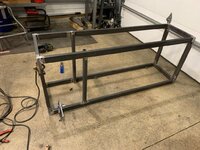
Nice Target, and some damn nice toysI bought some new guns and paper targets get boring. I ordered some CNC cut 3/8 AR500 plates and brackets and then built a stand. I ended up buying some "receiver hitch" square tube so the angle iron fits snug and won't require tools to assemble and take apart.
Hopefully I can get to the range next week and try it out.


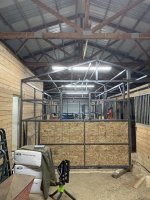
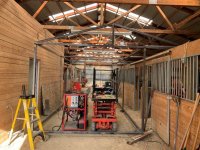
I’ve been having a lot of fun welding up a couple projects recently.
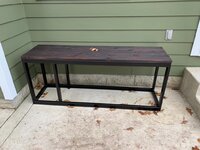
I just finished this wood storage rack for my wife yesterday. First time trying the Shou Sugi Ban technique on wood. Also my first time working with 1x2” tubing and I really like it. I can see a lot of places I can use it on future projects mixed in with 1” and 2" tubing


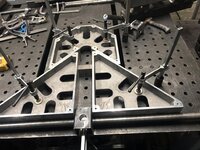


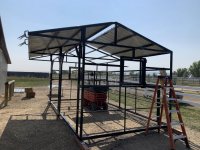
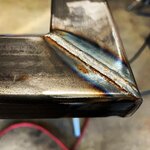
Made good progress on my gym equipment build. One main frame is about 90% complete, just need to cap the ends of the tubing and wire wheel the welds in prep for powdercoat. Second frame is complete but in two pieces. All the sub assemblies for both are complete. Spent some extra time on fixturing since I was making two of everything and it’s just fun.
Sent from my iPhone using Tapatalk