All done . . And WHOOPED !
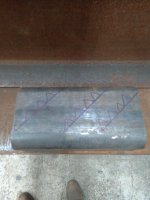
Nice! I’m planning something similar. Do you happen to have a pic before putting anything on it?

All done . . And WHOOPED !
That's really nice.
Spent some extra time on fixturing since I was making two of everything and it’s just fun.


That's 10 inch wide c-channel and 4inch for arms . It's what I had on the ceep instock . 5ft 9in area for each half flat and riser. Layed back 25* range . Anymore just ask.
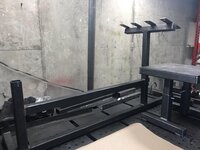
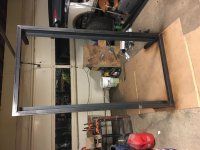
Made good progress on my gym equipment build. One main frame is about 90% complete, just need to cap the ends of the tubing and wire wheel the welds in prep for powdercoat. Second frame is complete but in two pieces. All the sub assemblies for both are complete. Spent some extra time on fixturing since I was making two of everything and it’s just fun.
Curious what is the brand name for the fixtures used? Very nice have not seen them ever
Thanks in advance
Clamps are Strong Hand, I got them from Zoro. Squares are from Fireball Tool who also sells the clamps
Sent from my iPhone using Tapatalk
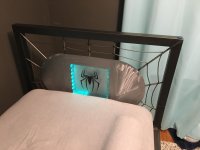
My little guy graduated from a crib to a bed last year and took the opportunity to make something fun. The frame is made out of 2 inch square tube and angle with adjustable feet. The head board is a piece of sheet welded to the frame with 1/4" round steel. Built a small frame with a removable back for the plexiglass with a hidden pocket for the led light strip. The on/off button is on the top right side for easy operation. I built it based on a 10 inch mattress but the misses ordered a 12 inch so it turned out a bit to high. Overall my kid loves it and is very sturdy.
Clamps are Strong Hand, I got them from Zoro. Squares are from Fireball Tool who also sells the clamps
Sent from my iPhone using Tapatalk
Ok I have strong hand clamps, not seen the Squares.
Thanks
Ok I have strong hand clamps, not seen the Squares.
Thanks
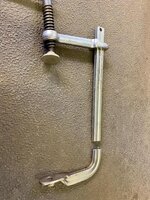
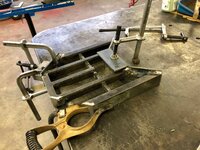
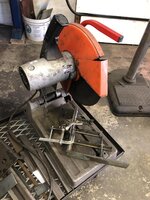
I’ve modified my own StrongHand clamps.
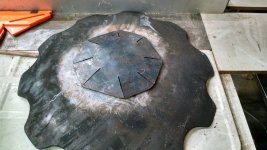
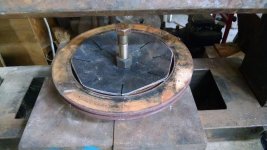
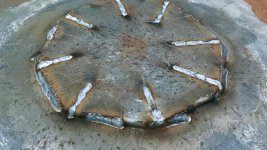
And made my own cast iron squares from a tablesaw extension...
Sent from my iPad using Tapatalk
Lis2323. Great repurpose of saw wings. I have two, I keep tripping over.
Did you braze, mig or tig the flats to the wings?
Sent from my iPhone using Garage Journal

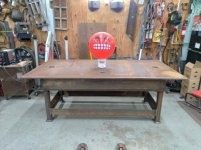
I agree, I would love to have Lis' or Royce's table they are perfect.Nobody’s walking away with that table! Nice job!
Thanks shortykorte. [emoji2]
I SMAW with NiRod.
Sent from my iPhone using Tapatalk
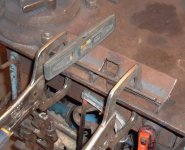
can you go over how you made your squares please?
and what angles you chose. they look awesome...


I chose 90 and 45° angles but one could use whatever they think they will need. Size and quantity will depend on what you have to work with.
Here are random photos taken during construction. I’m not the type that usually has a plan in mind and I usually just “wing it”.
Hope this helps.
Sent from my iPad using Tapatalk
Great job Terry!
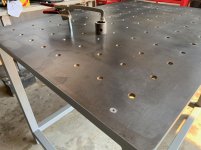
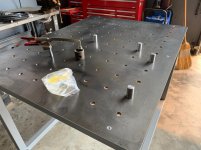
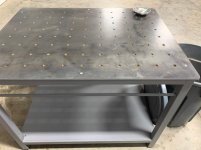
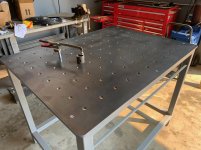
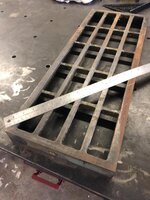
Here's a welding table I made - 2x2" steel with a top that is 1/2". Had a local shop cut the grid of holes with a water jet. If I had it to do again, I'd probably seek out a laser for a bit more accuracy. I get a little wobble with dog stops in the 5/8" holes.
Top is 36 x 48 with a grid of 11 x 8 holes. Height is about 37"
This table along with a few Fireball Squares, dogs from Genuine Metalworks, and clamps from Armor Tools has made a huge different in my fabrication ability!


I like that, pretty slick. I think I'll be making one for myselfBolt and rod splice jig, can tack the back without unclamping.

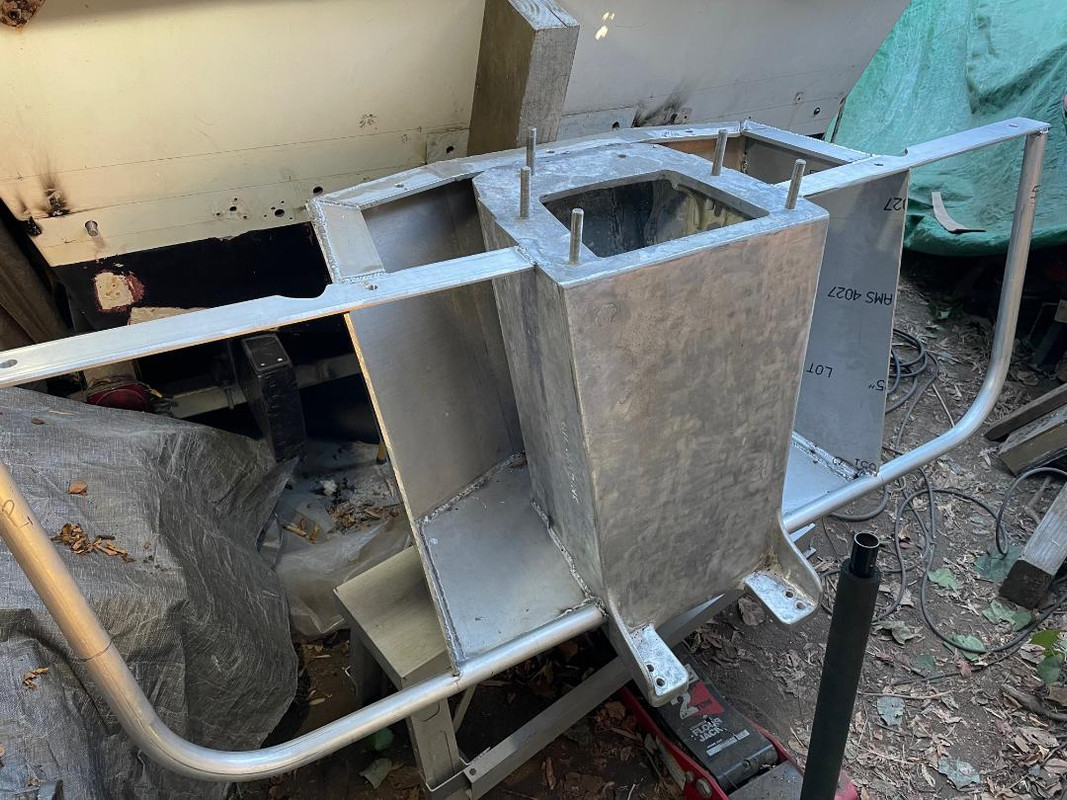
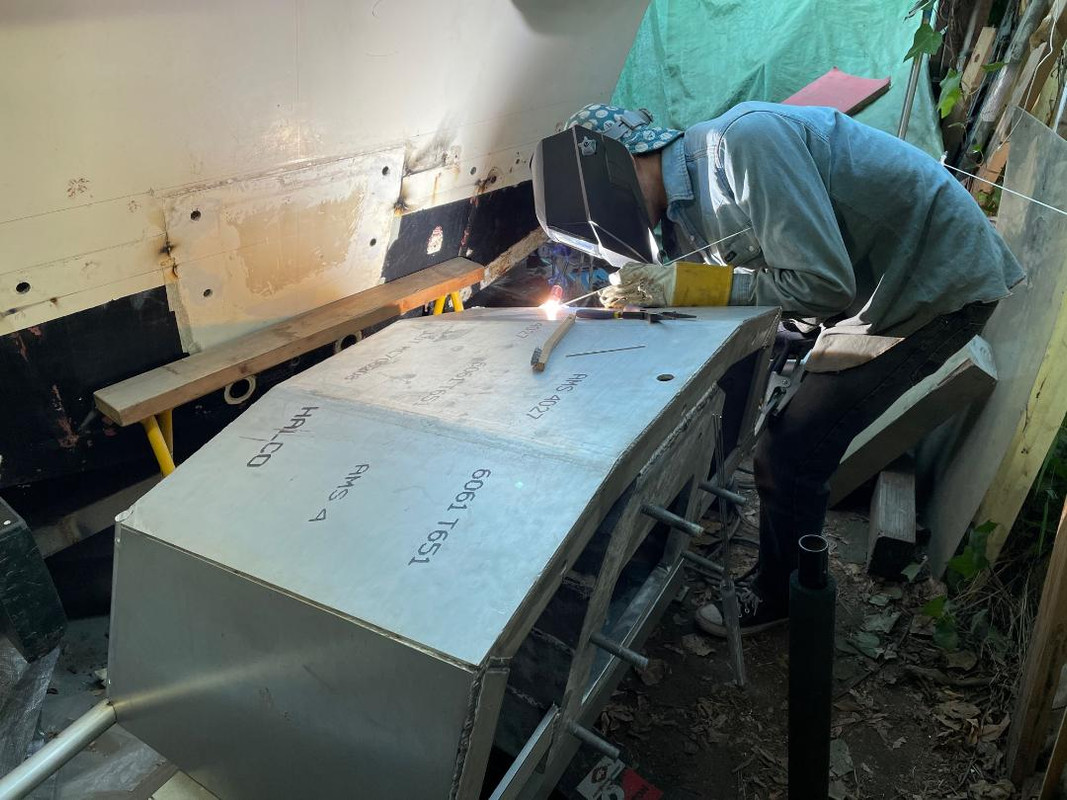
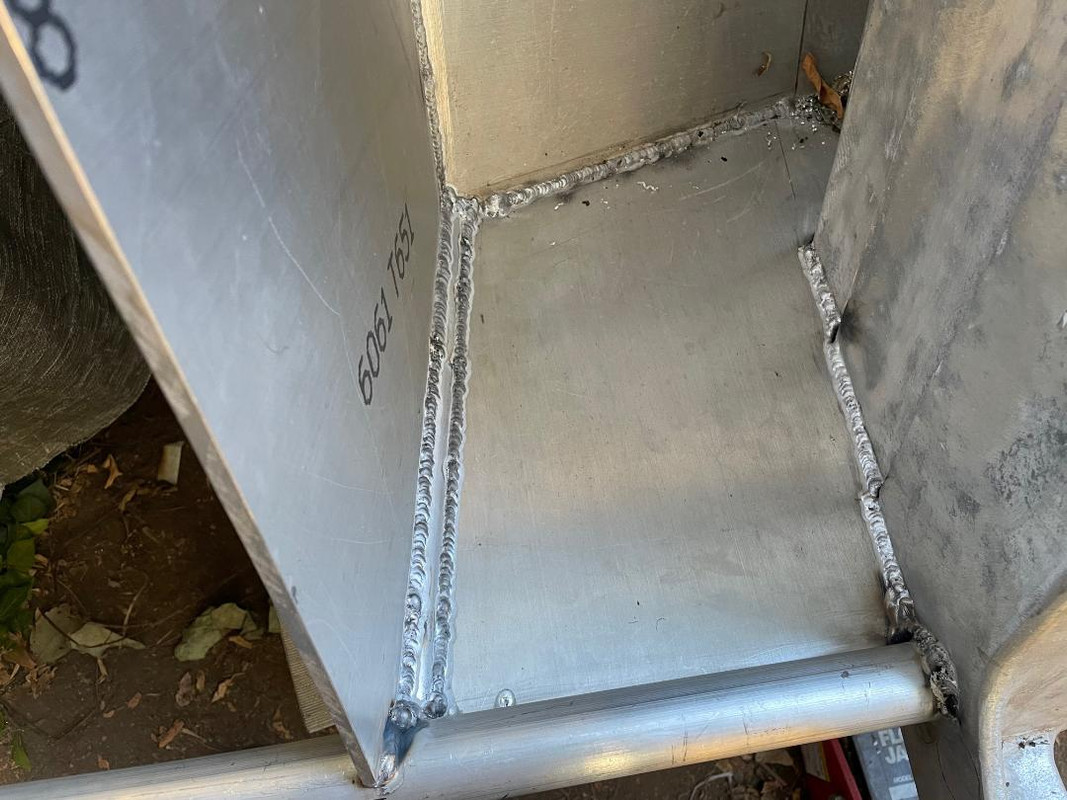
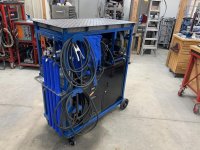
Erik, that's an amazing cart and setup. Swiss Army folks would be proud to put their name on it.Overall I'm happy with the project. To do it over again, I would use a 1/4" plate for the top and make it a tad larger. It was tight fitting everything into the space.
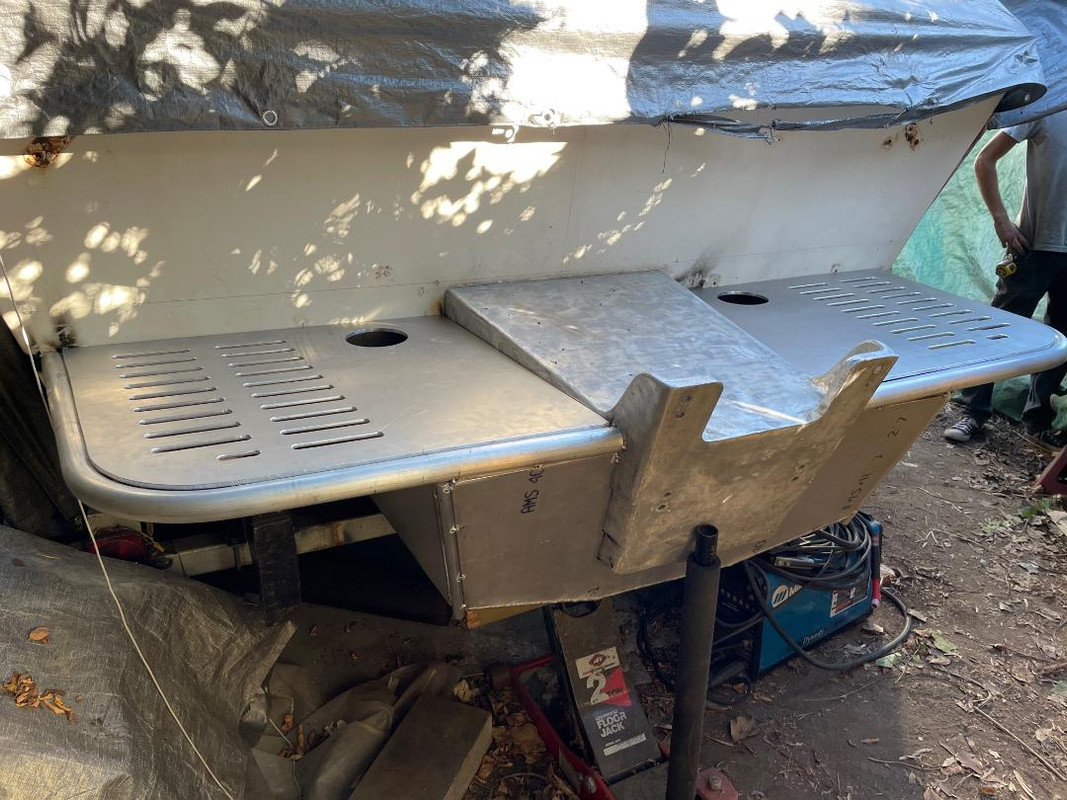
Look good Ez. Don't folks usually use 5052/3 for marine applications? Or is this freshwater only?
As thick as that plate is, do you think it will still be an issue?Very true. 6061 is susceptible to stress corrosion cracking in salt water environments.