To avoid these ads, REGISTER NOW!

Show what are you working on

mustangmccance

Well-known member
Joined
Sep 8, 2009
Messages
832
I started building this a few years ago if you take into account starting to scrounge for parts. Assembly actually started last summer and pictured is where it ended last summer after taking a back seat to some fall/winter projects. Now that spring is here it's time to get it back on the table and finish it.

Currently it's 4 wheel drive powered by an electric mobility chair transmission and speed control. I took the drive train design from some of the Honda powered rock buggies. The differentials are from front wheel drive self propelled lawn mowers. It has 4 link front and rear suspension with strong arms for air shocks. I tried to design and build it to handle my son's weight and a car seat along with a small cooler, but it hold me at 190 lbs. I have some work to do on the steering and I have to finish up the cage, get two new batteries since I forgot to unplug them over the winter... And install the solar panel for recharging it when it's parked.

933315191_3VU63-L.jpg


1181484835_yETuS-L.jpg


933315138_GuHux-L.jpg


solar powered 4 wheel drive stroller with nobbies? now that's just cool:thumbup:
 
To avoid these ads, REGISTER NOW!

GrandmaSideways

Well-known member
Joined
Jan 27, 2011
Messages
221
Oh I can't edit? Weird.

So these are my two projects.
be10f4af.jpg


One is the garage itself. It went from a pretty unnavigatable mess and it's on it's way... Need to hang more lights, hang hand tools and clean it up. In a few months maybe I'll paint the walls and floor. And it's a sty now. The insulation is going in the wall towards the house (the roof goes about 1/3 of the way up there towards the house) and the sound absorbing stuff will go in there to replace the old pink stuff. The ceiling of the garage is also getting done to help with stabilising the temperature year round... That's R12. Then it's on to decorating. I may not paint the walls and floors this year. Or ever. Not actually my own garage...

Bought it as a fun quick wagon out of Oregon 3 years ago. It checked all the boxes of what I wanted to do like bbk, sways, cam, euro spec lamps, 5-speed manual ****** swap, etc... Wagon was preferred, and leather was wanted to be black. This car came up after a year of searching, I was only looking for a stock car or one with mild mods. This was a great deal because of a boost issue of cutting out under acceleration. You could slowly ease it up and get to about 13 psi until it wanted to backfire... Get on the boost quick and it would stutter violently and pop off. It got a rep as a car that was 'unfixable' - lots of people in Portland that were familiar with this wagon get pissed when they find out it was a $40 MSD ignition coil that lived above the turbo... Sadly the MSD box went out a week later so I went to Bosch. Anyway it was a great deal but that was 2008. I drove it and a year later the turbo shat itself, I think material from the 9 year old magnaflow cat had disintegrated. The power steering also went, and the spark plug wires. I fixed all that but drove a manual rack for awhile. It was kind of cool... Anyway, took it out recently, said I need to drive it and keep very close tabs on the oil. That was no problem... Then a heater hose blew. Always something...
So that needs a turbo and I'm looking for a set of Volvo blue silicone hoses. Just do it all once and be plain done.

Oh and here is something for all of you...
01fdabb6.jpg


Free from my mechanic friend that has owned the same shop in the same spot since 1988 (and worked there since 1976!)
 
Last edited:

NEVERENOUGH

Active member
Joined
Dec 31, 2006
Messages
30
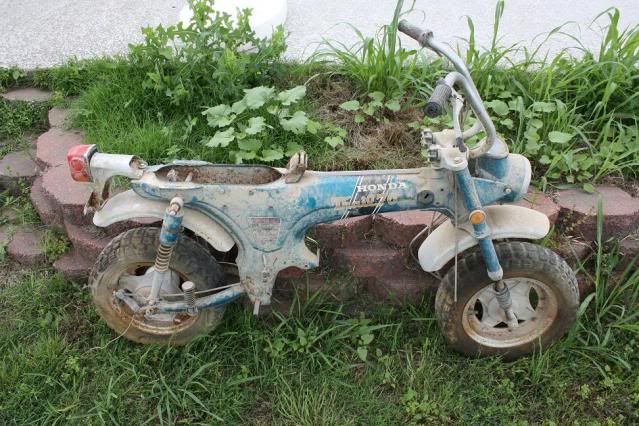
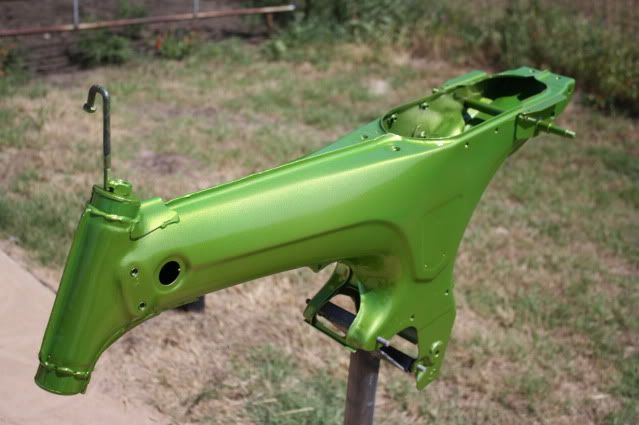
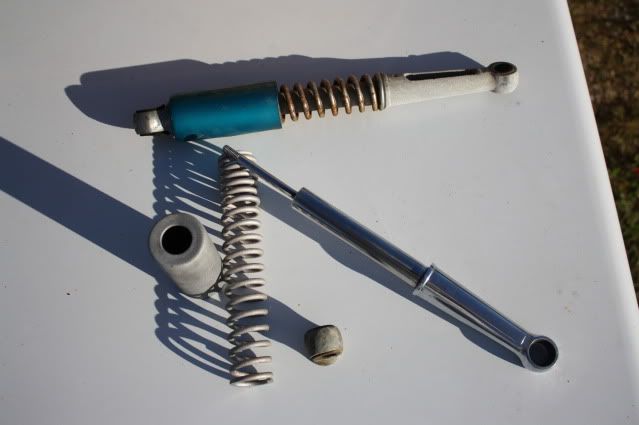
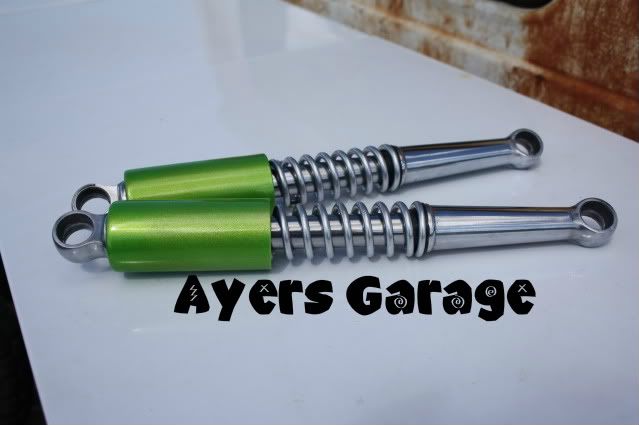
I do powdercoating work, but during slack times I usually work on restoring something or another. Right now I'm doing an old Honda that my father in law bought new then abandoned in a junkpile for many years.

As found:
CT70project001.jpg


Currently:
CT70project144.jpg

CT70project120.jpg

CT70project092.jpg

CT70project104.jpg

CT70project173.jpg

CT70project224.jpg
Now this is super cool. I grew up riding these as a kid and would love to find one to restore. Currently I have a 83 honda atc 70 we are building. Will try to get pics up later.
 

LawnDart79

Well-known member
Joined
Oct 17, 2010
Messages
605
Location
Minnesota
No pics, but I'm currently putting head gaskets on my 97 Buick Century.

Not really a project, but a necessity.
 

TimeWarpF100

Well-known member
Joined
Aug 21, 2010
Messages
6,784
Location
not here
TimeWarp! Love the trucks, just too sweet. Keep posting. The Boss is cool too, more pictures?
After last post we sold our house then moved to a apartment with not enough room for a tool box. We have since moved again into a rental. In process of trying to buy a place now. About the longest I have had to go without a shop!

Rental does have a 3 car attached but not enough room for tools/equip and vehicles. Hoping to change that soon with a home purchase but dealing with a bank owned has not been pleasant...
 

Kalstar

Well-known member
Joined
Sep 20, 2011
Messages
85
Location
Cape Cod MA
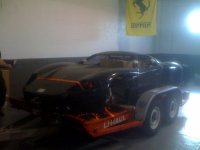
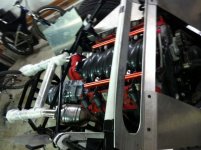
AMERICAN MADE. 2350Lbs, 650Hp running 8lbs boost. At 1bar engine is good to about 850hp. Yellow car is not mine, but this is what it will look like finished (just not yellow).
 

Attachments

  • myGTM1.jpg
    myGTM1.jpg
    92.4 KB · Views: 98
  • GTMpic.JPG
    GTMpic.JPG
    124 KB · Views: 87
  • gtm1.jpg
    gtm1.jpg
    137.7 KB · Views: 93

buzz4041

Well-known member
Joined
Sep 13, 2011
Messages
730
Location
South Texas
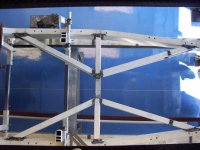
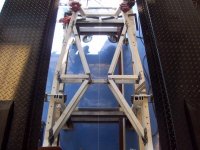
Building a chassis for my 40 ford pickup. This is the one that seems to get shelved for other projects though. One bite at a time.
 

Attachments

  • Oct2010#6.jpg
    Oct2010#6.jpg
    94.6 KB · Views: 33
  • Oct2010#5.jpg
    Oct2010#5.jpg
    112.2 KB · Views: 36
  • Aug 2009 -1.jpg
    Aug 2009 -1.jpg
    45.6 KB · Views: 54
OP
C

Climber

Well-known member
Joined
Nov 9, 2010
Messages
130
Location
Pelham NH
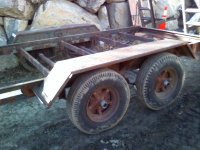
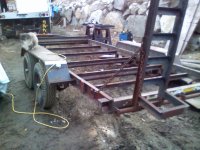
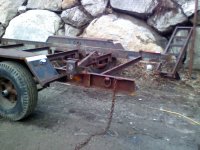
1984 Hudson Equipment Trailer
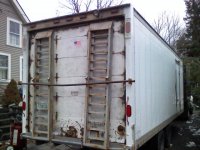
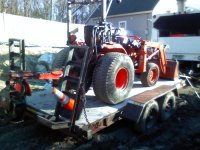
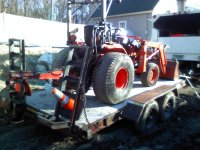
So as some of you know I have this big S enclosed trailer made of dry-van box-truck Morgan body. It is 24ft long, 8 ft tall and 8 ft wide (see pic #1). All my stuff fits there and also I put Kubota tractor + stump grinder. Like it but ... but some times I need to get some think small to get quick in and out. So I bought 14ft long by 6ft wide small equipment trailer. The length is OK. My grapple on tractor stick only 1.5ft out so it is OK by DOT. I like it it easy to manuver, light and it is only $800. The down side is:
no jack
no brakes
no paint
no lights
no floor
My plan is to put jack, fix brakes, strip used garage doors from floor, sand-blasted, paint, run wires and lights.
I'll take you through it if you are interested.
 

Attachments

  • 0228101418.jpg
    0228101418.jpg
    81.7 KB · Views: 24
  • 0220121518a.jpg
    0220121518a.jpg
    139.7 KB · Views: 33
  • 0220121519.jpg
    0220121519.jpg
    142.4 KB · Views: 26

TimeWarpF100

Well-known member
Joined
Aug 21, 2010
Messages
6,784
Location
not here
TimeWarp! Love the trucks, just too sweet. Keep posting. The Boss is cool too, more pictures?
Thanks!

I have not been on for quite some time. Trying to dream up another project, just like I really needed another!

Current project just started a few wks ago:

1966 F100 that is getting the Twin Turbo EcoBoost 3.5L along with entire suspension and driveline. Goal is

13 sec 1/4 mile @ 100+ MPH

25MPG Highway @ 65mph

I moved 3 times in less than 8 months but finally have a new place although the shop is very tiny compared what I am used to.

Took me a few months to get the shop up and usable, work on house and yard etc.

Found a super nice 1966 Truck for 300.00 so thought that would be a cheap one to cut apart to stuff the ecoboost into. Took me a couple months to get the title squared away so now project has started.

Picked up a 2011 F150 SC 4x2 Ecoboost truck with 6400 miles on it to use as a donor.

I am pretty pumped right now as finally making progress with the swap.
I have done a lot of proper nut~bolt type resto's so this is the first time I am venturing off into late model mods on a old truck/vehicle. Its usually been the other way around.

IMG_0002.jpg

IMG_0014.jpg

9d813019.jpg

7cab2569.jpg
 
Last edited:

emeraldcoupe

Well-known member
Joined
Jan 4, 2010
Messages
3,427
Location
spring hill, florida
Thanks!

I have not been on for quite some time. Trying to dream up another project, just like I really needed another!

Current project just started a few wks ago:

1966 F100 that is getting the Twin Turbo EcoBoost 3.5L along with entire suspension and driveline. Goal is

13 sec 1/4 mile @ 100+ MPH

25MPG Highway @ 65mph

I moved 3 times in less than 8 months but finally have a new place although the shop is very tiny compared what I am used to.

Took me a few months to get the shop up and usable, work on house and yard etc.

Found a super nice 1966 Truck for 300.00 so thought that would be a cheap one to cut apart to stuff the ecoboost into. Took me a couple months to get the title squared away so now project has started.

Picked up a 2011 F150 SC 4x2 Ecoboost truck with 6400 miles on it to use as a donor.

I am pretty pumped right now as finally making progress with the swap.
I have done a lot of proper nut~bolt type resto's so this is the first time I am venturing off into late model mods on a old truck/vehicle. Its usually been the other way around.

IMG_0002.jpg

IMG_0014.jpg

9d813019.jpg

7cab2569.jpg

awesome. you gotta post up a build thread on the truck.
 

JMartel

Well-known member
Joined
Jan 4, 2009
Messages
1,403
Location
Seattle, WA
That definitely looks like a cool project.

Here's a mockup of the Jewelry box I'm attempting to make for my wife:
74E8C21A-orig.jpg


Walnut and Curly Maple. Gotta do drawer assembly this week, and the goal is to have it finished in time for our anniversary early next week.
 

Steevo

Well-known member
Joined
Aug 18, 2009
Messages
8,738
Location
43.49600, -112.04300
that '59 belair from the last page is awesome.

the last few weeks i've been parting an '88 vw vanagon to get all the parts for free that i need for my recent purchase.

1986 turbo diesel VW transporter syncro.
i bought it in montreal in october, now completely legal thanks to the 25 yr rule.

14fac0a8.jpg


need to rewire the whole thing, which isn't much when you compare it to anything new on the road. then sand blast and paint.


I have just recently begun my search for one of those for myself.

Nice find!
 
Last edited:

oldcpecdr

Well-known member
Joined
Jun 16, 2009
Messages
340
Location
Cape Cod
Hey All

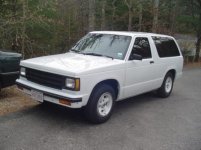
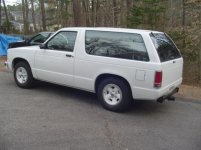
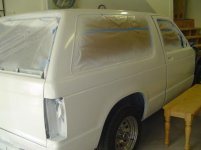
Well took over five years but here is my latest project...was a father-son project but after my son passed took three years just to get motivated and finish and another two to do it twice and get it right.. lot of hours in here just reading and working on the garage over all that time....


Thanks to all the guys over at Hot Rodders Bulletin Board that helped with lots of painting advice....TWICE !!!!!

Now on to the interior and a fresh small block that I promised.....
Mike B
 

Attachments

  • Blazer  done2.jpg
    Blazer done2.jpg
    44.1 KB · Views: 14
  • Blazer done finally 1.jpg
    Blazer done finally 1.jpg
    45.1 KB · Views: 13
  • paintblazer5.jpg
    paintblazer5.jpg
    24.9 KB · Views: 12
OP
C

Climber

Well-known member
Joined
Nov 9, 2010
Messages
130
Location
Pelham NH
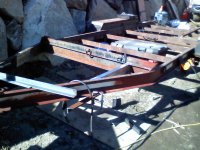
Finally winter over and I started on my trailer renovation.
I got 1984 Hudson Bros 14 ft long, 7,000 lb trailer.
Here are "PRE" pictures
 

Attachments

  • 0220121518a.jpg
    0220121518a.jpg
    139.7 KB · Views: 10
  • 0220121519.jpg
    0220121519.jpg
    142.4 KB · Views: 10
  • 0219120937.jpg
    0219120937.jpg
    140.9 KB · Views: 10
  • 0219120937a.jpg
    0219120937a.jpg
    139.7 KB · Views: 10
  • 0220121519a.jpg
    0220121519a.jpg
    145.9 KB · Views: 10
  • 0223121522a.jpg
    0223121522a.jpg
    144.4 KB · Views: 10
To avoid these ads, REGISTER NOW!
OP
C

Climber

Well-known member
Joined
Nov 9, 2010
Messages
130
Location
Pelham NH
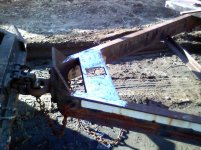
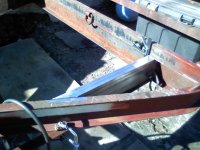
Since jack is NOT operational I need to fix it first.

Cutting old lower "C" channel.
 

Attachments

  • 0219121458a.jpg
    0219121458a.jpg
    145.4 KB · Views: 28
  • 0219121458.jpg
    0219121458.jpg
    148.8 KB · Views: 31
  • 0219121134a.jpg
    0219121134a.jpg
    141.7 KB · Views: 29
  • 0219121134.jpg
    0219121134.jpg
    139.4 KB · Views: 28
  • 0219120937a.jpg
    0219120937a.jpg
    139.7 KB · Views: 29
OP
C

Climber

Well-known member
Joined
Nov 9, 2010
Messages
130
Location
Pelham NH
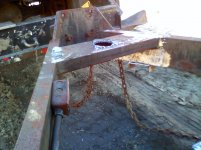
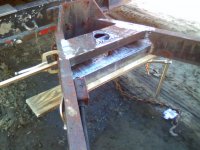
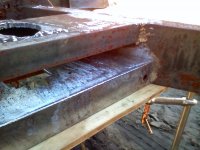
Making new jack support. Welding. Priming.
 

Attachments

  • 0219121133.jpg
    0219121133.jpg
    126.1 KB · Views: 15
  • 0219121148.jpg
    0219121148.jpg
    140.6 KB · Views: 16
  • 0219121148b.jpg
    0219121148b.jpg
    141.2 KB · Views: 17
  • 0220121518.jpg
    0220121518.jpg
    141.9 KB · Views: 18
OP
C

Climber

Well-known member
Joined
Nov 9, 2010
Messages
130
Location
Pelham NH
Time for stripping...
 

Attachments

  • 0223121522b.jpg
    0223121522b.jpg
    139.2 KB · Views: 15
  • 0223121521.jpg
    0223121521.jpg
    142.9 KB · Views: 17
  • 0221121654.jpg
    0221121654.jpg
    143.2 KB · Views: 17
  • 0221121653.jpg
    0221121653.jpg
    142 KB · Views: 16
OP
C

Climber

Well-known member
Joined
Nov 9, 2010
Messages
130
Location
Pelham NH
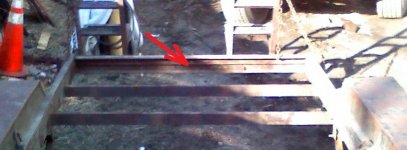
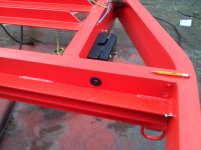
I did not like how ramps offset below deck.
Also, the whole rear is looks odd. The flat stock where boards sitting on is rusted badly (see pic).

So...
 

Attachments

  • 0221121654 marked.jpg
    0221121654 marked.jpg
    89.6 KB · Views: 19
  • 0223121522b zoomed.jpg
    0223121522b zoomed.jpg
    91.5 KB · Views: 18
OP
C

Climber

Well-known member
Joined
Nov 9, 2010
Messages
130
Location
Pelham NH
As you see on picture it is a little bit short for my tractor.

So .... tail is out!
 

Attachments

  • 0225120854.jpg
    0225120854.jpg
    143.1 KB · Views: 17
  • 0225120854a.jpg
    0225120854a.jpg
    143.4 KB · Views: 17
  • 0220121518a too short.jpg
    0220121518a too short.jpg
    140.4 KB · Views: 23
OP
C

Climber

Well-known member
Joined
Nov 9, 2010
Messages
130
Location
Pelham NH
New tail is in progress.
Keeping in mind for:
1. lights
2. razed ramp pivot point
 

Attachments

  • 0326122041.jpg
    0326122041.jpg
    141.8 KB · Views: 21
  • 0326121328.jpg
    0326121328.jpg
    138.5 KB · Views: 19
  • 0326121309.jpg
    0326121309.jpg
    141.1 KB · Views: 22
  • 0326120831c.jpg
    0326120831c.jpg
    140.8 KB · Views: 19
  • 0326120831b.jpg
    0326120831b.jpg
    133.6 KB · Views: 25
  • 0326120831a.jpg
    0326120831a.jpg
    139.2 KB · Views: 24
  • 0326120831.jpg
    0326120831.jpg
    140.2 KB · Views: 25
OP
C

Climber

Well-known member
Joined
Nov 9, 2010
Messages
130
Location
Pelham NH
Suspension is shot, crapy axles, fenders and old.
If I going to put so much work into it may be new 6,000 lb axles with new suspension and new fenders are calling my name?
 
OP
C

Climber

Well-known member
Joined
Nov 9, 2010
Messages
130
Location
Pelham NH
I'd like to make the tong much stronger and room for tool box as well.
 

Attachments

  • 0226121402a.jpg
    0226121402a.jpg
    140.6 KB · Views: 15
  • 0226121401.jpg
    0226121401.jpg
    137.2 KB · Views: 15
  • 0226121402.jpg
    0226121402.jpg
    142.3 KB · Views: 15

rusty1

Well-known member
Joined
Feb 6, 2009
Messages
518
Location
No. Illinois
...just updated the chassis on my nephew's 48 Stude,...S-10 rear springs, Nova rear, 70 Nova front clip, fits very well.
29qgina.jpg
 

Verdugo

Well-known member
Joined
Mar 31, 2014
Messages
98
...just updated the chassis on my nephew's 48 Stude,...S-10 rear springs, Nova rear, 70 Nova front clip, fits very well.
29qgina.jpg

Here is a picture of my dad with the 51 Studebaker pickup that he overhauled from top to bottom and then stuffed a blown 454 ~5 years ago. Unfortunately he passed away a few years after that, so the truck is sitting in my mom's barn while we try to find a new owner (read: for sale).

Dad_Stude_002+cropped.jpg
 

Attachments

  • Dad_Stude_002 cropped.jpg
    Dad_Stude_002 cropped.jpg
    57.5 KB · Views: 4
OP
C

Climber

Well-known member
Joined
Nov 9, 2010
Messages
130
Location
Pelham NH
Continue with trailer project.
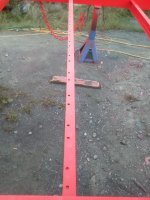
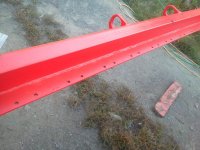
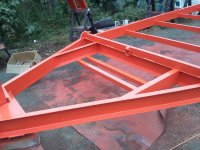
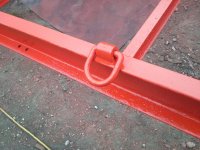
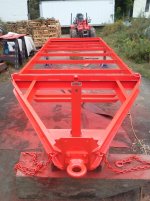
Sand blasting complete!
Primed
Pained
 

Attachments

  • IMG_20130919_180441.jpg
    IMG_20130919_180441.jpg
    125.9 KB · Views: 8
  • IMG_20130919_180113.jpg
    IMG_20130919_180113.jpg
    143.7 KB · Views: 8
  • IMG_20130919_180107.jpg
    IMG_20130919_180107.jpg
    143.2 KB · Views: 9
  • IMG_20130912_170502.jpg
    IMG_20130912_170502.jpg
    140.6 KB · Views: 10
  • IMG_20130912_170451.jpg
    IMG_20130912_170451.jpg
    145.1 KB · Views: 10
  • IMG_20130912_170439.jpg
    IMG_20130912_170439.jpg
    151.8 KB · Views: 11
  • IMG_20130912_170359.jpg
    IMG_20130912_170359.jpg
    142.4 KB · Views: 13
OP
C

Climber

Well-known member
Joined
Nov 9, 2010
Messages
130
Location
Pelham NH
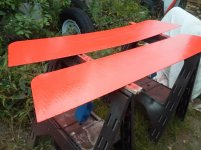
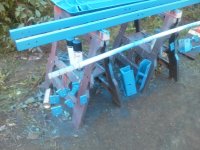
Some paint on ramps, fenders, back board. Also Suspension parts.
 

Attachments

  • IMG_20130912_170406.jpg
    IMG_20130912_170406.jpg
    153.2 KB · Views: 8
  • IMG_20130912_170417.jpg
    IMG_20130912_170417.jpg
    133.5 KB · Views: 7
  • IMG_20130912_170424.jpg
    IMG_20130912_170424.jpg
    146.7 KB · Views: 5
  • IMG_20130919_180026.jpg
    IMG_20130919_180026.jpg
    133.3 KB · Views: 7
  • IMG_20130919_180036.jpg
    IMG_20130919_180036.jpg
    135.1 KB · Views: 6
OP
C

Climber

Well-known member
Joined
Nov 9, 2010
Messages
130
Location
Pelham NH
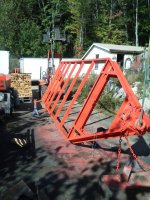
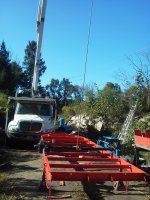
Time to flip it up.
One sling on back, one on front... 1,2,3 here we go. Would be nice to have some help.
 

Attachments

  • IMG_20130921_154345.jpg
    IMG_20130921_154345.jpg
    153.1 KB · Views: 11
  • IMG_20130921_154323.jpg
    IMG_20130921_154323.jpg
    153.5 KB · Views: 9
OP
C

Climber

Well-known member
Joined
Nov 9, 2010
Messages
130
Location
Pelham NH
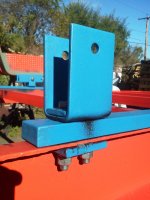
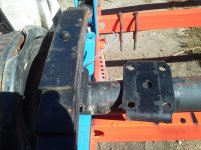
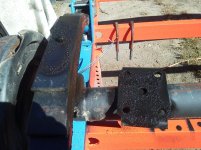
After quick paint now is time for suspension to go in.
1" x 2" flat bar for reinforcement, Grate 12 (not 8) hardware.
Please don't forget it is upside down.
 

Attachments

  • IMG_20130921_160034.jpg
    IMG_20130921_160034.jpg
    145.1 KB · Views: 12
  • IMG_20130921_160041.jpg
    IMG_20130921_160041.jpg
    140.7 KB · Views: 11
  • IMG_20130921_180157.jpg
    IMG_20130921_180157.jpg
    137.7 KB · Views: 11
  • IMG_20130921_180205.jpg
    IMG_20130921_180205.jpg
    132.9 KB · Views: 11
  • IMG_20130921_180214.jpg
    IMG_20130921_180214.jpg
    132.3 KB · Views: 11
OP
C

Climber

Well-known member
Joined
Nov 9, 2010
Messages
130
Location
Pelham NH
Here is how it looks together from other point of view.
Some Rustoleum "Undercoating" for future.
 

Attachments

  • IMG_20130924_091739.jpg
    IMG_20130924_091739.jpg
    149.8 KB · Views: 8
  • IMG_20130921_180205.jpg
    IMG_20130921_180205.jpg
    132.9 KB · Views: 7
  • IMG_20130924_091725.jpg
    IMG_20130924_091725.jpg
    133.7 KB · Views: 7
  • IMG_20130924_091718.jpg
    IMG_20130924_091718.jpg
    136.5 KB · Views: 8
OP
C

Climber

Well-known member
Joined
Nov 9, 2010
Messages
130
Location
Pelham NH
New springs and axles going in. Some Rustoleum "Undercoating" for future.
 

Attachments

  • IMG_20130924_093253.jpg
    IMG_20130924_093253.jpg
    148.4 KB · Views: 11
  • IMG_20130924_105711.jpg
    IMG_20130924_105711.jpg
    148.2 KB · Views: 13
  • IMG_20130924_105751.jpg
    IMG_20130924_105751.jpg
    149.5 KB · Views: 10
OP
C

Climber

Well-known member
Joined
Nov 9, 2010
Messages
130
Location
Pelham NH
Wiring with weather prove connectors.
 

Attachments

  • IMG_20130923_064956.jpg
    IMG_20130923_064956.jpg
    126.8 KB · Views: 9
  • IMG_20130923_065004.jpg
    IMG_20130923_065004.jpg
    124.2 KB · Views: 8
  • IMG_20130923_064327.jpg
    IMG_20130923_064327.jpg
    132.1 KB · Views: 9
  • IMG_20130923_064310.jpg
    IMG_20130923_064310.jpg
    135.4 KB · Views: 9
  • IMG_20131010_112045.jpg
    IMG_20131010_112045.jpg
    139.5 KB · Views: 10
To avoid these ads, REGISTER NOW!
Top Bottom