wingnut_1
Well-known member
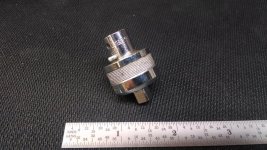
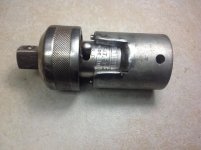
This is my 1st thread so I hope that I have my pictures uploaded correctly. I need to disassemble a Snap-on TM 67A 1/4" drive ratcheting adapter. To me it looks like there are two holes that a small spanner or snap ring tips fit into to turn the top off. I tried a little pressure trying to turn. Can anyone tell me if I am right. I don't want to break this or any other tools just to clean and lube it.
Thanks,
Wingnut_1
Thanks,
Wingnut_1