From this site ;
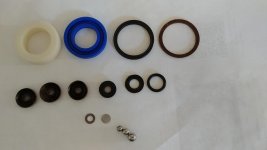
https://www.hcrcnow.com/shop/seal-kits/snap-on/10751 I used the 2239 kit. There you will also find a PDF ofthe manual
I also found some info here;
http://www.instructables.com/id/Rebuilding-a-Hydraulic-Floor-Jack/
and here ;
http://www.shinnfuamerica.com/Owners Manual/HW93652 3TonServiceJack/710
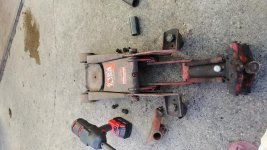
I think in one of the tutorials Hiball informed us that the screw on the left is the over load and not to mess with it or count how many turns it takes to seat it and then reset it to this position when reassembling.
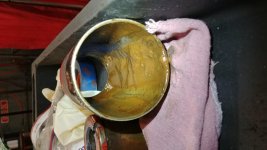
I also found on mine that the white backup ring had swollen to the point of being stuck in the cylinder. The kit above did not have a backup ring in it so I turned the existing one down to fit. Time will tell if that was a wise decision.
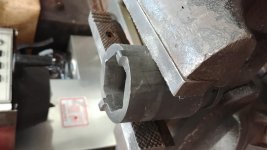
The one tutorial above says to use an impact screw driver to remove the small screw, good advise but not having one I ground down a drag link socket to fit and then used a C-clamp to hold the socket in the screw while I broke it loose.
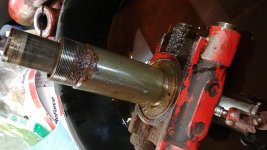
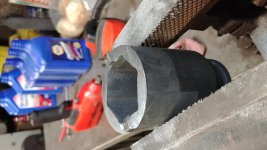
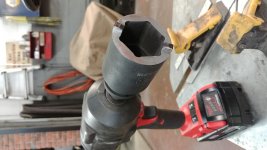
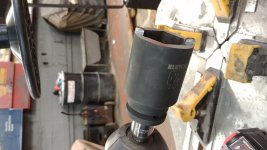
Getting the tank nut off, I started by milling a socket leaving two fingers to fit the slots. Broke it twice. So I turned up a piece of steel, bored it to a good fit on the rod shaft of the cylinder and then milled two tangs on it that were tight fit in the slots on the nut. Welded it to the broken socket and hit it with the impact and it worked.
Good luck
lg
no neat sig line


 I don't think the fluid has ever been changed on it