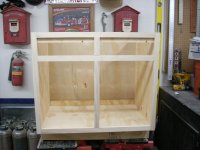
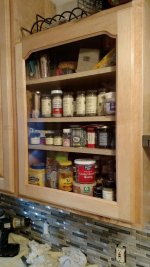
The wife has been wanting to remodel the kitchen after doing the utility room last year. So I made her a deal, I make the cabinets.
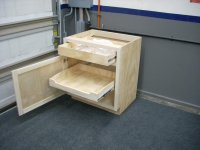
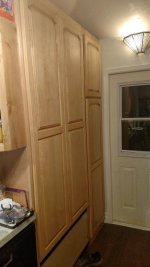
After making a test cabinet, she was fine with it. . . . atleast for now. This will allow us to gather ideas and won't be starting on the actual kitchen until the cabinets are done.
I'll be able to purchase a few new tools as I go and gain some rebate dollars at Menard's to buy me (my labor costs) something when it's done. This also helps us spread the cost out over the next few months. I'm not sure if she realizes how long this will take. However, I should okay as long as she sees progress in the cabinet build.
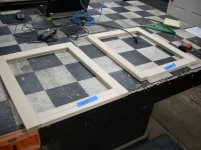
I started out with some measurements, design of the first cabinet and set up some standard sizes to work from for the lowers/base cabinets. She wants them painted white so I can use Poplar and it'll hide a little bit more than stain.
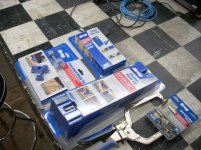
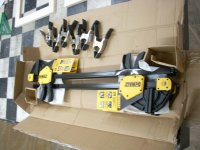
So far, as posted in "new tool arrivals", I have have picked up the following Kreg jigs and 4 Dewalt 24" HD trigger clamps.
After making a test cabinet, she was fine with it. . . . atleast for now. This will allow us to gather ideas and won't be starting on the actual kitchen until the cabinets are done.
I'll be able to purchase a few new tools as I go and gain some rebate dollars at Menard's to buy me (my labor costs) something when it's done. This also helps us spread the cost out over the next few months. I'm not sure if she realizes how long this will take. However, I should okay as long as she sees progress in the cabinet build.
I started out with some measurements, design of the first cabinet and set up some standard sizes to work from for the lowers/base cabinets. She wants them painted white so I can use Poplar and it'll hide a little bit more than stain.
So far, as posted in "new tool arrivals", I have have picked up the following Kreg jigs and 4 Dewalt 24" HD trigger clamps.