Thanks.
The 'lift' is actually a hydraulic lift table. It's made by Vestil in Indiana. It works well for my application, but I don't think it would be the right idea for most cars.
Here are its drawbacks:
1) The capacity of this one is only 3K, which limits the cars I can lift on it to... my race car.
2) The top is flat, like a table, which limits the cars I can lift on it to... my race car.
3) I'm using a tool for something that is not exactly what it was designed for, which is (generally speaking) a bad idea. If anybody asks me for a recommendation for a lift, I'll recommend a conventional one.
4) Purchased new, they cost more than an automotive lift.
Still. Here are the good things about it:
1) The same lift is rated up to something like 7000 pounds with a second hydraulic cylinder, and the ratings for a table like this are based on a much more challenging duty cycle than you'd see used for conventional lifts. Also unlike a conventional lift, a table like this would be expected to take a lot of lateral hits from forklifts in normal use.
2) Along those lines, this thing is American-made an built like a tank.
3) It has safety features you won't find on conventional lifts -- if it touches anything as it lowers, it immediately stops. It also has two separate ways to prevent an uncontrolled descent if the system loses hydraulic pressure.
4) It takes up no space at all in my garage.
5) I got it for $455. And with the costs of concrete, tile and various tool rentals included, my complete cost was only $670.
Here's a BendPak lift:
It's made of 3/8" thick square tubing. I think it's welded in China. But it's a solid, well-regarded lift.
And here are some details from mine:
The arms of the scissor are 3/4" thick, reinforced with sections of 1" thick steel, welded in the USA to AWS standards.
Unlike two-post lifts, which require an attachment to the concrete with the concrete functioning as a structural member, this lift has a very stable footprint. Still, I put it on 8" of reinforced concrete and bolted it down to the concrete.
Early on, I wanted to know about how my car would balance on it. So with the help of some people who know a lot more than me (and also with some practical testing), I worked out the actual balancing point of my car (with half a tank of gas), and it was right between the 'P' and 'O' on the door's side decal:
Here's an illustration of the shift in balance with weight removed from either end:
It's nice to have access to the underside of the car. Brake and tire work are a lot easier. I've done two engine drops so far.
And unlike a two-post lift, it's not eating up any of my floor space. This is important, since I use the parking half of the garage for work. There are two benches that swing down from the wall.
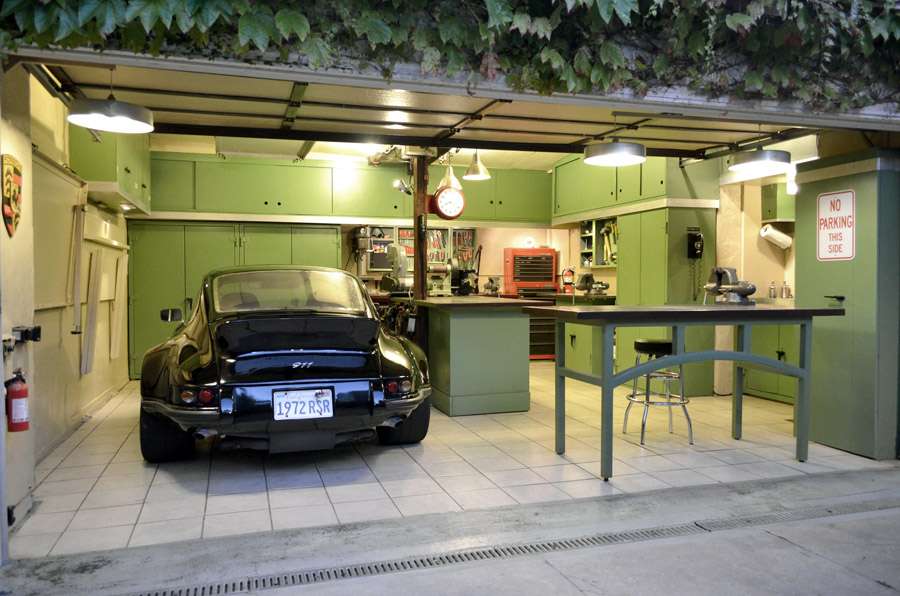
Here it is up:
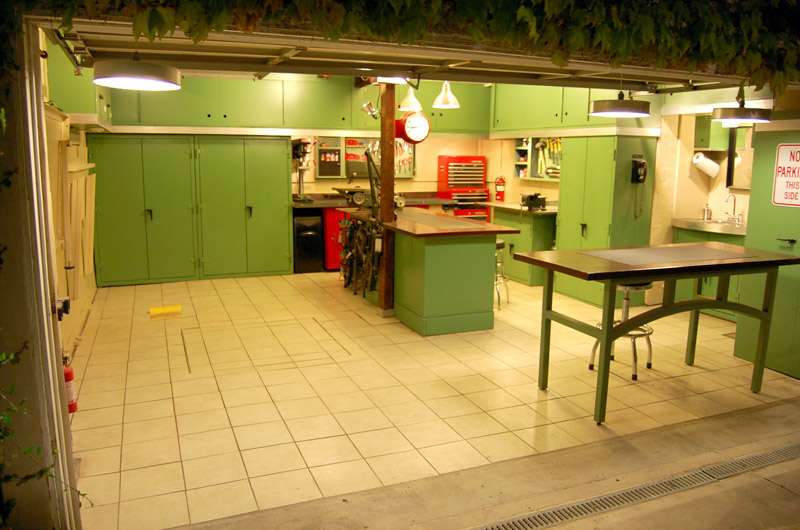
Here it is down:
As you can see, it was a challenge to reconcile my wavy, 1925 concrete pad with a 48" square level surface. But it's pretty inconspicuous when you see it in person.