OP
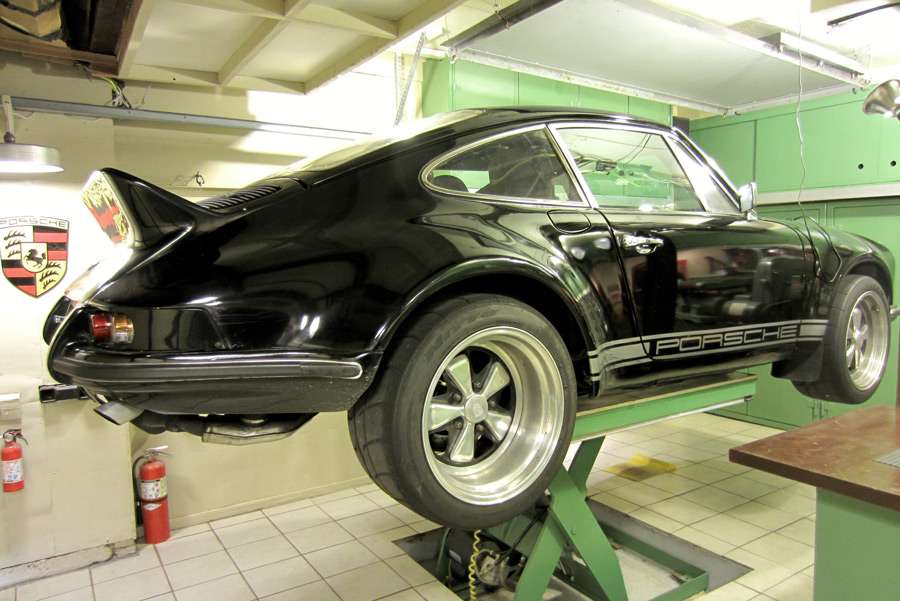
Re: My bolt-on 911 aero: it will never be pretty, but now it's much easier to pack
Thanks for the kind words, everyone.
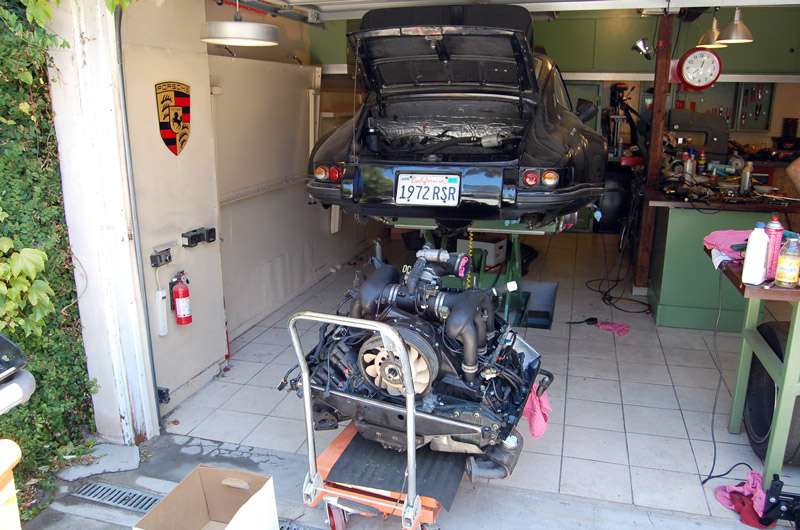
My fear is that once all the stuff is out, I'm going to have no idea how to get it back in correctly. I took some cell phone pictures as I went. I'll let you know how it goes.")
I have one parking space -- no room at all for a trailer. Plus, my Jeep with it's little straight six is not really tow-vehicle material. But more than that, this is a car I drive around town -- I'm proud of the fact that it drives to the track and does so well against dedicated (and not street-legal) race cars.
I got that JACO inflator for $25 through some 'deal of the day' post. Its cool feature is that you can set the PSI digitally and the thing pumps until it gets there and then shuts off. The not-so-surprising part was that it started acting wonky after a few months. But I emailed their customer service and they sent out a replacement without any questions. I was impressed. (Of course, it's still a $25 inflator, so we'll see how well the replacement does...)
In California, the speed limit goes down to 55 mph if you have a trailer. To me, that makes creative packing worthwhile. Even if race rubber ends up on the roof.
http://forums.pelicanparts.com/uploads5/LunarLandscape1114501161.jpg[iimg]
[QUOTE="bczygan, post: 7189691, member: 43135"]A Harbor Freight jump pack???
Jack!
Bill[/QUOTE]
I realized today I had two jump starters and two inflators packed in there. So the HF inflator/jump-started is now out of the trunk/frunk. But it's been reliable for a long while now. I don't judge cheap tools too harshly -- but then, I also don't expect them to last as long as expensive ones.
[QUOTE="NUTTSGT, post: 7189711, member: 40445"]Well, seeing how close the seat is, I'd guess you're about 5'9". [/QUOTE] I know it looks that way, but I think it's because I lean the seat back more than most. I've done 10+ hour drives to different tracks, and I find my backside does better with the seat reclined more. But I'm 5'11".
[QUOTE="bczygan, post: 7189717, member: 43135"][IMG]https://i.pinimg.com/originals/87/a4/8a/87a48a5e6773d0069d78b2de6eaee595.jpg[/QUOTE]
I wouldn't tow a tire trailer because of the speed limit change. But I've thought about pulling a little teardrop trailer for track-day lodging. I think I could do a decent hitch for it -- but the trick would be to make it removable. I couldn't accept that kind of additional weight once I'm out on a road course.
I even did a little work on the sort of drag it would generate.
Thanks for the kind words, everyone.
You know you're going to draw a crowd at the track as you load all that stuff back into the car
My fear is that once all the stuff is out, I'm going to have no idea how to get it back in correctly. I took some cell phone pictures as I went. I'll let you know how it goes.
I just kept thinking......."trailer"......lol
Nice work! I know I would have already invested wayy too much money and time into an enclosed trailer and truck.
I have one parking space -- no room at all for a trailer. Plus, my Jeep with it's little straight six is not really tow-vehicle material. But more than that, this is a car I drive around town -- I'm proud of the fact that it drives to the track and does so well against dedicated (and not street-legal) race cars.
I take away two things...
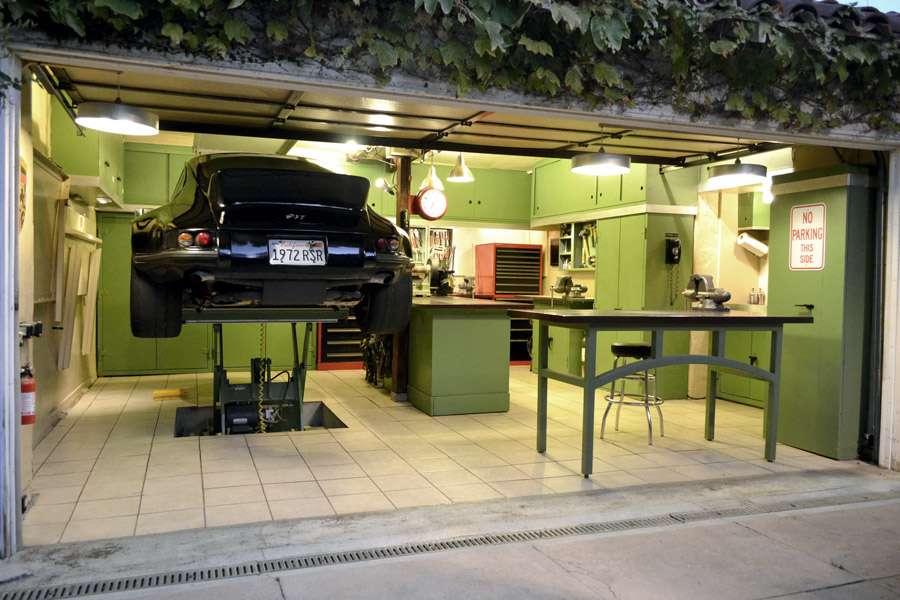
#1 I applaud you for actually DRIVING your car to the track.
#2 I need breakfast because the bag that has the JACO logo looked a lot like TACO to me.
I got that JACO inflator for $25 through some 'deal of the day' post. Its cool feature is that you can set the PSI digitally and the thing pumps until it gets there and then shuts off. The not-so-surprising part was that it started acting wonky after a few months. But I emailed their customer service and they sent out a replacement without any questions. I was impressed. (Of course, it's still a $25 inflator, so we'll see how well the replacement does...)
Yes...there are some pretty cool trailers on the market for carrying 4 race wheels and a cooler. OP could probably build one from spare parts sitting around.
I've seen commercial hitches for later model P-cars; I assume something could be made up for the OPs!
In California, the speed limit goes down to 55 mph if you have a trailer. To me, that makes creative packing worthwhile. Even if race rubber ends up on the roof.
http://forums.pelicanparts.com/uploads5/LunarLandscape1114501161.jpg[iimg]
[QUOTE="bczygan, post: 7189691, member: 43135"]A Harbor Freight jump pack???
Jack!
Bill[/QUOTE]
I realized today I had two jump starters and two inflators packed in there. So the HF inflator/jump-started is now out of the trunk/frunk. But it's been reliable for a long while now. I don't judge cheap tools too harshly -- but then, I also don't expect them to last as long as expensive ones.
[QUOTE="NUTTSGT, post: 7189711, member: 40445"]Well, seeing how close the seat is, I'd guess you're about 5'9". [/QUOTE] I know it looks that way, but I think it's because I lean the seat back more than most. I've done 10+ hour drives to different tracks, and I find my backside does better with the seat reclined more. But I'm 5'11".
[QUOTE="bczygan, post: 7189717, member: 43135"][IMG]https://i.pinimg.com/originals/87/a4/8a/87a48a5e6773d0069d78b2de6eaee595.jpg[/QUOTE]
I wouldn't tow a tire trailer because of the speed limit change. But I've thought about pulling a little teardrop trailer for track-day lodging. I think I could do a decent hitch for it -- but the trick would be to make it removable. I couldn't accept that kind of additional weight once I'm out on a road course.
I even did a little work on the sort of drag it would generate.