grease_monkey
Well-known member
You sure you bled/burped all the air out? When you say the temp "bounces" it sounds to me like maybe there's still some air in your system? I agree those temps you took seem reasonable and safe.

You sure you bled/burped all the air out? When you say the temp "bounces" it sounds to me like maybe there's still some air in your system? I agree those temps you took seem reasonable and safe.

I agree that the temps look good, check the gauge multi-plug, the engine earth (again and is there a battery to engine block connection?) and the actual connector for temperature sensor for corrosion and high resistance. Is the sensor making good contact with the head? Is there sealant or teflon sealing tape in the threads? Have you got another gauge you could borrow to try (mine was faulty in my 1602 which gave a high reading, god I miss that car!)?
Its been burped several times. I spend every night last week and almost a tank of gas burping it.

I haven't used mine yet, but everybody in GJ raves about the Airlift.
http://www.amazon.com/dp/B0002SRH5G/?tag=atomicindus08-20
It *****!
_
I dont think it actually needed to be burped, I was just grasping at straws while trying to get it running cool. I think the issue now is either ground or t stat or both.
Thermostats for the majority of American cars don't come with a housing but many BMW thermostats do. When I owned my Euro-spec 1979 733i I learned that BMW often solves small problems with rather complex (and expensive) solutions. Drilling a hole in this 2002 thermostat is a bit more difficult and is as likely to create a problem as solve one.when I replace a thermostat I usually drill a 1/8 or so hole in the new one. rarely ever have a air bubble prob... that small a hole doesn't seem to hurt a bit on the warm up.
jim


Just found your garage turned into 02 build thread. Are you active on 2002faq.com?
Marshall
75 M2
97 M3
http://www.bmw2002faq.com/topic/103584-mlytles-m2-madness/


Yeah yeah, nice '02, now tell me more about that Rabbit!
Is it just stock? It sure is nice and clean and well-preserved. My GTI was built in the same factory, but has lived a hard life, cosmetically, since I bought it in 1985.
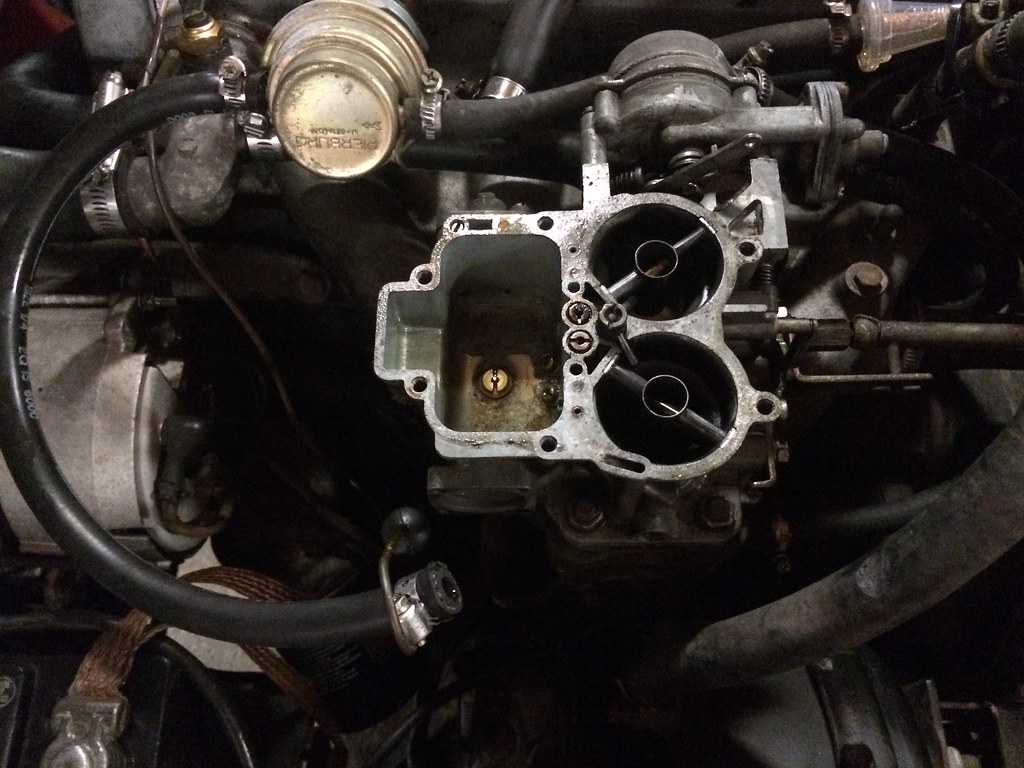
Regarding your idle, have you put a vacuum gauge on it yet?
_

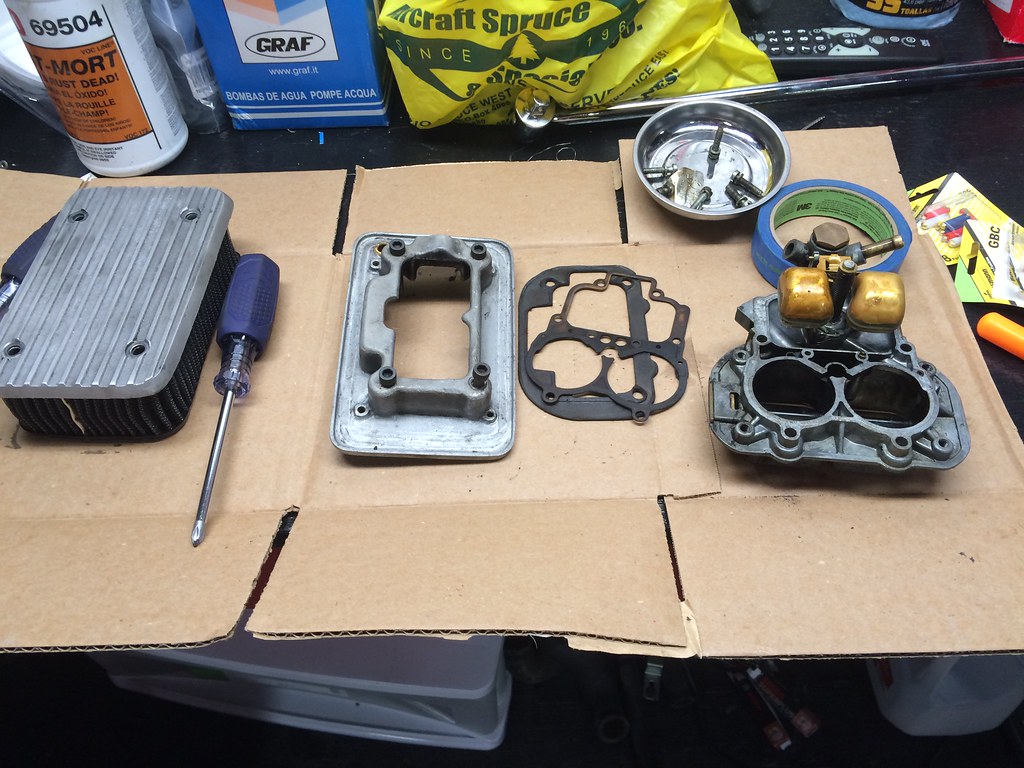
The idle is fine now. I think there was just some gunk in the carb, stupid ethanol.
I don't mean to throw this thread too off track or start a debate, but would ethanol have caused gunk in the carb? I would have thought the opposite. From what I understand Ethanol promotes corrosion of parts and is a higher concentration in the "cleaners" such as Seafoam.


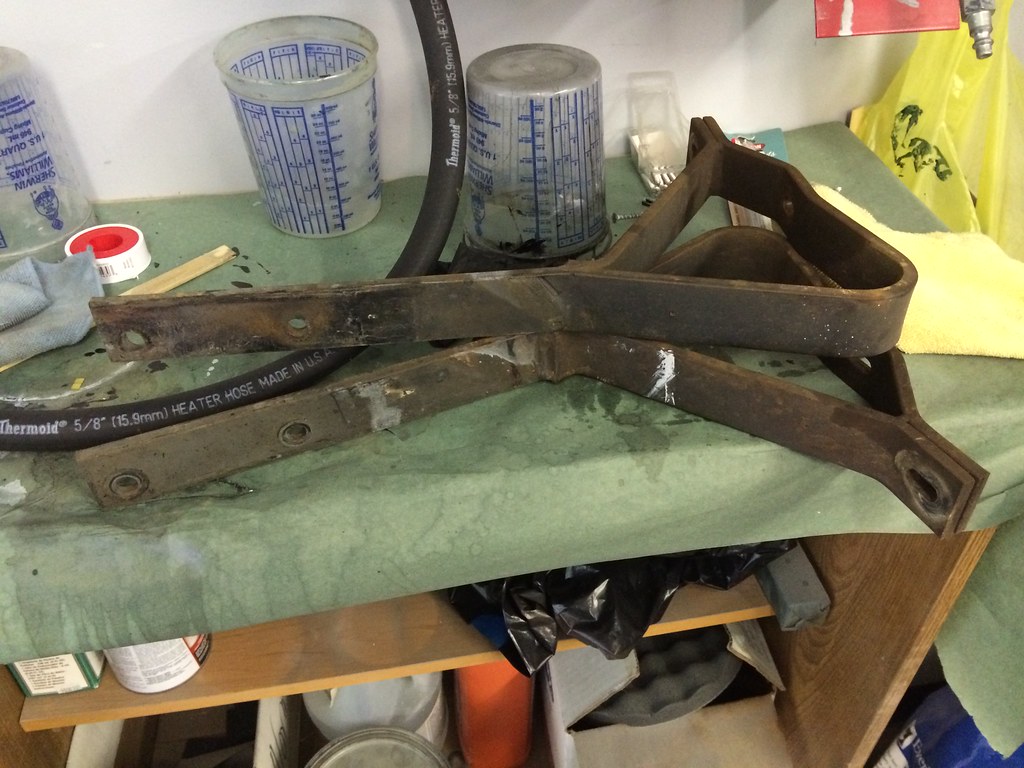
 Untitled by mpower5266, on Flickr
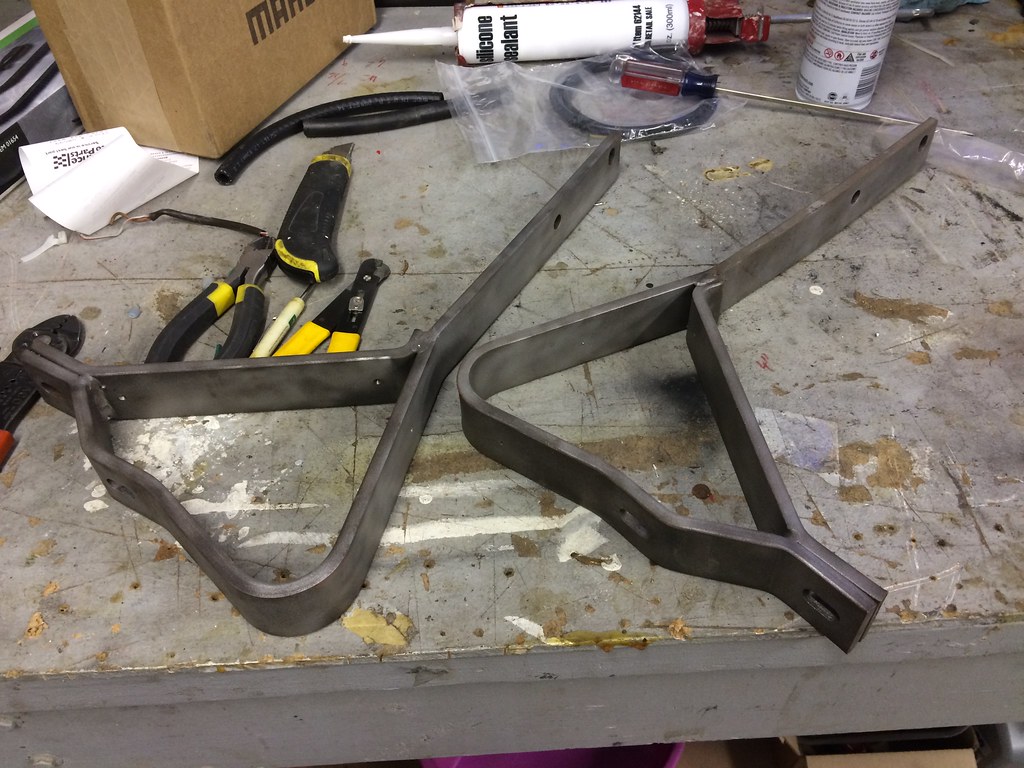
 Untitled by mpower5266, on Flickr
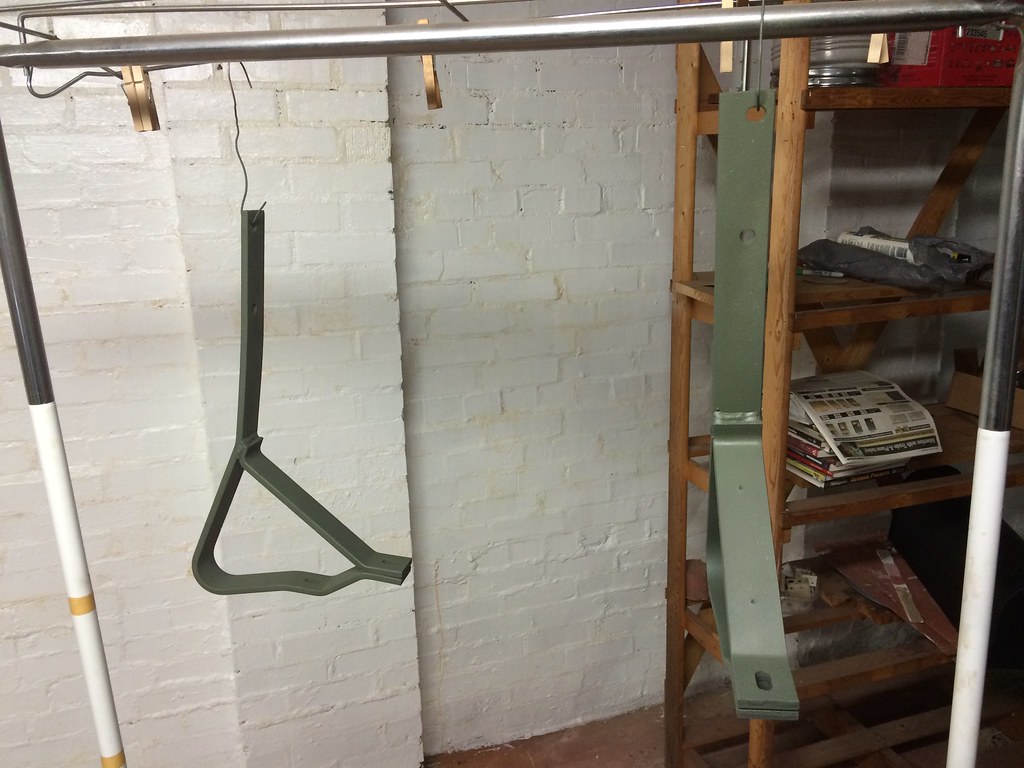
 Untitled by mpower5266, on Flickr
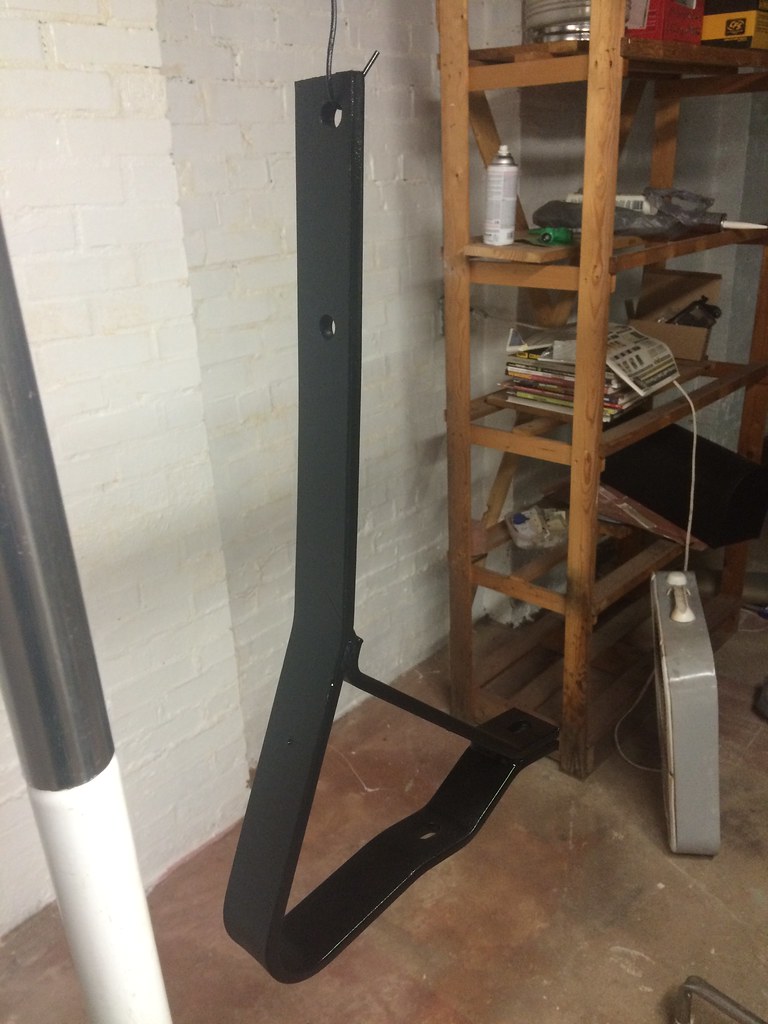
 Untitled by mpower5266, on Flickr
 Untitled by mpower5266, on Flickr
 Untitled by mpower5266, on Flickr
 Untitled by mpower5266, on Flickr
 Untitled by mpower5266, on Flickr
 Untitled by mpower5266, on Flickr
 Untitled by mpower5266, on Flickr


HF can help you fill that thing, too!
I'd put the top chest on it -- even if it won't look good -- and free up more bench space.
After you disassembled that hex bit/socket, did you put the scrap of hex bit into a box end wrench? Is there just no clearance? What's the slot? How did you cut it all up?
Ah. I was vaguely aware of people spending real money on things like this, and was wondering, how weird is this situation?!
Can't you make one using the stub you just chopped? You could buy a Great Neck or similar "eh" quality combo wrench from AutoZone, and if you want the box end to not be at an angle to the handle, put the handle in a vise and beat on it with a large hammer and make it bend into an offset box wrench. Drill and tap for wee set screw to hold the hex in the box end and you've just saved $50-$60.
I just realized, safety wire would be fine! As long as it's within the perimeter of the box wrench, when time comes to apply force, everything will be A-OK. All you need is something to keep it from falling out of the box. (Or maybe goober it up with JB Weld, don't know.)


I'd put the top chest on it -- even if it won't look good -- and free up more bench space.
I take that back! The top of that HF chest is a form of bench space. No gain.


