To avoid these ads, REGISTER NOW!

The Coffee Table Racing Seat Build

wintermute

Well-known member
Joined
Sep 4, 2011
Messages
450
Location
Mount Vernon, WA
I recently acquired a Fanatec CSR Racing wheel and Pedals combo for Forza Motorsport on my Xbox 360. These are best suited to installation on a sturdy table or dedicated racing seat as the pedals have a good degree of resistance and the wheel has force feedback. (I didn't get the h-pattern shifter, just the included paddle shift on the wheel)

Since I've put quite a bit of effort into hiding all of my living room electronics, something like this is just out of the question.

I've seen a custom racing seat hidden inside of a fairly large ottoman, I got an idea to build my own, and hide it inside of a coffee table. Not only that, but the coffee table remains usable even while the racing seat is in use! This involves keeping all four feet, two sides and the top stationary, while the other two sides and floor pivot out to reveal the seat and wheel mount.

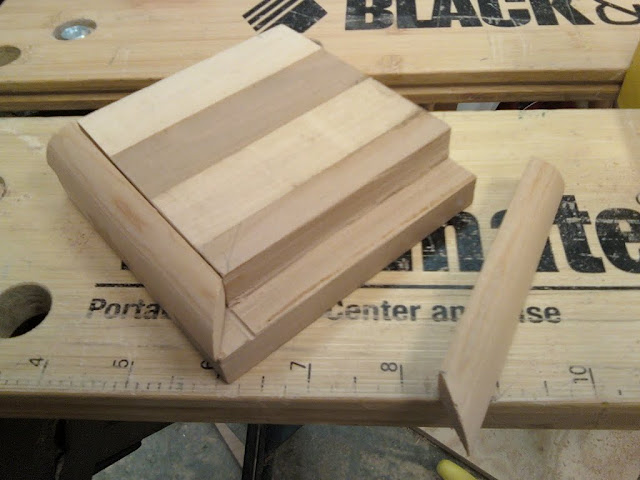
For the most part, I'm using materials I have on hand, which includes a lot of 3/4" plywood (more of the same stuff I used in my workbench top)

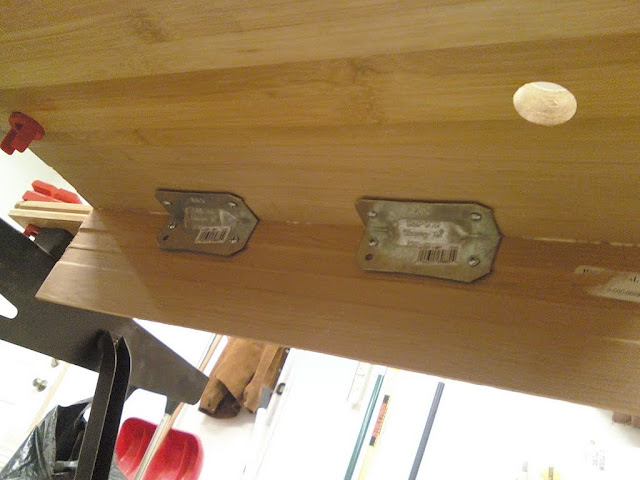
First off, the floor! I used two pieces with a step-up arrangement to create a clearance space for the table foot.
tableFloorPlates.jpg


After sorting out appropriate seat geometry, I cut the seat frame pieces and drilled the pivot point to fold the seat back.
seatBottomFrame.jpg

seatHingePoint.jpg


The seat panels are attached to cross-supports between the seat frames with some allen-key furniture bolts. (for lack of a more accurate name)
seatMockedUp.jpg
 
To avoid these ads, REGISTER NOW!
OP
W

wintermute

Well-known member
Joined
Sep 4, 2011
Messages
450
Location
Mount Vernon, WA
After sorting out the seat construction, it was on to the table sides.
This is the main pivot hinge for the whole operation - a pair of heavy duty 5" door hinges. Some screws were left out of these hinges to allow for longer hardware to pass through the table sides and into additional support blocks placed over the hinges. The window in the panel on the left is to allow for a storage drawer under the seat.
mainPivotHinge.jpg


With those attached to the floor and the seat, things start to take shape
seatMockedWithHingeSide.jpg


The additional hinge supports can be seen here, more 3/4" ply on one side, a 2x4 on the other. The table top will eventually be mounted to the long side here.
 
OP
W

wintermute

Well-known member
Joined
Sep 4, 2011
Messages
450
Location
Mount Vernon, WA
I don't have any photos of the "forward" mounting panel that the entire wheel support assembly mounts to, or the wheel mounting assembly by itself.

This is the entire wheel mount and support assembly - a fancy name for a simple slide-drawer that the racing wheel mounts to with a set of screws.
WheelDrawerAssebly01.jpg

This is also the piece I asked about waxes for drawers…

The whole assembly attaches to another board that then connects to the table via a pair of 4-1/2" door hinges.
openStep1.jpg


The opposite long-side is also attached here. underneath the seat and attached to the near side of the table is the rounded support that the feet at that end of the table will be mounted to.
 
OP
W

wintermute

Well-known member
Joined
Sep 4, 2011
Messages
450
Location
Mount Vernon, WA
Isn't this shown as nearly complete in another thread?

Yeah, I posted a progress shot in the "show us your projects" thread. Since a couple other members inquired about a build thread, I thought I'd oblige…I've been taking a few picts along the way, I may as well share. :)
 
Last edited:
OP
W

wintermute

Well-known member
Joined
Sep 4, 2011
Messages
450
Location
Mount Vernon, WA
It took a bit of doing to work around the wheel support and allowing clearances for the thing in its collapsed position, but I sorted out a pair of connected support legs so they could operate in unison. (I need to shorten the seat back height a little)
openSide.jpg


I also used a screen door spring assembly to pull the legs into position as I lift the wheel up.
actuatorDetail2.jpg


actuatorDetail1.jpg
 

bad_idea

Well-known member
Joined
Jun 11, 2011
Messages
4,329
Location
Pasquotank, NC
wow. that looks like a lot of effort for a video game. different strokes for different folks I guess. either way, I am interested to see how this turns out. I enjoy seeing well thought out and crafted projects, no matter their form.
 

crashbumper

Well-known member
Joined
Feb 8, 2009
Messages
602
Location
Gilbert, AZ
This is phenomenal.

I've been wanting to build a racing simulator into an ottoman for my daughter; thanks for the good ideas!
 
To avoid these ads, REGISTER NOW!
OP
W

wintermute

Well-known member
Joined
Sep 4, 2011
Messages
450
Location
Mount Vernon, WA
Thanks for the kind words, guys! Bad_idea, yeah, it is a lot of effort for a video game, but I also put a lot of effort into hiding all of my AV gear. I just consider this to be an extension of that goal. Plus I'll have a coffee table when I'm done. :D

Here's some more progress. I've built on the latch end of the stationary table, put together an assembly to house and support the latch hardware and put it all together.

The whole thing together (without the wheel support assembly):
tableClosed.jpg


The release handle–pull to open:
tableOpenPull1.jpg


I lucked out at Building Salvage and found a door latch that is free to rotate on its axis. The hardware is mounted so the axle is vertical, yet the latch operates horizontally, like a regular door.
tableOpenPull2.jpg


From the inside:
latchAssembly.jpg


And the latch strike plate, set back inside to hide its presence when closed.
latchStrikePlate.jpg
 

KCarGuy

Well-known member
Joined
Feb 5, 2009
Messages
2,075
Location
50 miles outside Chicago, illinois
Thats very nicely thought out.
A Coffee table (cant wait to see how it looks all done) that can transform in seconds to a Seat-Pedel set-up for your racing video game...
i will continue to see how this turns out...Good Luck and Nice Job so Far!
 
OP
W

wintermute

Well-known member
Joined
Sep 4, 2011
Messages
450
Location
Mount Vernon, WA
It's been a while since my last posting on this project, so here's some updates.

The Wheel Assembly legs needed more lateral support
wheelLegSupport.jpg


The bottoms of the legs needed some additional shaping to help with their operation.
wheelLegDetail.jpg


And with the stepped design of the "floor", a ramp or rail setup was a good idea to help with the way the legs articulate. I thought I'd try a little stretching and shrinking on some aluminum angle bar.
wheelLegRailShaping.jpg


wheelLegRails.jpg
 
OP
W

wintermute

Well-known member
Joined
Sep 4, 2011
Messages
450
Location
Mount Vernon, WA
I've also added another latch to lock the wheel assembly in its up position to stabilize the wheel.
wheelAssemblyStopLock.jpg


Building the feet for table was probably more involved than it needed to be. Sourcing a piece of 1' thick material was more difficult than anticipated, so I ended up with piecing together cut down 1" square dowels!
footAssembly.jpg


Lack of the proper tools for the project leads to improvisation
needARouter1.jpg

needARouter2.jpg

needARouter3.jpg

needARouter4.jpg

tableFeet.jpg

Yes, a router is on my shopping list. It just wasn't in the budget this time.

The extension on the upper left foot is to engage a support underneath the seat. (the quarter-round board here) Slider feet for the movable part of the table are mocked up here as well.
seatSupportFeet.jpg


Most recently I've started adding some of the corner trim. The ideal solution would be to miter the ends of these trim pieces to put the seam on the corner. Not having a table saw, a straight cut one once side is a suitable solution.
cornerTrimPieces.jpg


For three corners, the trim is simply glued on and fastened with some #18 wire brads.
cornerTrimStrapped2.jpg


For the pivot corner though, the trim will need to float, so it's assembled as a separate piece that will be attached with a hinge and spring setup.
floatingTrimAssembly2.jpg
 
Joined
Feb 16, 2012
Messages
899
Location
A.C.A.B.
CSR Elite wheel and pedal owner here as well. Awesome idea on the hidden simulator, I have a PlaySeat that I have to drag back to our spare bedroom when I'm done. Played FM3 religiously but now am on a F1 2011 kick. If you pick up a copy shoot me a PM with your gamertag and we'll makes some laps!
 

saceone

Well-known member
Joined
Dec 31, 2011
Messages
388
Location
Montreal Canada
awesome build! I have the CSR and a playseat that I modified to my liking (especially for the 6 speed shifter) and I painted it white so the wifey wouldn't complain as much (white leather couch)

she still complains. I play FM4 10-15 hours a week, love that game/steering combo!
 
To avoid these ads, REGISTER NOW!
Top Bottom