FallibleFlyer
Well-known member
Overview
Long time lurker, rarely a poster here. My wife and I just moved all the way from New York to Arizona, with this comes a new house with a new garage and a great opportunity to learn from the shortcomings of my last setup and build what I want. It certainly won't be the most fascinating or elaborate garage thread, but it will be some motivation for me to continue. So, follow along and give me any advice and comments you desire on a relatively average garage/shop
The New Garage
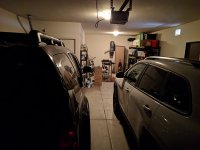
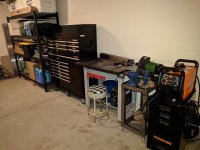
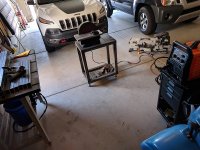
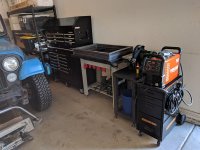
The new garage is a three car garage with the third bay being a tandem bay. The area I'm designating as the 'shop area' is 14'x21' and has to run triple duty as primary storage, shop, and parking spot for my 74' CJ5. The general philosophy/approach I'm taking is that all working surfaces and tools should be mobile. Because my work area has to share with a vehicle, it makes sense to me that I should be able to move everything around when and where needed. Lighting is limited with only two overhead bulbs, though this is an easy fix. Power is located on only one wall, so I will have to figure out how to get around that problem (run power or use longer cords). I am not a professional woodworker, metalworker, welder, mechanic, etc. but I do enjoy the lot and the shop will eventually have to accommodate all of the above. Overall, I'm going to try and embrace the whole "Mise en place", everything has its place. I'm tired of always scavenging for the tool I need...


Latest Photo
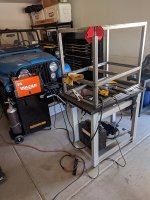
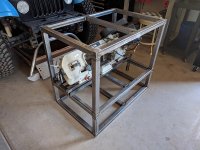
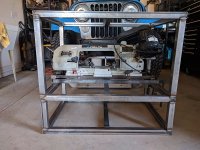
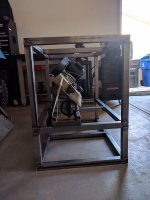
For those that don't wish to hunt and peck or new comers, I'll try to keep the latest overall progress photo here.
View media item 103464
Long time lurker, rarely a poster here. My wife and I just moved all the way from New York to Arizona, with this comes a new house with a new garage and a great opportunity to learn from the shortcomings of my last setup and build what I want. It certainly won't be the most fascinating or elaborate garage thread, but it will be some motivation for me to continue. So, follow along and give me any advice and comments you desire on a relatively average garage/shop
The New Garage
The new garage is a three car garage with the third bay being a tandem bay. The area I'm designating as the 'shop area' is 14'x21' and has to run triple duty as primary storage, shop, and parking spot for my 74' CJ5. The general philosophy/approach I'm taking is that all working surfaces and tools should be mobile. Because my work area has to share with a vehicle, it makes sense to me that I should be able to move everything around when and where needed. Lighting is limited with only two overhead bulbs, though this is an easy fix. Power is located on only one wall, so I will have to figure out how to get around that problem (run power or use longer cords). I am not a professional woodworker, metalworker, welder, mechanic, etc. but I do enjoy the lot and the shop will eventually have to accommodate all of the above. Overall, I'm going to try and embrace the whole "Mise en place", everything has its place. I'm tired of always scavenging for the tool I need...
Latest Photo
For those that don't wish to hunt and peck or new comers, I'll try to keep the latest overall progress photo here.
View media item 103464
Attachments

Last edited:


 :
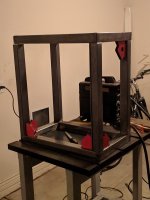
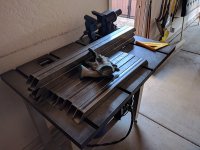
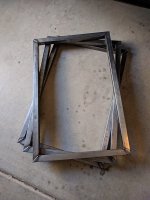
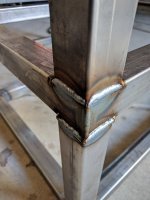
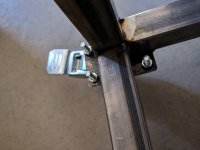
: ... I ended up drilling the holes, dropping the plates ontop of the bolt in the holes. Then tacked the bolts to the plates, pulled it all off and finished welding.
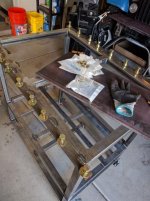


")