OP
Smokeshow69
Well-known member
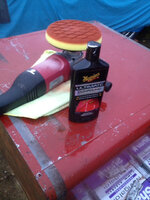
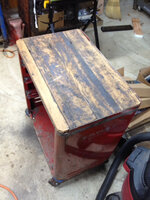
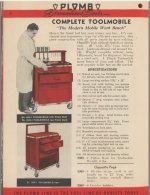
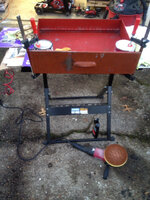
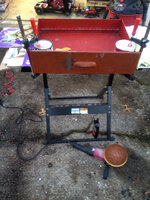
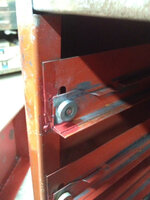
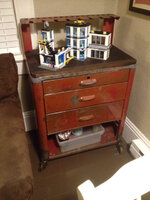
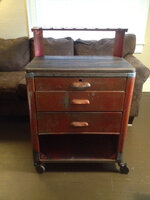
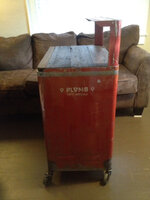
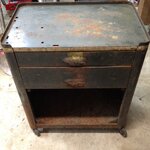
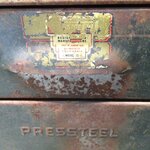
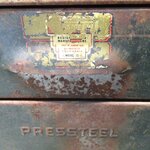
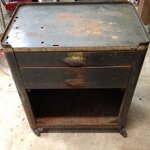
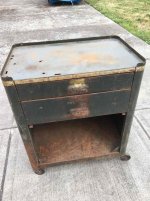
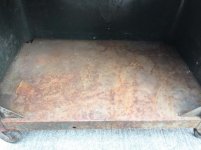
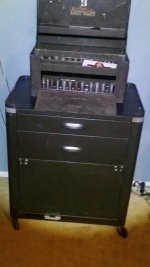
I had some time to work on the toolmobile this weekend and I was able to fix the broken spot welds and start the paint restoration process ! I started out by marking all the broken spot welds with bits of green masking tape ! As you can see this had a rough life earlier on but no worries, I am the Sara mclachlan of pressteel tool boxes [emoji51] . I told my wife that and she rolled her eyes [emoji1] I


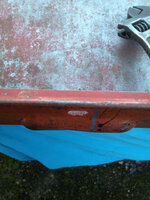
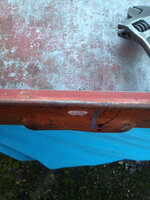
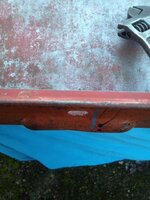
As you can see it had broken spot welds on either side


I then figured out how close I could get it to plumb while still being close to how it left from the factory ! It did not leave the factory completely plomb... It sits level on the ground but if you measure the openings you can find some variance ! I got the lower corners close to 90 degrees and burned them in !


Thank goodness for the harbor freight welding table! It was a back saver !
I then got out the trusty welding vise grips and clamped everything before finishing the lower welds !
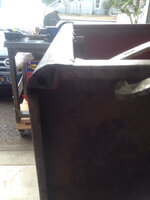
The left side has a slight variance as opposed to the left side but as you can see , that is how it was made! If you look at the paint line you can see how it was formed and painted

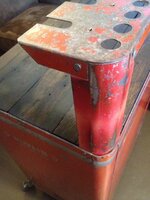
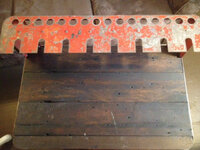
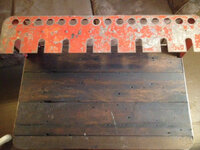
All my pressteel boxes have down turned corners which are formed by hand as they are all slightly different in each box ! I am wondering if this was done on purpose in order to drain fluids if something spilled on top ?
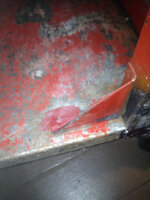
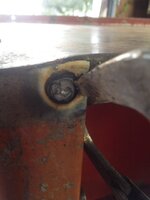
Here is a shot of the broken spot welds on the lower corners near the castors where I drilled them out with my napa spot weld cutter ! This thing is worth it's weight in gold ! It makes nice holes that you can actually weld in and build up some heat !

In this picture you can also see the factory welded bracket that is not fully in the corner! It was installed crooked but if you look at the intact welds and paint, you can see it is in it's original spot ! I debated moving it and installing it correctly but since I am trying to preserve the originality of the box ... I opted to leave it !

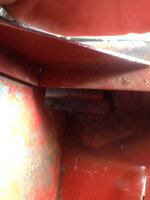
Right side corner which is installed correctly

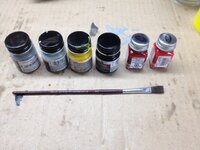
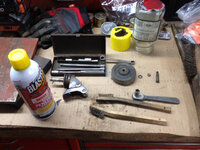
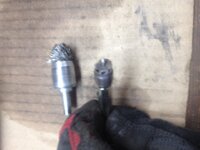
Spot weld cutter which chucks up in a drill and the little brush I use in cleaning the spot weld

Left upper corner done!

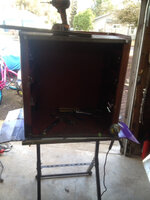

I finished all the spot welds and then buzzed them down with a flap disc and an angle grinder! I will post some pictures of the finished welds and the paint polishing later! The box is now structurally sound and will not continue to break more welds from flexing !
Sent from my iPhone using Tapatalk Pro
As you can see it had broken spot welds on either side
I then figured out how close I could get it to plumb while still being close to how it left from the factory ! It did not leave the factory completely plomb... It sits level on the ground but if you measure the openings you can find some variance ! I got the lower corners close to 90 degrees and burned them in !
Thank goodness for the harbor freight welding table! It was a back saver !
I then got out the trusty welding vise grips and clamped everything before finishing the lower welds !
The left side has a slight variance as opposed to the left side but as you can see , that is how it was made! If you look at the paint line you can see how it was formed and painted
All my pressteel boxes have down turned corners which are formed by hand as they are all slightly different in each box ! I am wondering if this was done on purpose in order to drain fluids if something spilled on top ?
Here is a shot of the broken spot welds on the lower corners near the castors where I drilled them out with my napa spot weld cutter ! This thing is worth it's weight in gold ! It makes nice holes that you can actually weld in and build up some heat !
In this picture you can also see the factory welded bracket that is not fully in the corner! It was installed crooked but if you look at the intact welds and paint, you can see it is in it's original spot ! I debated moving it and installing it correctly but since I am trying to preserve the originality of the box ... I opted to leave it !
Right side corner which is installed correctly
Spot weld cutter which chucks up in a drill and the little brush I use in cleaning the spot weld
Left upper corner done!
I finished all the spot welds and then buzzed them down with a flap disc and an angle grinder! I will post some pictures of the finished welds and the paint polishing later! The box is now structurally sound and will not continue to break more welds from flexing !
Sent from my iPhone using Tapatalk Pro
Attachments
-
 f2763e3686b05399498e1de5c2c7bdab.jpg315.6 KB · Views: 13
 -
 4e81212c8293d14df0e3bb3c92eb8fd9.jpg248.4 KB · Views: 9
 -
 a0498c94939fce24a5ae8118fcdb161d.jpg295.7 KB · Views: 7
 -
 5de19d3de21e2850481c454bd6ecbcfa.jpg260 KB · Views: 5
 -
 17b8bdec361d3f0619f853aab5e02ed4.jpg46.5 KB · Views: 5
 -
 e69ac143da650309786639b2e4daffcd.jpg29.7 KB · Views: 5
 -
 6ba2eaf6ad8da9ea3ac98caf751aa7da.jpg289.3 KB · Views: 6
 -
 91c45bc77137e1458e1203c9252bc099.jpg51.4 KB · Views: 6
 -
 6dfe504eb9ed1cb00306055522aa19f9.jpg37 KB · Views: 4
 -
 c9edf92ddfa6cff1e1f26930446d71ca.jpg236.4 KB · Views: 5
 -
 1e24d4e4ff8f419fa1dcd455f0b30ba5.jpg335.7 KB · Views: 3
 -
 5a606d9edcc6b4156ce8e6e607ba88e2.jpg291.6 KB · Views: 3
 -
 fb272f92c411c60cbace9c04e74f0b1a.jpg38.7 KB · Views: 3
 -
 7823bfc298c9d44d97b2ebc1b7ac1db0.jpg37.7 KB · Views: 3
 -
 b9d7615e7309bc4866a442678020de9c.jpg298.3 KB · Views: 3
 -
 10e278035662b3cff97e21d9c9ff7f8b.jpg31.8 KB · Views: 6
 -
 a2842ededd2a48ea5cf3ab4e513bd37f.jpg51.8 KB · Views: 22
Last edited: