Nice job!
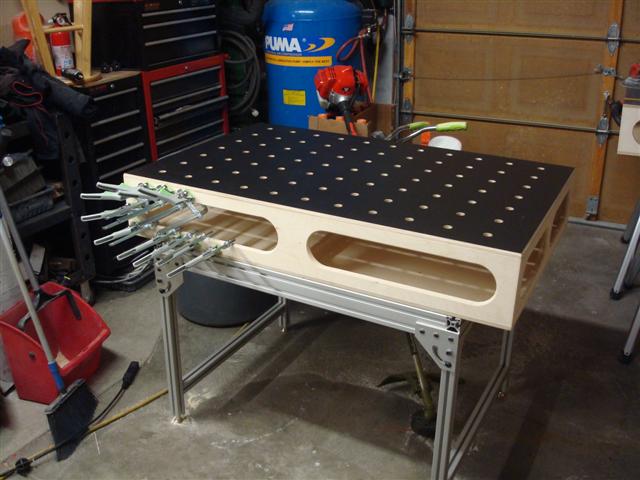
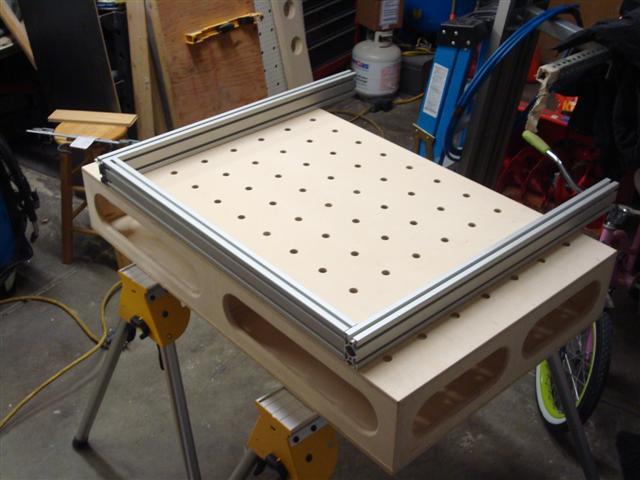
Ron's workbench is another take (certainly one of the nicest) on the Festool MFT which came first (whether that's the chicken or egg I have no idea) but if you take some time to browse the
FOG forum you'll see that there have been many "takes" on "Sysports" or "Sysbenches" or MFT tables. The common way to build them with Festools is to use the LR32 euro cabinet jig which does the holes on 32mm intervals hence the MFT is 96mm spacing and 20mm hole diameter.
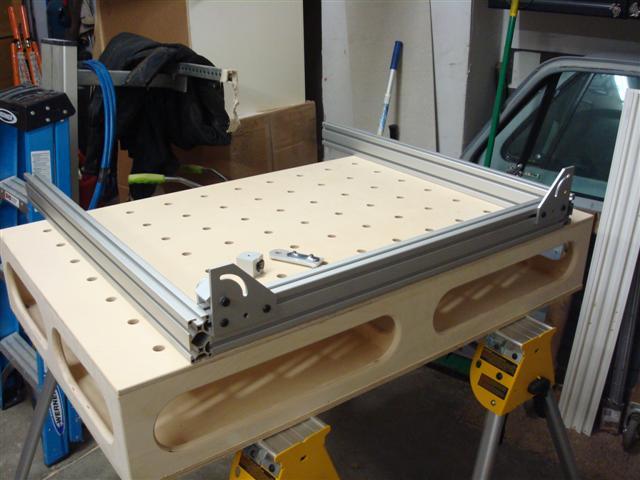
For Festool users everything is based on using the track system; track saw being the main tool but also the router and jigsaws. The bigger benefit of the holes is to make dogs (just turned aluminum pegs) that go into the holes and to then bump your rail into them and the wood to get perfectly square cuts.
Since you have a table saw you probably won't need this aspect but for me, with only a track saw, it's been really essential in getting perfectly square cuts.
Ages ago in this thread I had asked you about cabinet construction and now, well over a year later, my garage cabinets are under my belt and I'm building my kitchen cabinets now and hoping I can start to incorporate a lot more of your great ideas in the garage when I get back to work on that. I've pointed numerous people to this thread as one of my favorites on GJ and perhaps the one that got me to join and subscribe. Many thanks for that.
Looking forward to your improvements to Ron's design.
Gregor


 its one of the best (next to yours