kspwski
Well-known member
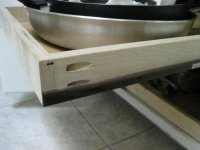
We've had success using a single dovetail to hold two pieces together to make something that didn't fit on the printer bed. Took a little trial and error, but ultimately worked well.


No big deal...right.
Sent from my iPhone using Tapatalk Pro
We've had success using a single dovetail to hold two pieces together to make something that didn't fit on the printer bed. Took a little trial and error, but ultimately worked well.
zr52002 said:The print time isn't, anyway. Actually drawing these isn't very hard either - they are simple shapes. I draw everything in OpenSCAD. I'm working on some software add-ons for it that will make it a lot more approachable, and make things like this VERY easy.
I suppose you could compromise on the design - if you built your trays in increments of a standard size piece - like 2x2 inches - you could fit connectors on the center of that 2" size.
I maybe wasn't clear on prior message - I meant multiple of 2x2 inch size. So you could mix 2x2, 2x4, 4x4, 6x6, 8x8, 4x6, 2x8, etc. Think of your drawer gridded out like a checkerboard and you can make a module to fit as many squares as you want, but it needs to cover hole squares for the system to work.
What exactly the base grid size should be, 2", 1.5", or something else - I'm not sure. It has to be big enough to fit connectors in a single-square unit, so 1" square is probably too small.
If you modeled it well in OpenSCAD, it'd be easy enough to even use a different base module size for different people (or different drawers). I'll have to draw something up and pass it around.

EOC_Jason said:Looks super nice! You can come build out cabinets in my garage any time!
What did you do with the old ones?

I have a genuine Prusa i3mk2. If I needed another one today, would not hesitate to buy the i3 MK3. I might buy one anyway - there is a lot of tech in that printer that is ahead of what everyone else is doing at this point.
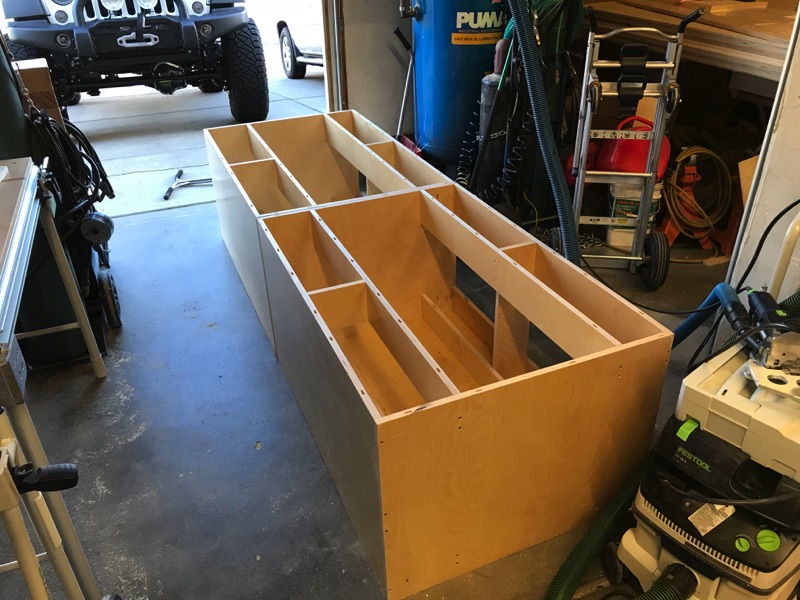
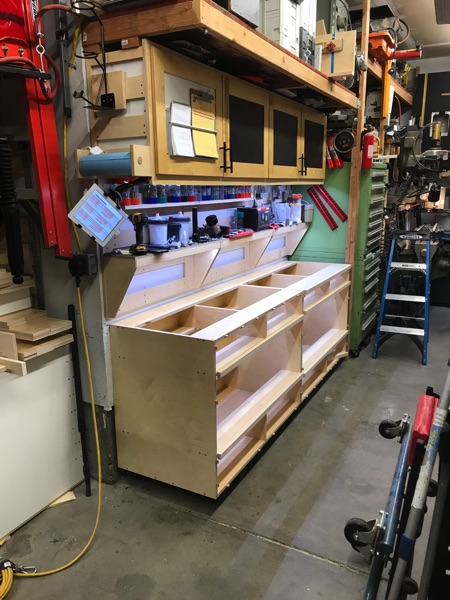
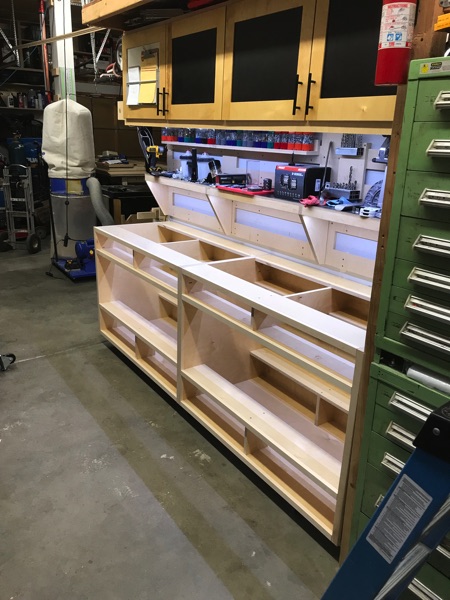
Everything looks amazing. Just a question for you about your cabinet boxes....
Why do you have the flat, horizontal pieces running through the boxes? I assume those are used to help support the drawers. Most plans that I have seen just have the drawer slides hang off of the face frames. So are your added supports to just help with really heavy drawers, or are they needed because the boxes are so wide?
And on another note, I really need to find someone who sells prefinished ply in my area....
Amazing work!
bj383ss said:Those new cabinets look great. I build all my base cabinets modular with 2x stock. It is time consuming to build but I am to rearrange the sections however. The are all 30" so you can add as many together as you want. I currenty have 3 sets that are 4 sections.
My last set of uppers I built out of pre finished plywood and as you said big time saver. Just annoying to have to be careful with them during the milling process.
Looking forward to how you build the drawers. I have become obsessed with box joints on all my drawers makes them super strong but is very time consuming. I like it because it requires no fasteners.
Bret
Did you buy the MK2 as the DIY Kit or as an assembled and tested printer?
I bought the kit. It probably took close to 3 hours to put together, but not my first 3d printer.
I highly recommend going the kit route - sooner or later you're going to need to work on it, and it's a lot less scary if you put it together yourself.
zr52002 said:I bought the kit. It probably took close to 3 hours to put together, but not my first 3d printer.
I highly recommend going the kit route - sooner or later you're going to need to work on it, and it's a lot less scary if you put it together yourself.
Nice work on the cabinets. I might have missed something while reading. Did you use 3/4" baltic birch for the cabinet sides and bottom. I do my faceframes almost the same way you do. Can't believe you did all that in a weekend, you must not have many distractions (like grandkids, neighbors, etc). I'm impressed and subscribed. Hope to learn something new and pick up a few tips. Getting ready to build a 10 drawer cabinet myself, as soon as I finish the kitchen redo. Love your original concept of drawers inside drawers.
Thank you for sharing your build.
When you say “work on it”, what kind of things have you had to do? Replacing parts, tightening it up, or other?
Sent from my iPhone using Tapatalk Pro
After further contemplation, moisture wouldn’t be an issue if the wood was sealed. I’m now considering this as an option. It would be, I believe, the fastest way to build the trays and likely the cheapest.
Sent from my iPhone using Tapatalk Pro
Maybe I am wrong, but I'd think it would be better to use wood that isn't sealed, as it should wick away the moisture. I thought a reason for having a gerstner oak tool chest was because the would would keep the tools dry and rust free.
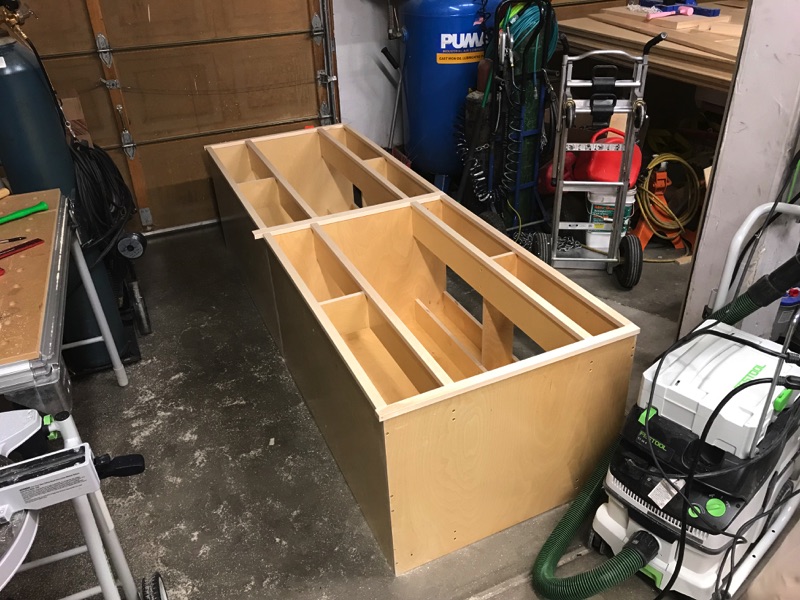
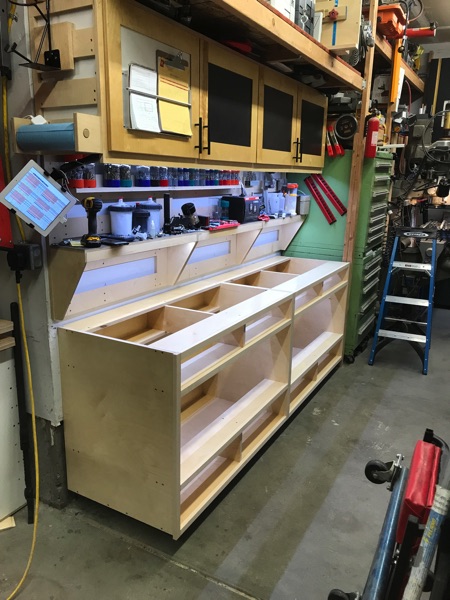
Prometheus said:I think your cabinets turned out great! Maybe I missed it, but what was the reason for the face frames? Your cabinets have plenty of structural rigidity without them and obviously the frames take a decent amount it time to make. Seems like you could have skipped them entirely without sacrificing structure and saving time. Was it asethetics or something else?
Just aesthetics really but I used pre-finished ply for the same reasons. At this point I feel that if I’m going to spend as much time as I do building stuff for the garage, and the cost and time investment isn’t much more, I might as well make them nice.
You’re right, the face frames don’t add to the strength.
Sent from my iPhone using Tapatalk Pro

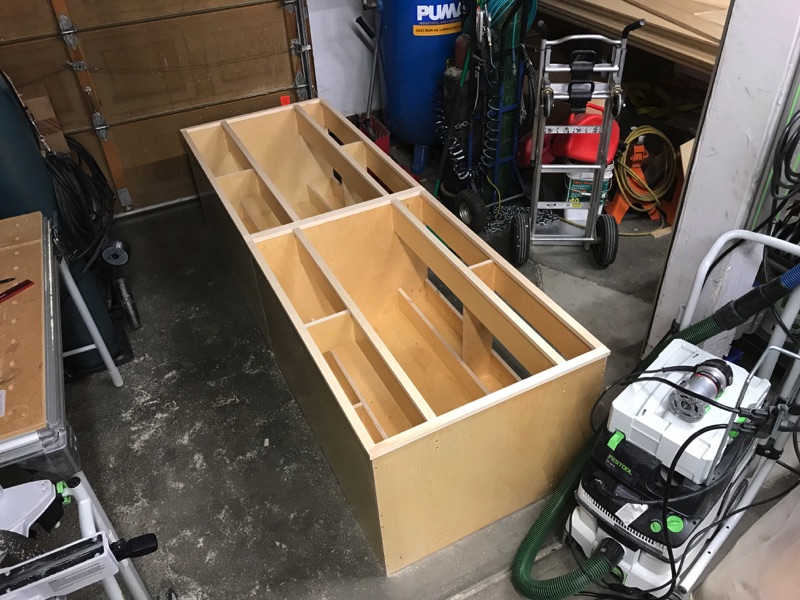
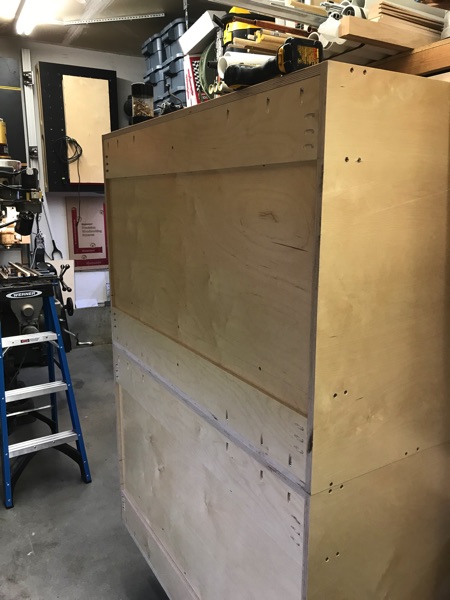
Forgot to mention that I like your method of attaching the back to your cabinets. I think you said it was 1/2 " baltic birch. My dad, who was a carpenter/finish carpenter/cabinet & furniture maker was an advocate of putting a rabbet to recieve the back of a cabinet. I always found it time consuming and an extra set up on the table saw (dad did not use a router), but did it anyway. New technique learned! Thanks.
I do cut a 1/4-inch dado in the back inset a half inch on top, bottom, and sides. The back panel is 1/4-inch Baltic birch that floats in that dado’d slot. The “nailers” (as I call them) are half inch which end up sitting flush to the back of the cabinet because that back panel is inset the half inch.
A rabbet back and bottom seems to be extremely common for drawer and cabinet construction. It’s a super clean finish and, as long as the panel is square and a snug fit, would ensure squareness. Sitting here thinking about it, it might just be easier than how I do it now...hmm. That’s something to noodle over.

You mentioned crown staples for garage drawer assembly. What kine of pneumatic crown stapler do you have? Looked at HD today. Porter-Cable $90; DeWalt $110, both made in China. Rigid $100, Made in Taiwan. I'm thinking the Rigid? For the kitchen drawers I will do dovetail or box in the front, staple the back. Thanks.
Update (2-10-18): Went to check on drawer side material at the local lumber supplier. 1/2" prefinished baltic birch. Top edge is rounded and finished, bottom edge is left bare so it can be cut to width. Comes in various widths and are 8' long. Still have to rout/dado the groove for the drawer bottom, but not a big deal.
Sawdustmaker said:Dovetails in front of drawers for strength. Was told that staples in back are OK as there isn't as much stress there. Watch Norm Abrams make a set that way once on TV. He actually used a finish nailer and glue on the back.If it's good enough for him, then I'm OK with it.

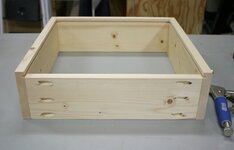
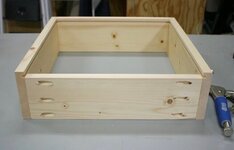
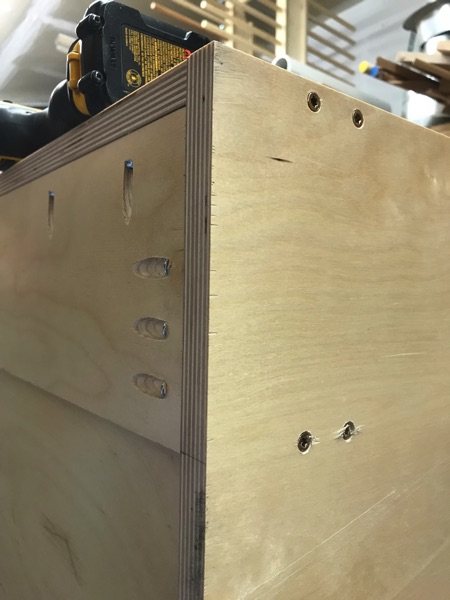
Was this how the rear of the drawer looked? The bottom gets inserted form the rear and them stapled flush to the back?

Was this how the rear of the drawer looked? The bottom gets inserted form the rear and them stapled flush to the back?