Strouty
Well-known member
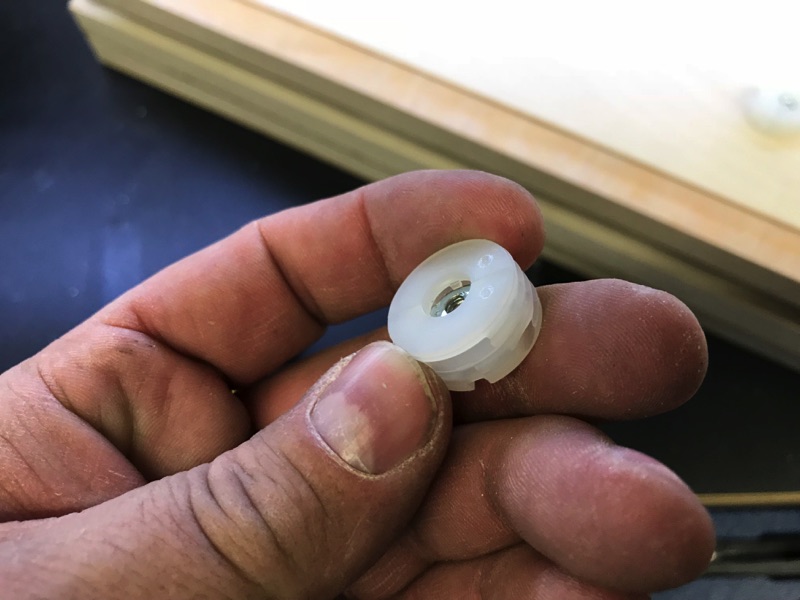
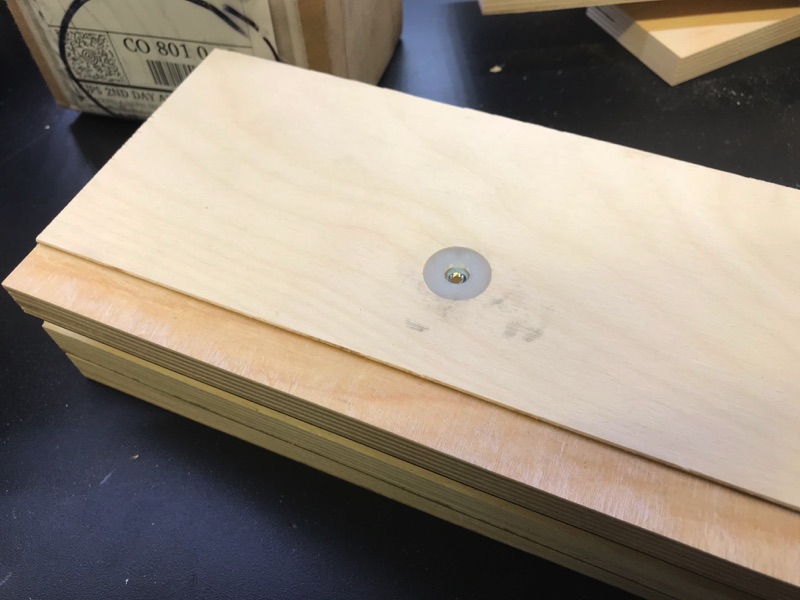
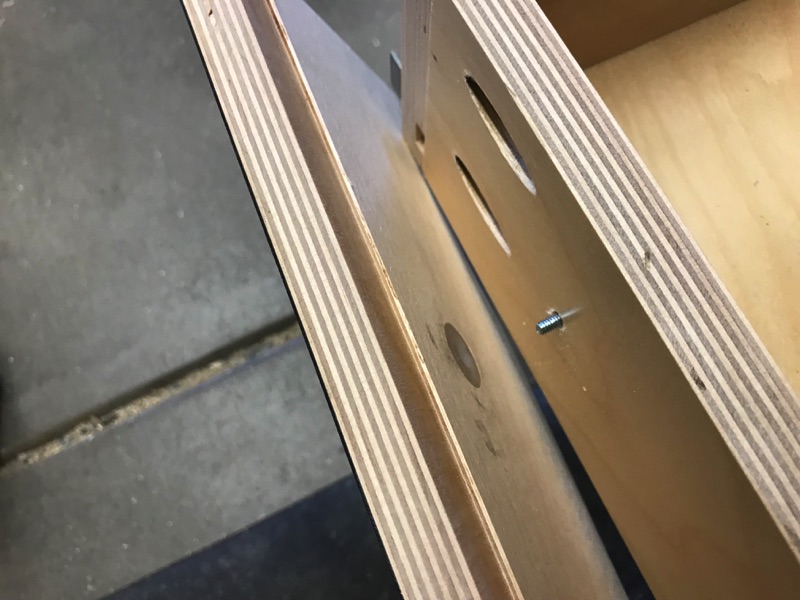
Those rails are made by VIM, they are called mag rails, totally adjustable, they are so adjustable, they can remove money from your wallet until it hurts.


Those rails are made by VIM, they are called mag rails, totally adjustable, they are so adjustable, they can remove money from your wallet until it hurts.


lilscorpion top job..
First impressions? I figure you had not felt the stuff before our recommendations.


Now you need a drawer to store them.

The concept of the mag rail is great, i spent something ridiculous, like $1200 on socket rails,
I want to make something that utilizes their pins without magnets.
If I think back to what I have spent on organizing the shop, I definitely have more money in the organization than what I spent on tools, seems a bit like a WTF when I think about it, so I try not to.
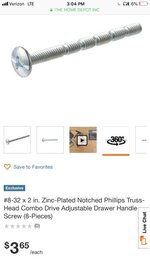
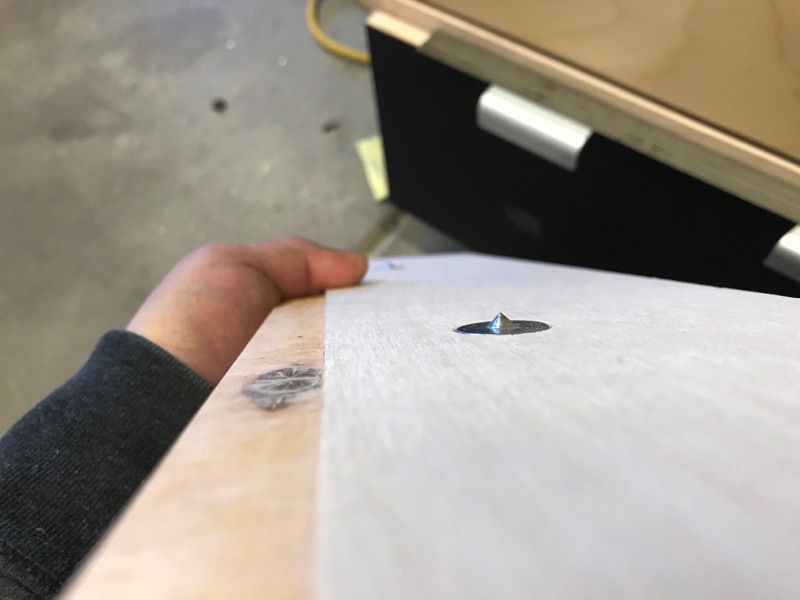
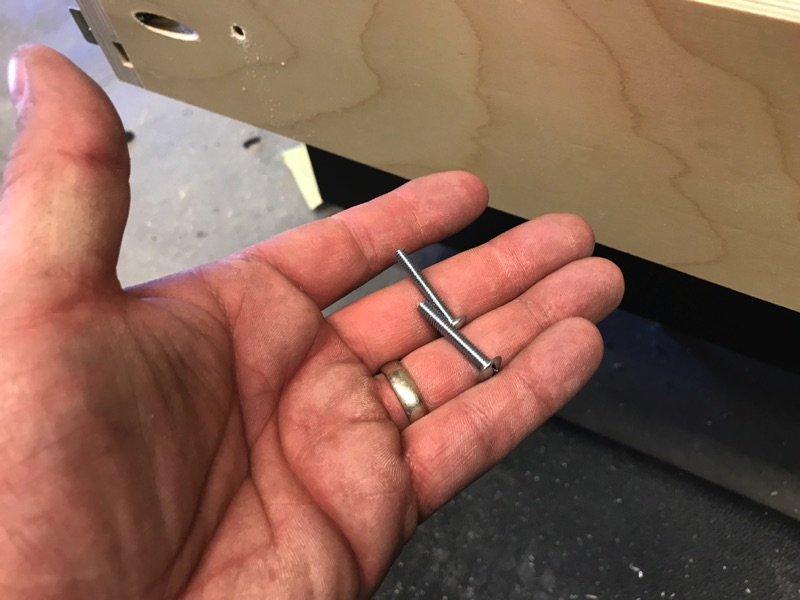
The idea behind them is good. Allows the assembler to very quickly adjust the length of the screws without the pull manufacturer including six sizes of screws in the packages.
...Pitch the pull manufactured screws with the notched/unthreaded sections!
I did notice that they’re quite a bit softer than the ones I typically use (I cut a few 1 1/2-inch long ones down first). I’m sure my stuff was higher quality anyway. Softer would certainly make stripping easier.

I had to see what a guy could spend $1200 on just SOCKET RAILS!!!!!!
It wasn't planned by any means, but it happened, I still need more...
What would that save? Much? I don't think the magnets on the pins are the big expense. Or do you see something besides savings a couple of nickels on the deal by eliminating the magnets.
I would buy a T-Slot cutter and then you could make any size or shape of holder out of aluminum. It would give you infinite possibilities.
The money is only part of it. Think about the time spent organizing your shop and researching … especially just reading this thread!
I always say that for some of us, the shop is the project, organizing is our restoration or custom fabrication. It doesn't make sense to everyone, but that doesn't really matter in the long run, it is the same reason I like green tools, they just put a smile on my face when I use them...
It is so easy to do. Too easy.**** in Wisconsin said:I had to see what a guy could spend $1200 on just SOCKET RAILS!!!!!!
Strouty said:I would buy a T-Slot cutter and then you could make any size or shape of holder out of aluminum. It would give you infinite possibilities.
Strouty said:I always say that for some of us, the shop is the project, organizing is our restoration or custom fabrication. It doesn't make sense to everyone, but that doesn't really matter in the long run, it is the same reason I like green tools, they just put a smile on my face when I use them...
Strouty said:Threads like this are where I get inspiration and cool ideas, heck sometimes just seeing someone else produce beautiful results is all the motivation I need to get myself going after getting "stuck".
6% is cutting it close, when I get to 20% I freak out, the other day I had my iPad down to 11% and I was worried I wouldn't be able to get my emails sent out.

")
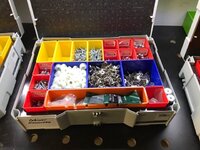
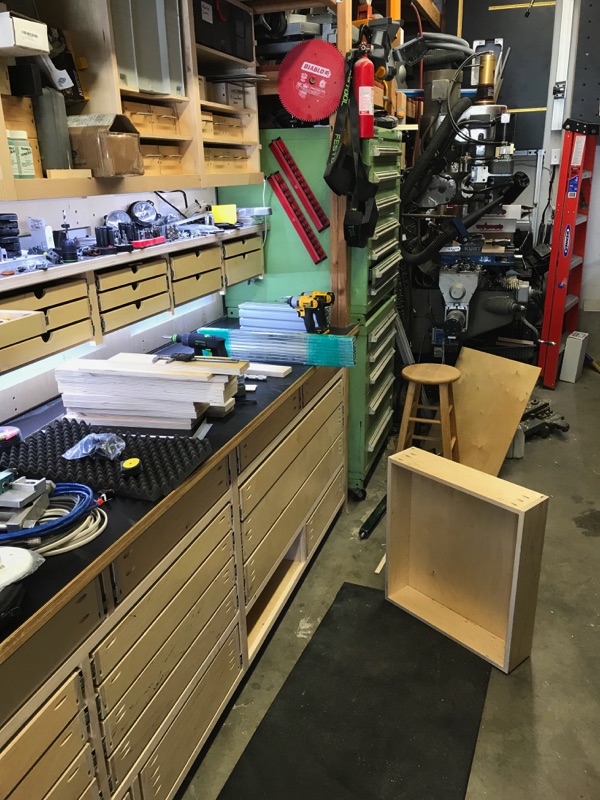
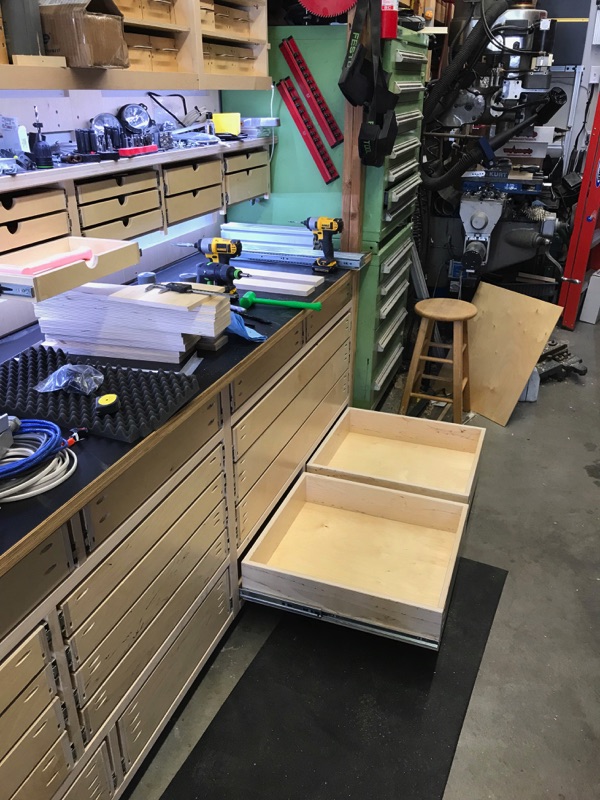
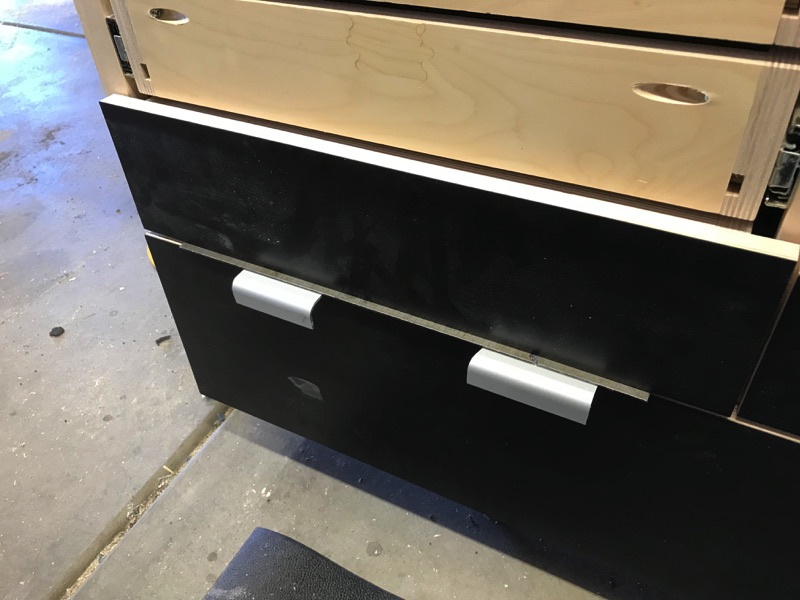
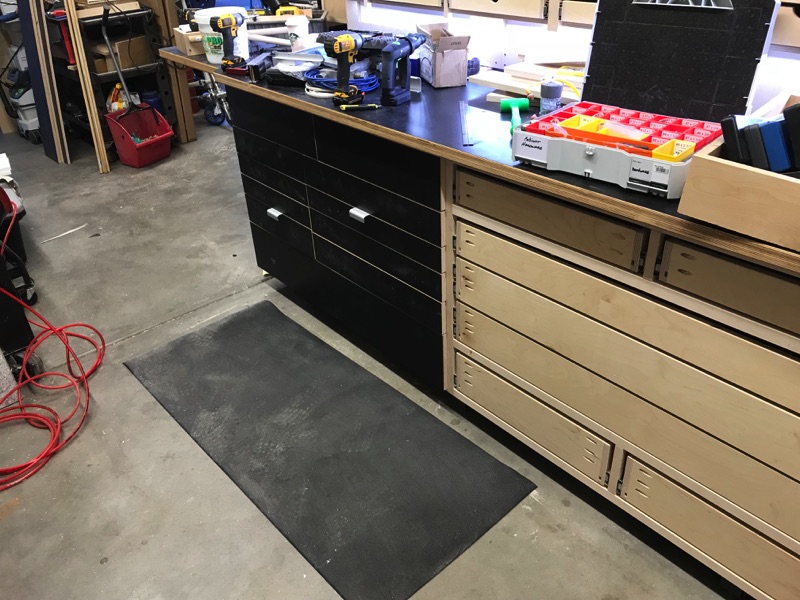
I’ve settled on having one Systainer that I keep all my cabinet hardware in. Seems to fit well.

It is so easy to do. Too easy.
I’ve wanted to do this badly but can’t make the cost of the aluminum alone make it make sense. I’ve figured that there’s likely an extrusion out there that would be close enough of a start to make it work. Haven’t found one yet.
I think the real key is to come up with an interlocking rail system (aluminum or plastic) that allowed part or the whole rail to be lifted up and away from the rest (which would stay in the drawer). Maybe dovetails could handle the interlocking. I have this idea in my head but haven’t taken the time to play with it. Originally I was thinking I’d 3D print it but a little while ago I was thinking simple woodworking tools would be much easier, faster, and yield better results.


What about making smaller wood boxes to put foam in, then you could have bulk storage of the tools and the bits could go in the foam? I agree that the foam is taking up way too much space for that particular drawer.
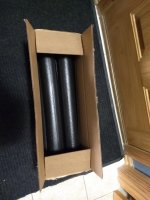
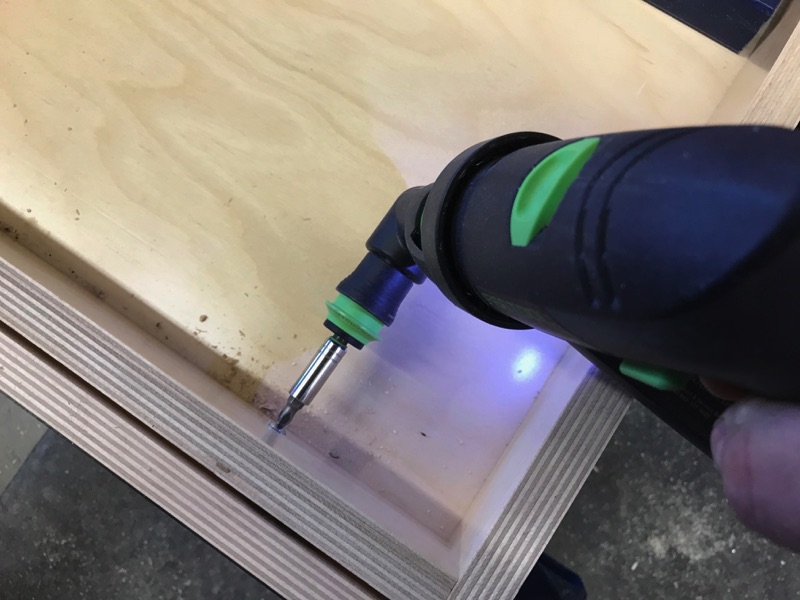
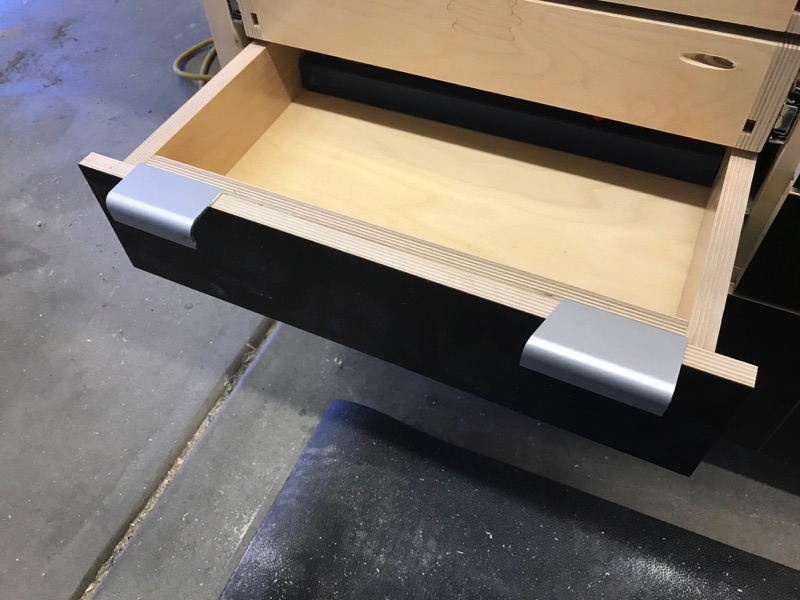
After some whittling

If you are like me, I have three air tools that I use a lot, so I would make one drawer for your most used tools and supplies, then put the rest in a drawer with no foam.