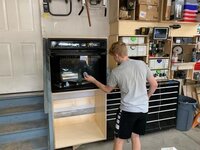
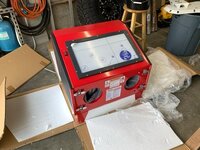
We’ve finally progressed on the Powder Coating setup. Where or last left if we had toasted home a single in-wall oven in the Camry and built a cabinet for it. Since then, the blasting cabinet arrived and we got it unboxed.

We set it up in place and got a feel for its strengths and weaknesses.

We addressed a few of them - we removed the plexiglass, added riv-nuts so glass would be easier to replace

and installed a 3mm sheet of glass below the lexan to improve longevity and durability. We selected this cabinet specifically because it was narrow enough to fit in our oven cabinet but plenty wide enough to fit the largest part we can coat in the oven.

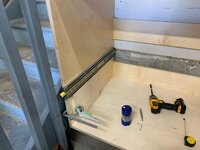
To install it in the cabinet, we need to build a tray that it can ride on which pulls out when we need to blast and locks away when we don’t. We started by installing these 400lb licking drawer slides we sourced from AHTurf.com.

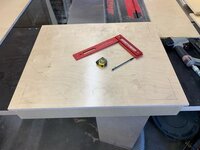
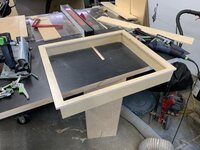
On the slides we made the tray out of a combination of 1/2-inch and 3/4-inch pre-finished Baltic birch.

A test fit/install to ensure we have appropriate clearances.

The blast cabinet has a sump which we need to account for in the design.

Adding the allowance for the sump in the tray with the track saw.

And after a little corner nipping with the jigsaw, voila.

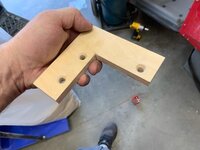
The way this cabinet is assembled leaves nuts protruding out the bottom of the cabinet so some spacers are needed to create clearance.

A cooler design would have been to disassemble the entire thing and Just mount it directly to the tray but that’s too much fussing so we made these little feet.

They install I. The corners and capture two sides

With the spacers all installed, all that’s needed now is to drop it in and screw it in place.

Slightly different perspective to show how perfectly it fits. We’ll need to raise the entire cabinet about 8” to get the boat cabinet and oven up to their ideal heights.

What’s nice about that is we will now have additional space below the cabinet to add a drawer or 2 for extra bags of appendices and other consumables.


") And maybe that stair railing, too.
And maybe that stair railing, too.