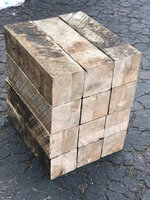
The Little Vintage Garage.
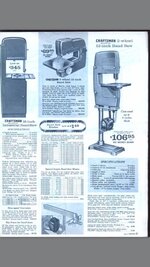
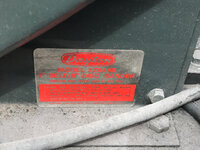
Model 103.24260


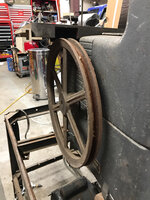
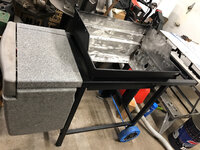
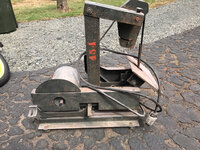
This bandsaw has a reinforced frame. And a quick release upper wheel tension. Looks like a pain to adjust.

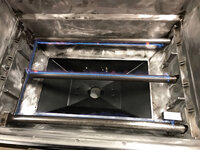
12" pulley on the bandsaw and this table is notched to allow room for the pulley. My other bandsaw table has no notch.

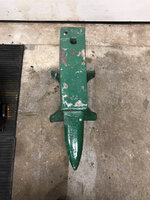
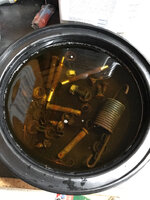
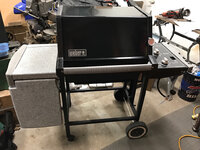
The speed reduction setup


Speed converter made by savage mfg. co.

I didn't have a chance to measure the pulley on the motor side but it's about 2" in diameter. If that's the case, the bandsaw is spinning at approximately 29.16 rpm based on these calculations I found.
Speed reducer is 10:1.
Motor 1750 rpm
Motor side pulley 2"
Bandsaw side pulley 12"
Small pulley speed =1750rpm/10= 175rpm
Pulley ratio. 6:1
175rpm/6 =29.16 rpm.
Now who knows how to calculate blade speed? Found a calculator on vintagemachinery which says I'm at approximately 90 sfpm(surface feet per minute). Based on my pulley size estimate of 2". If it's a 3" pulley then the speed is around 137 sfpm.