Ok, here's how I did it and with some thoughts of how I would do it better.
Most of you are more talented than me so this should be pretty straight forward. You can watch some online videos showing how to apply vinyl, but a tool box is flat and square so it's pretty straight forward vs the curves of a car or motorcycle.
I did the outside of my tool box - back, sides and front, including drawer fronts and the small top sections. I didn't wrap the insides in any real way.
Items used: Vinyl wrap (I'd recommend 3m with air release), cleaner, rubbing alcohol, razor, exacto knife, scissors, tape measure, plastic putty scrapper, heat gun and felt edged squeegee.
1. I cleaned the entire box with some mild cleaner/degreaser. Make sure you get it into any area where you think you will apply the vinyl - i.e. the bottom, back and inside of a drawer front.
2. Lay out vinyl on a table/floor etc face down and weight so it "unrolls" a little.
3. Start with a smaller drawer front and measure. I added about an inch to the length and width to give myself some extra material. Most of the material I've worked with has a graph like backing making it easy to cut (I actually slid the scissors down my cut line vs "cutting").

4. Before pulling the backing test fit your piece - just to get a feel of how it should go.
5. Wipe down the area you plan to wrap with rubbing alcohol to get any remaining grease/finger prints off.
6. Remove the backing of the vinyl. For a small section, I would just peel the whole thing off. When I did larger sections (back, sides) I would peel a section at a time so not to have the vinyl grab to itself.
7. For a drawer front, I would slide the vinyl as far to the top of the drawer as i could - behind the drawer lock releases - starting at a top edge. When I made sure it was approximately where it needed to be, I would start to use the squeegee to push out the air. As these are flat surfaces this is pretty easy. I rolled the vinyl around the bottom of the drawer (Make sure to clean here......) and the sides. You will have to make some cuts to remove any excess.
8. For larger areas, edges - you may need to break out the heat gun to stretch the vinyl and also to have it adhere deeper. If you get an air bubble - don't freak out - take a pin and poke a small hole to release the air.
I did this for the whole box. I didn't do a perfect job - i had some bubbles on the large side areas. If I did it again, I would do these last after getting some experience.
The only other area of some difficulty is around the lock mechanism. I removed mine and then cut a small "X" as necessary and reinserted.
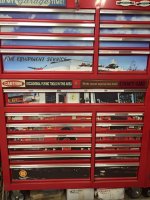
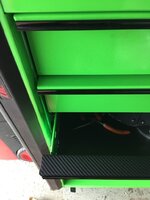
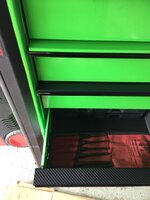
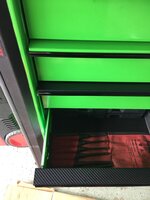
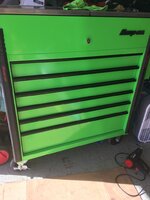
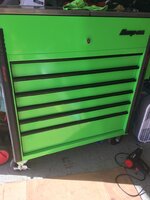
Here are some pics - its really hard to tell as it's gloss black to begin with a gloss black wrap.


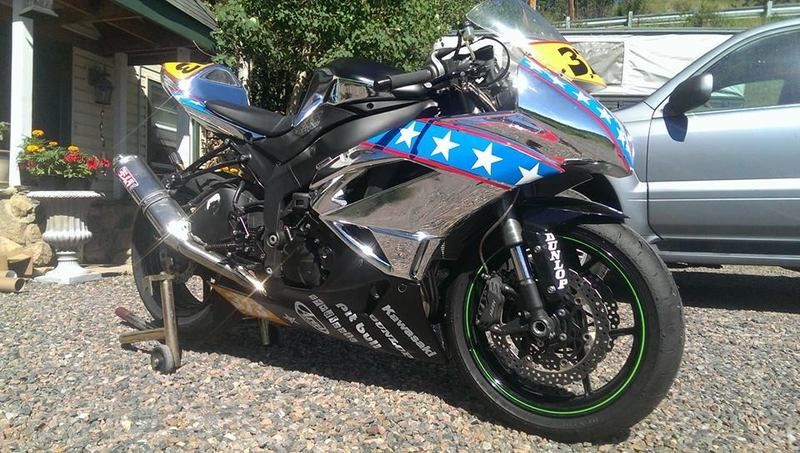
To give you an idea what is possible, this is my race bike from a couple of years ago and was wrapped with vinyl by a friend. This is much curvier and looked perfect.