
MAYOR28
ALLIANCE MEMBER
Last summer my grandfather passed away, he was my hero, and inspired me in nearly everything I have done so far in my life. He is the reason I became an engineer, the hours that we spent "out on the farm" and in his shop had an impact on my life that will never wear away nor be forgotten.
He blessed me with all of his tools that he had accumulated over the years, and although it has been a year since his death, and almost 8 months since I moved his pole barn (in MI) of tools into my attached garage (in MD), I have finally begun to sort through some of them.
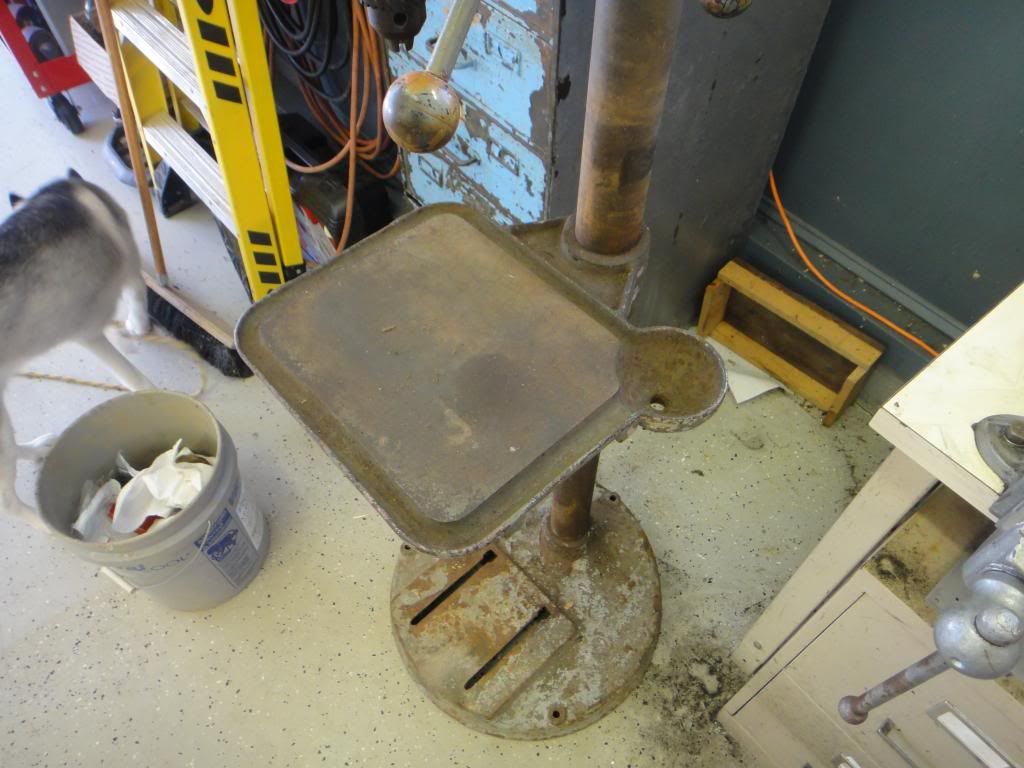
One of the big ticket items that was left to me was his old Walker Turner Drill Press. Seen here in my garage:

It has fallen into some disrepair during the last few years of limited use, but I think it is a fine specimen and in need to restoration. Here is what I started with:

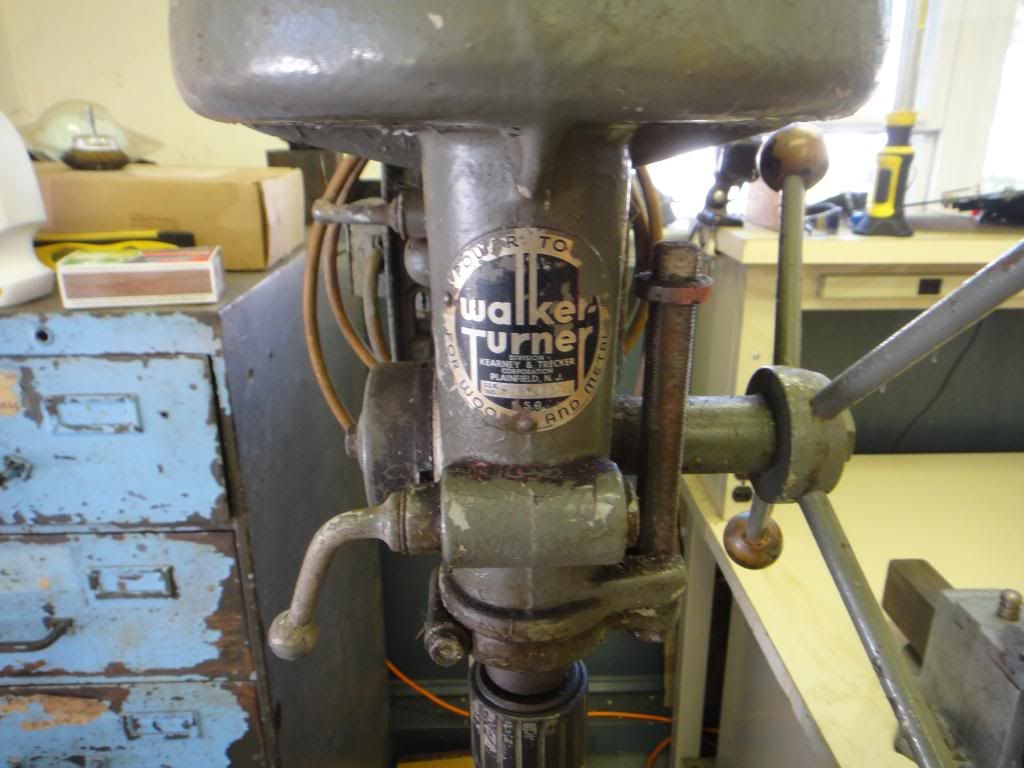

Does anyone know what this eyelet is for above the motor???????


A few questions:
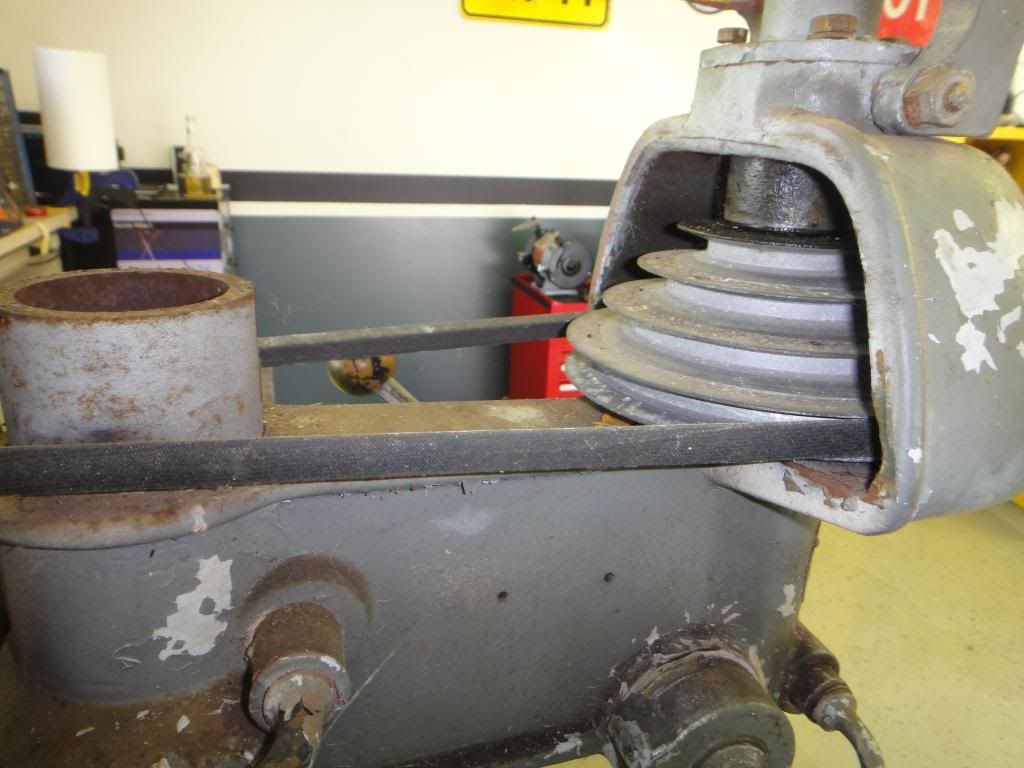
Almost all of the restorations that I have seen on this type of WT DP do not have the pulley cover, is this a rare find?
What is a good source for the red variable length belts to replace the v-belt?
Any idea what year this was manufactured?
Any way to pull the WT tag off and clean it without ruining it?
-Matt
He blessed me with all of his tools that he had accumulated over the years, and although it has been a year since his death, and almost 8 months since I moved his pole barn (in MI) of tools into my attached garage (in MD), I have finally begun to sort through some of them.
One of the big ticket items that was left to me was his old Walker Turner Drill Press. Seen here in my garage:
It has fallen into some disrepair during the last few years of limited use, but I think it is a fine specimen and in need to restoration. Here is what I started with:
Does anyone know what this eyelet is for above the motor???????
A few questions:
Almost all of the restorations that I have seen on this type of WT DP do not have the pulley cover, is this a rare find?
What is a good source for the red variable length belts to replace the v-belt?
Any idea what year this was manufactured?
Any way to pull the WT tag off and clean it without ruining it?
-Matt


")


