HubbaBubba
Well-known member
- Joined
- May 20, 2011
- Messages
- 256
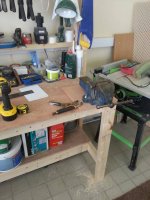
Built this last weekend


I never thought of the rifle as a tool. Nice. How is Cal Poly these days?


Built this last weekend

Still getting bigger but town has definitely slowed down since school got out.I never thought of the rifle as a tool. Nice. How is Cal Poly these days?
Built this last weekend
Built this last weekend
Still getting bigger but town has definitely slowed down since school got out.
Very nice, perfect for small spaces!
")

I agree, very slick for someone limited on space.
I played golf at Dairy Creek last Friday. Nice little course. The more I visit SLO, the more I like it there.
Here's mine...

Like a tornado hit it...
Built this last weekend
I missed that.Where's the upper part of the hasp in the second picture?
Are they two separate units? The woodgrain pattern on the top plywood are different.
They are two different pieces. The top piece is attached with a piano hinge on top and is flipped up in the second picture.
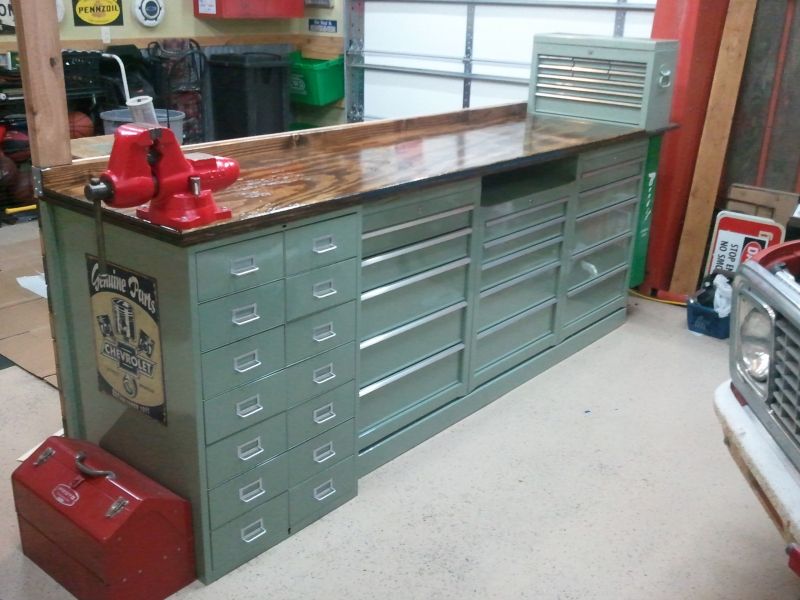
I don't think you have enough Kennedy Machinist boxes...
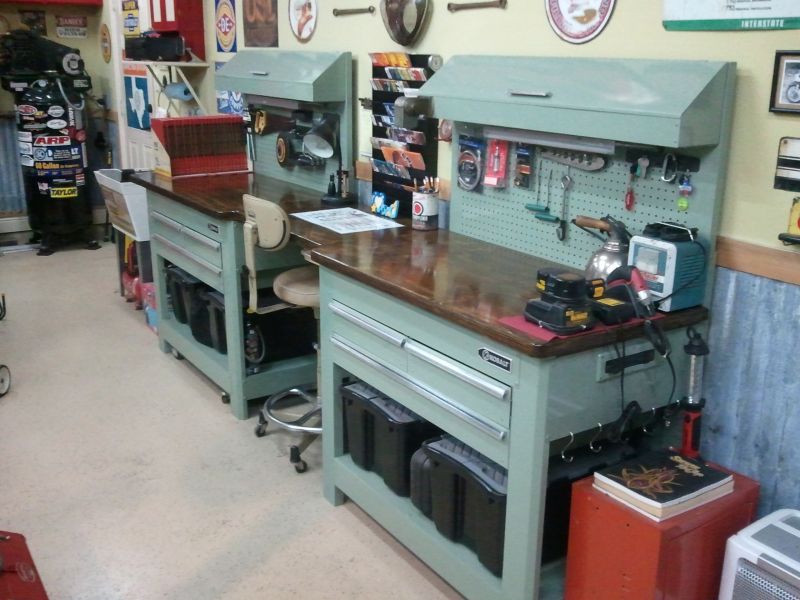
Boy I would really like to see more of your shop; do you have a thread on it somewhere?Here are my two:


Here are my two:
Here are my two:
Here are my two
Thanks for that, must have missed it during the holidays.Like the others, I wanted to know more. Found your earlier thread.
http://www.garagejournal.com/forum/showthread.php?t=180118
Amazing difference between what you started with and the finished benches. Looks GREAT. Causing me to rethink my mismatched benchs / colours. Thanks for sharing.


Ya gotta start somewhere dude. I always buy a new tool for each project. Tell the wife ya gotta have it to make the project easy to do. Next thing you know ya tell the wife your tools need protection. It just snowballs from there.

Here you go Dittle! Now you can see the vise!
Just added a new Thermal Dynamics plasma cutter and some new Gladiator wall cabinets this week!