kwoswalt99
Well-known member
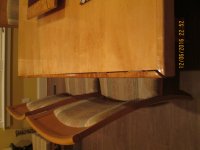
If you have a radial arm saw, a sled rarely gets used, except for material too wide for the RAS.
In the shop, we've got a radial arm saw, but it hasn't been used in years. Use our sled on the Unisaw all the time.

If you have a radial arm saw, a sled rarely gets used, except for material too wide for the RAS.


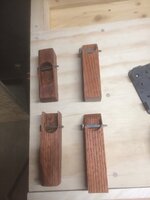
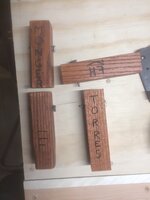
What piece are you talking about?Z: interesting design and i'm guessing it works good too. what did you use for the metal and where do you buy them cause they look like what i need for some hammer handles?


 20161208_181638 by bjohnson388, on Flickr
 20161208_182206 by bjohnson388, on Flickr
 20161208_182658 by bjohnson388, on Flickr
 20161203_140638 by bjohnson388, on Flickr
 20161202_164453 by bjohnson388, on Flickr
 20161202_161301 by bjohnson388, on Flickr
 20161202_165729 by bjohnson388, on Flickr
 20161203_134019 by bjohnson388, on Flickr
 214665702 by bjohnson388, on Flickr
 214665726 by bjohnson388, on Flickr
 214665730 by bjohnson388, on Flickr
 214665737 by bjohnson388, on Flickr
 IMG_0381 by bjohnson388, on Flickr
 lw3ucoe by bjohnson388, on Flickr
 Sled1 by bjohnson388, on Flickr
 Sled4 by bjohnson388, on Flickr
 20080821_resized by bjohnson388, on Flickr
 392567 by bjohnson388, on Flickr
 Picture 003 by bjohnson388, on Flickr