To avoid these ads, REGISTER NOW!

Woodworking 101--Tools and Tips

OP
J

jimreed2160

Well-known member
Joined
Aug 7, 2016
Messages
3,589
Location
Tallahassee FL
Making trim

So when we left our sewing box project, it had some missing trim. I decided to start with the drawers because that trim was pretty simple. It is a quarter round but what size?

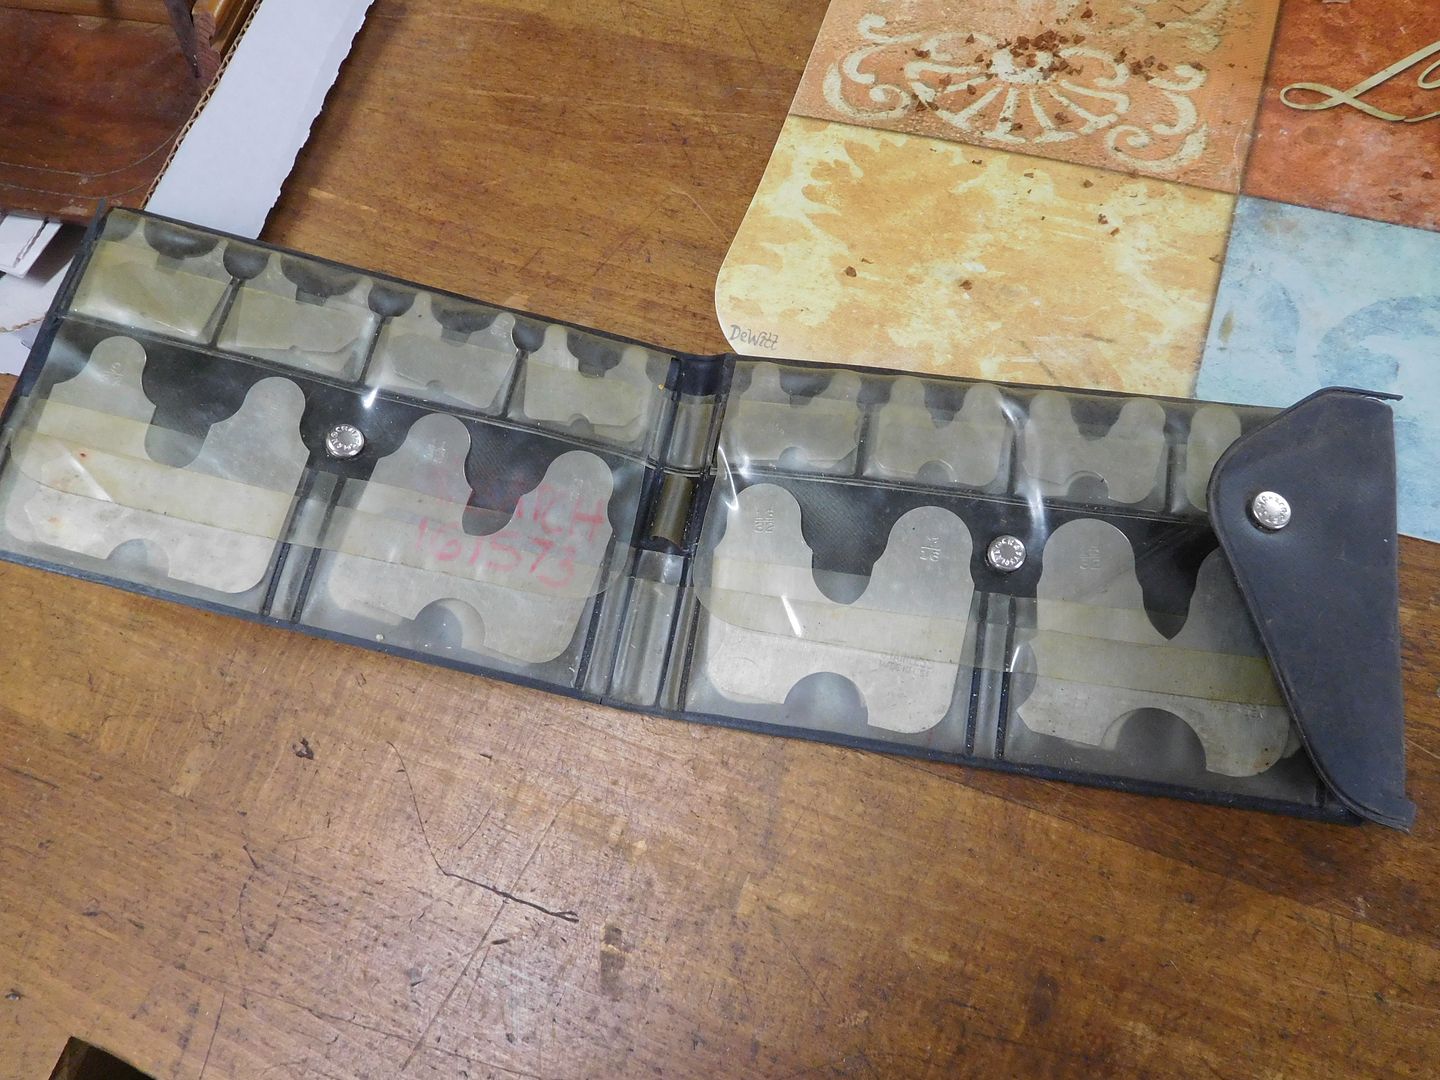
To answer that, we need a radius gauge. Here is my set.

DSCN3051.jpg


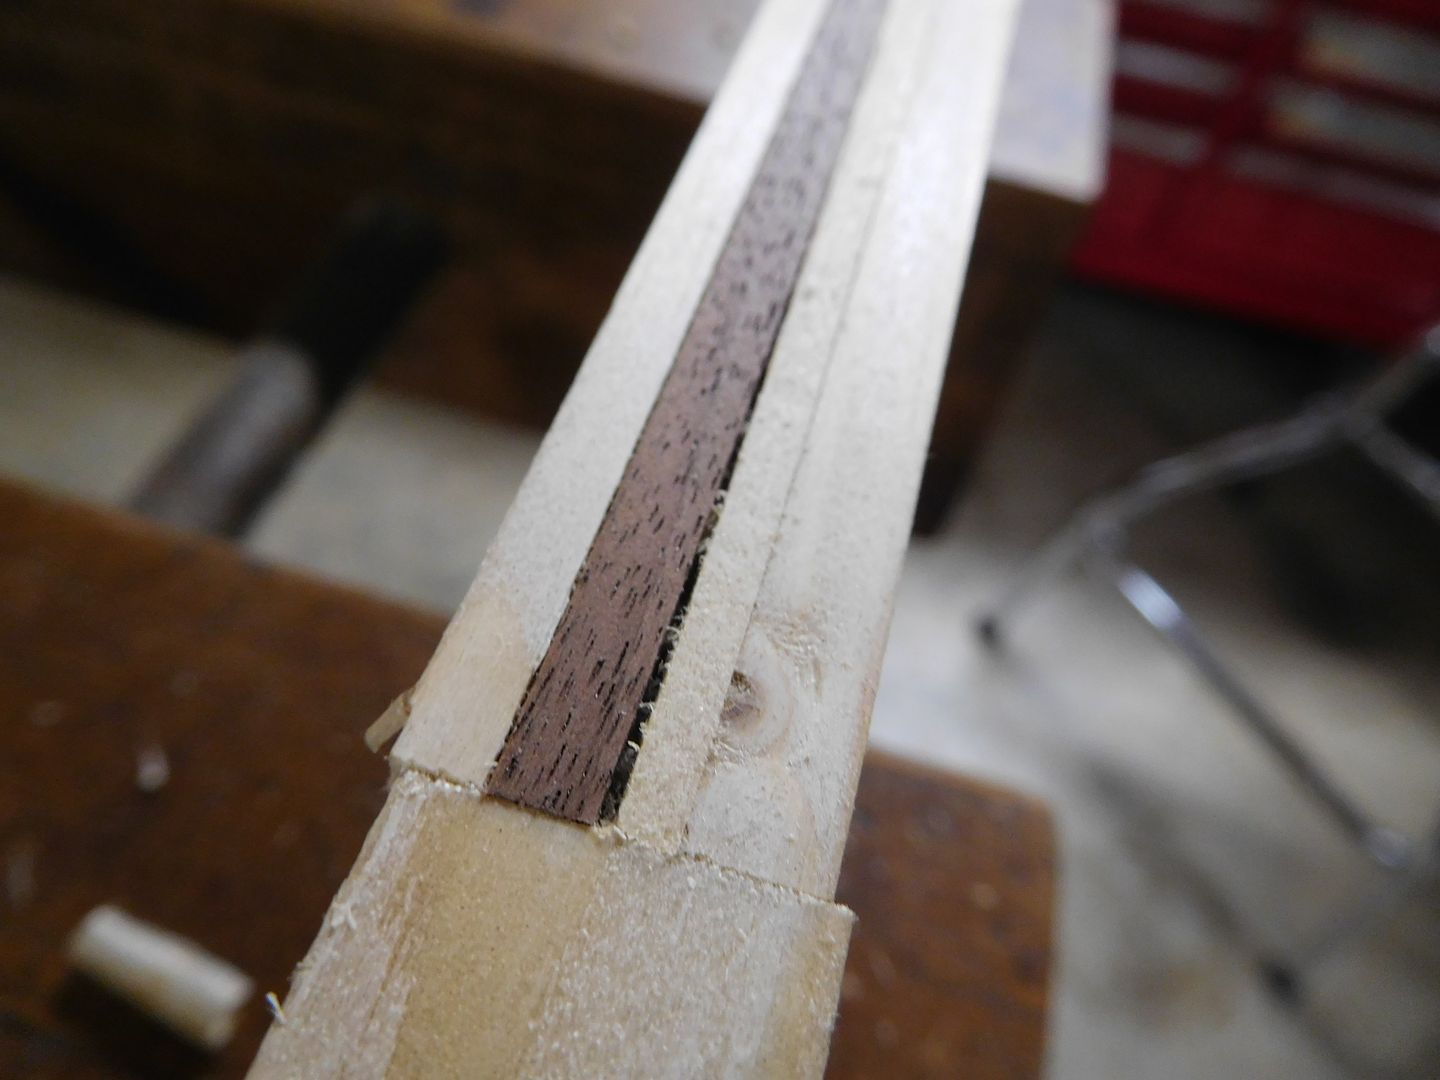
DSCN3052.jpg


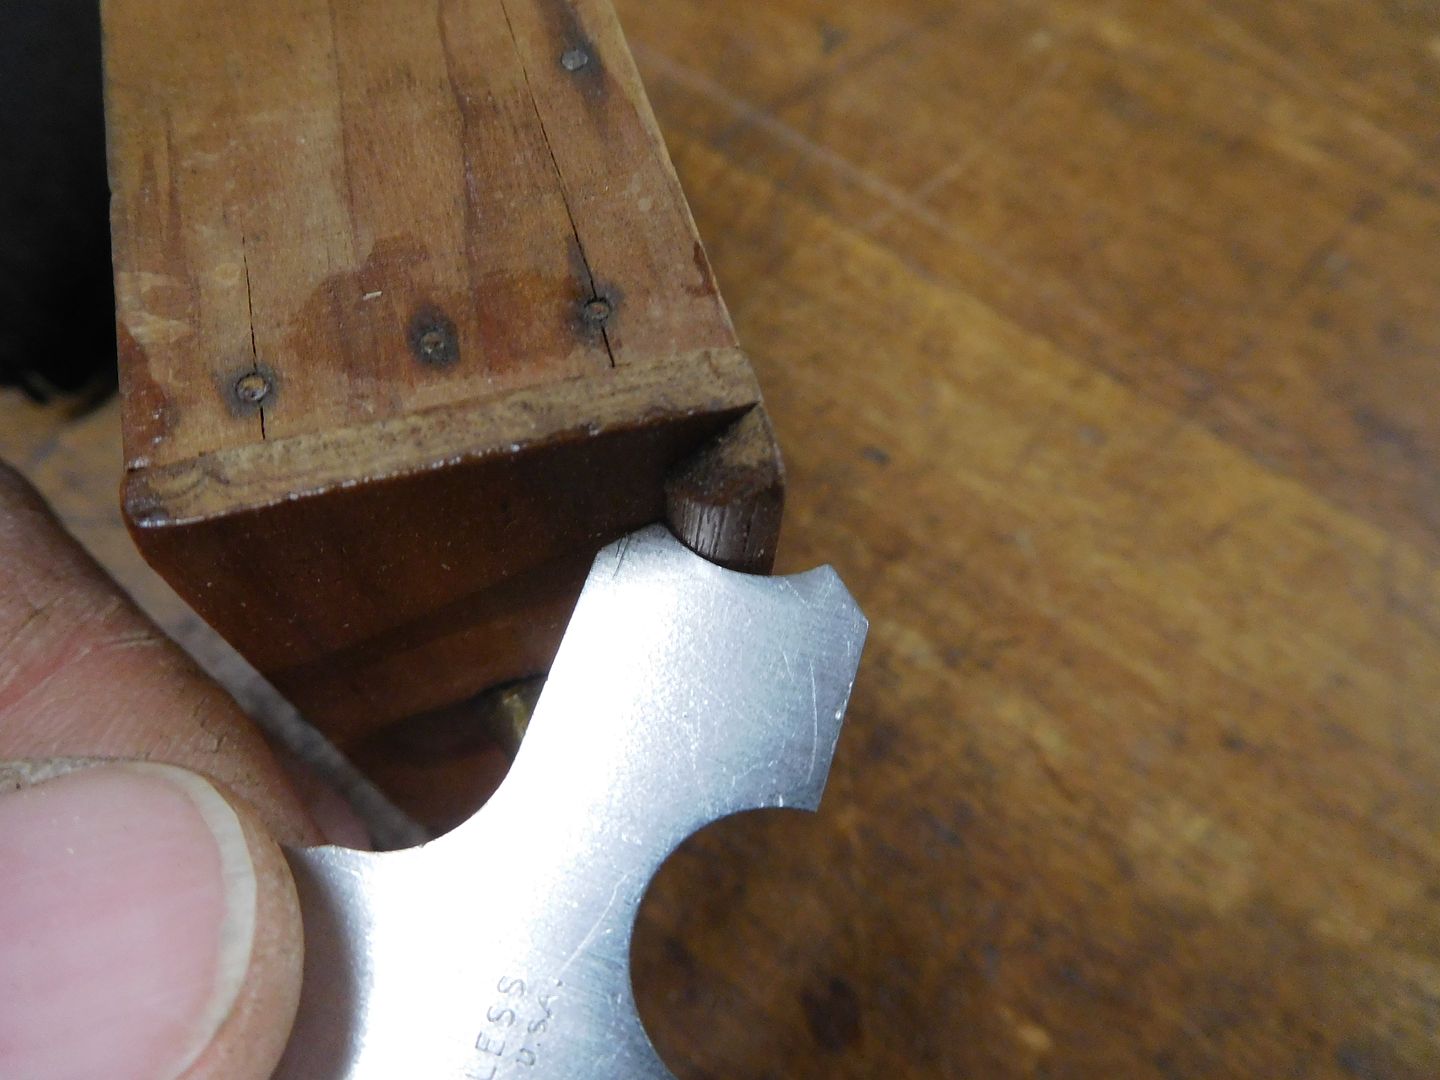
As you can see, it is filled with different sized gauges for arcs and radii. I start with the small ones and quickly get a hit.
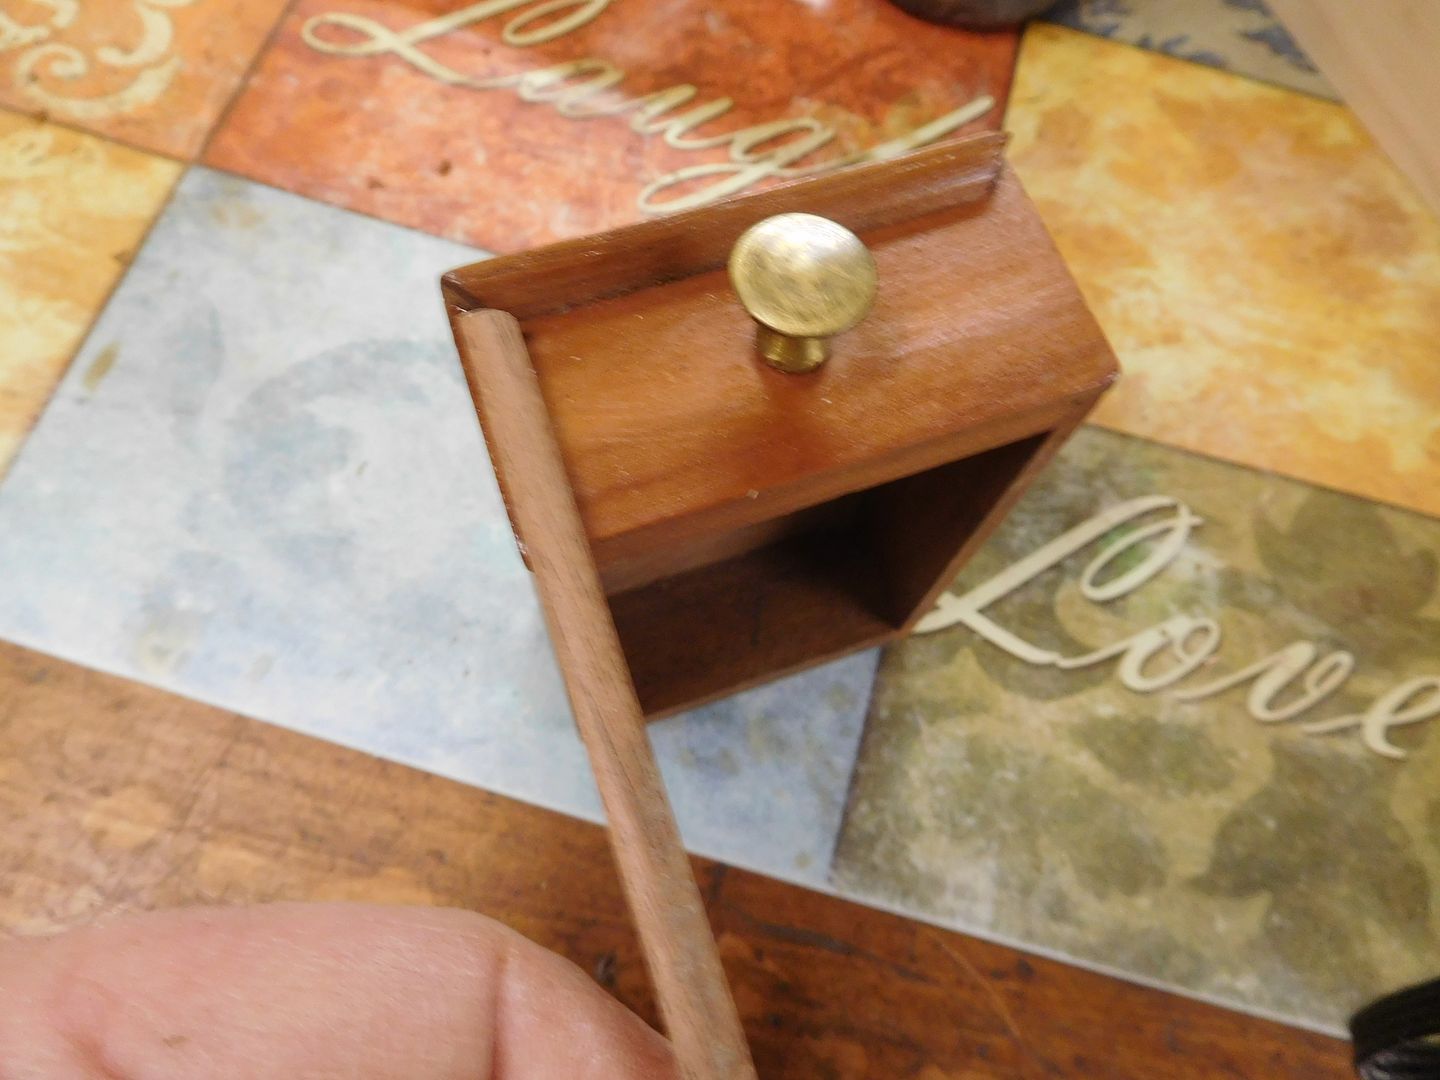
DSCN3053.jpg


It was hard to photograph with only two hands but the gauge that fit the best was the 1/4" radius. As luck would have it, I happen to have a few lengths of 1/4" walnut dowels on hand. If not, it is not a big deal because I have a #77 dowel maker. No need to get that out today unless I blow through all of my stock (which could easily happen).

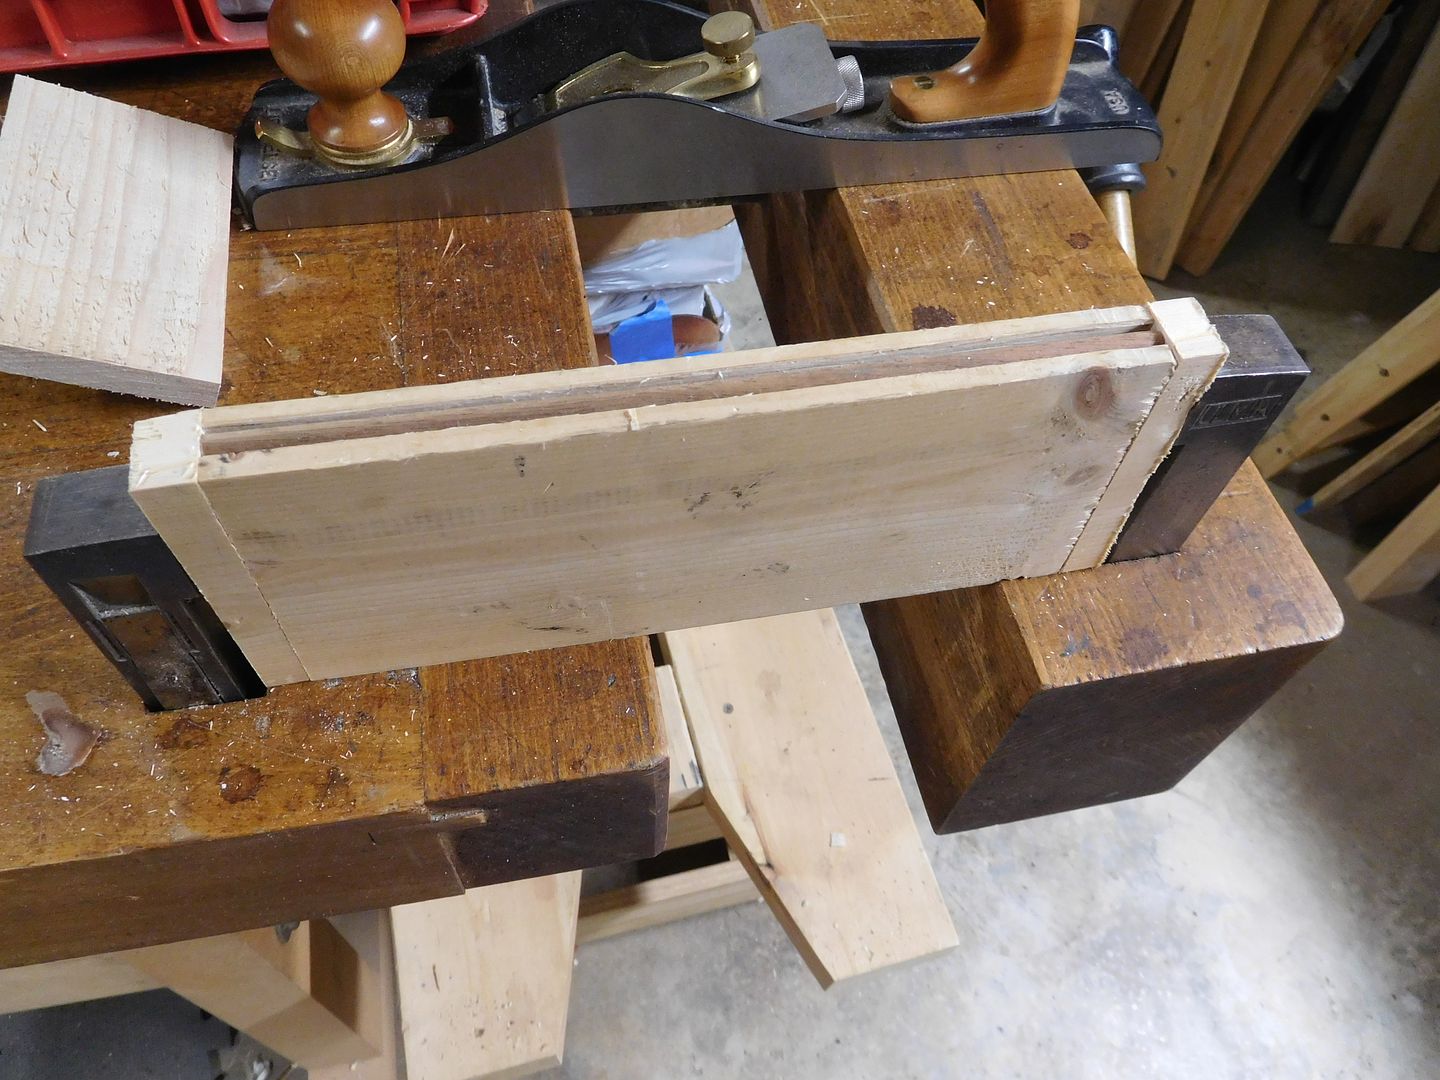
The dowel is only 1/4" and cutting it on the tablesaw would be scarey unless I glued it to a piece of stock. Being a handplane guy, I decided to plane it into submission. Here is the contraption I used.
DSCN3055.jpg


It is a scrap of wood with a 5/16 groove in it. I cut it to length and put two scraps on the ends to hold it steady. The dowel is flush with the top of the groove. All I have to do is plane half of it off. Well, that is exactly what I did. I stopped after several strokes and checked. I was able to correct my trimming and make it even. It did not take long to make a dowel half.
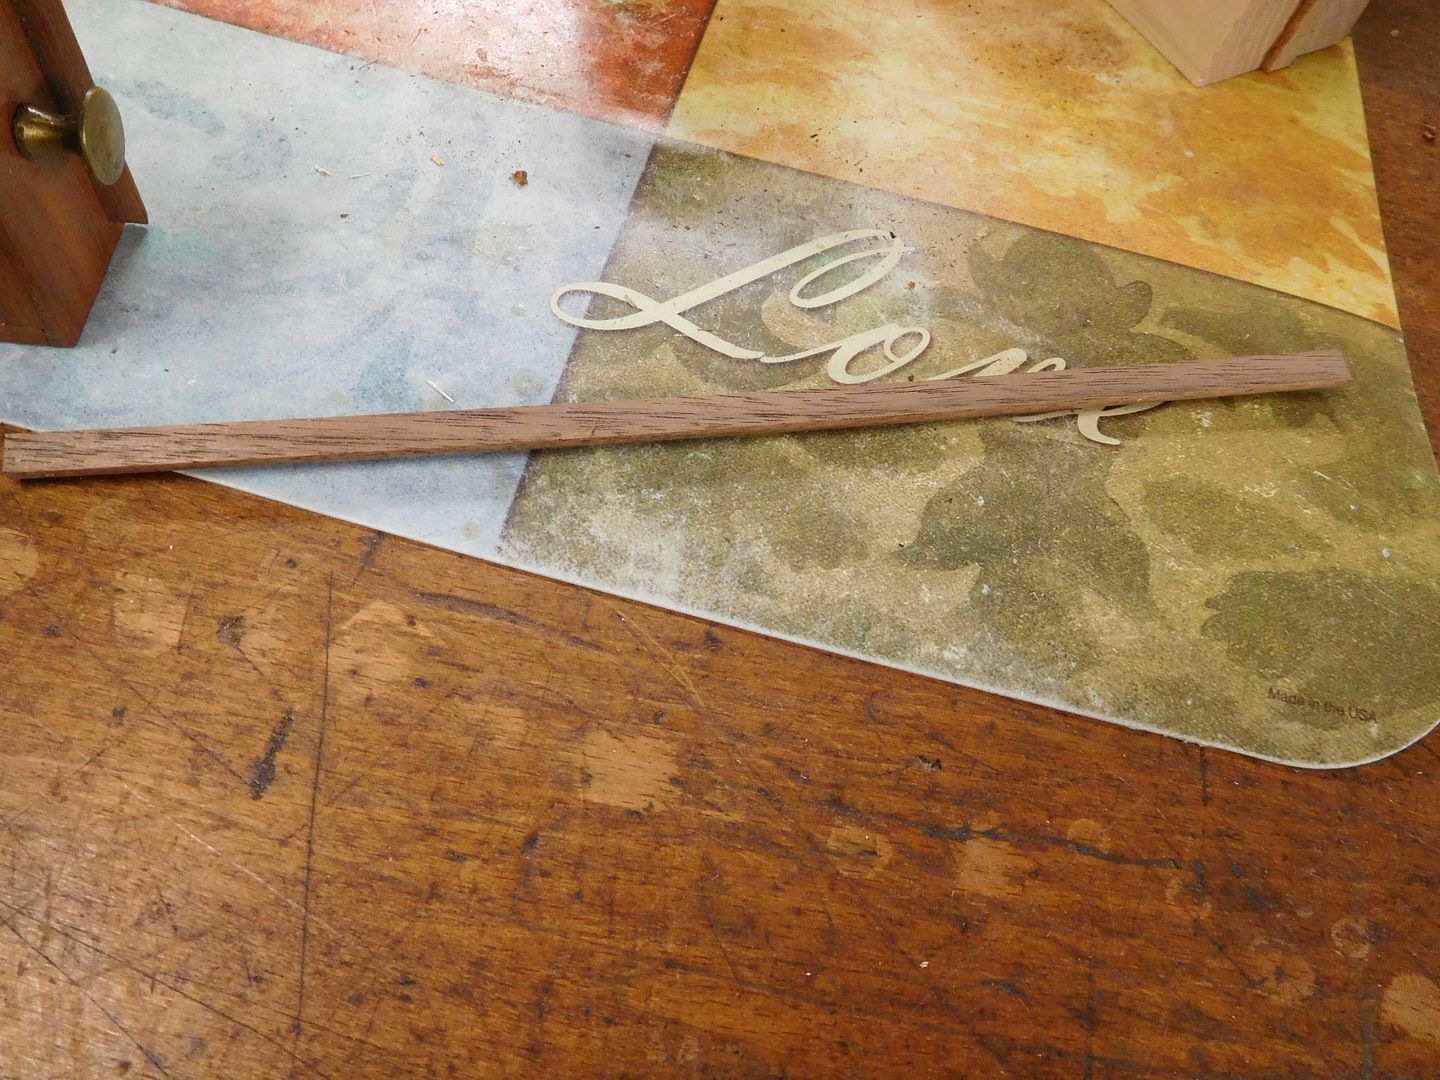
DSCN3057.jpg


Now the task is to cut that piece in half. I need to wedge it into the remaining groove. So it is back to the scrap pile. I found a suitable scrap but it needed to be planed. As luck would have it, I have an open workbench to do that operation. The shop is getting a workout today. Then I cut the scrap to length and wedged the dowel half in the groove.
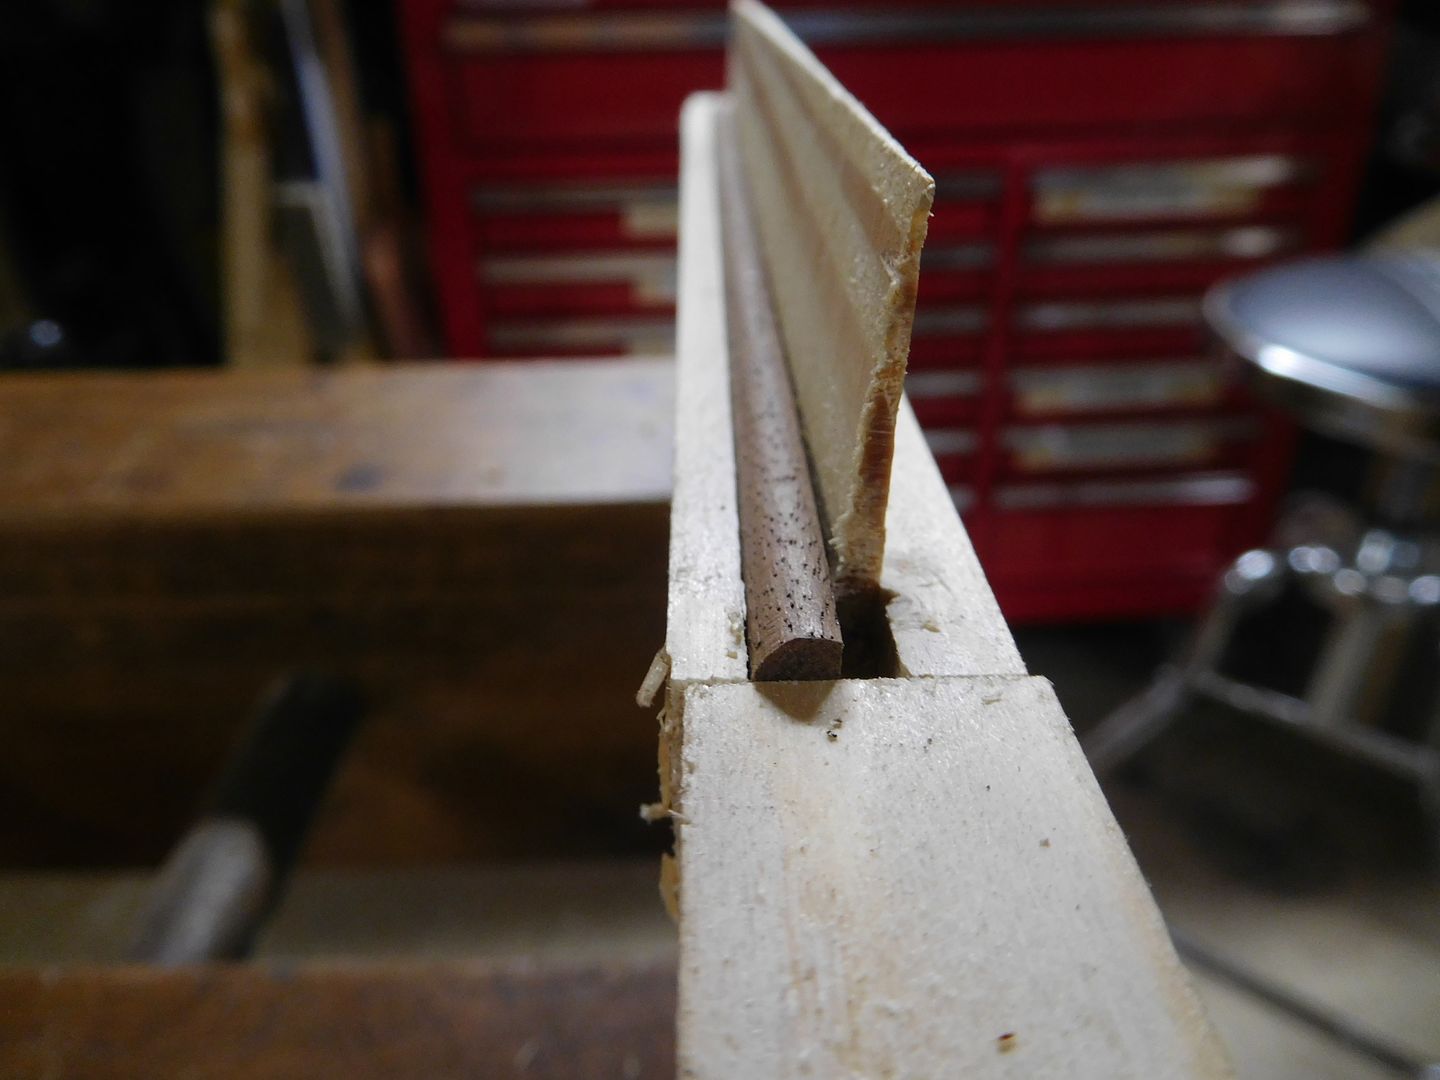
DSCN3059.jpg


DSCN3058.jpg


At this point, I could have ripped the wedge down, but I was so tickled that it fit that I just planed it even. It only took a few minutes and I was off to the races.
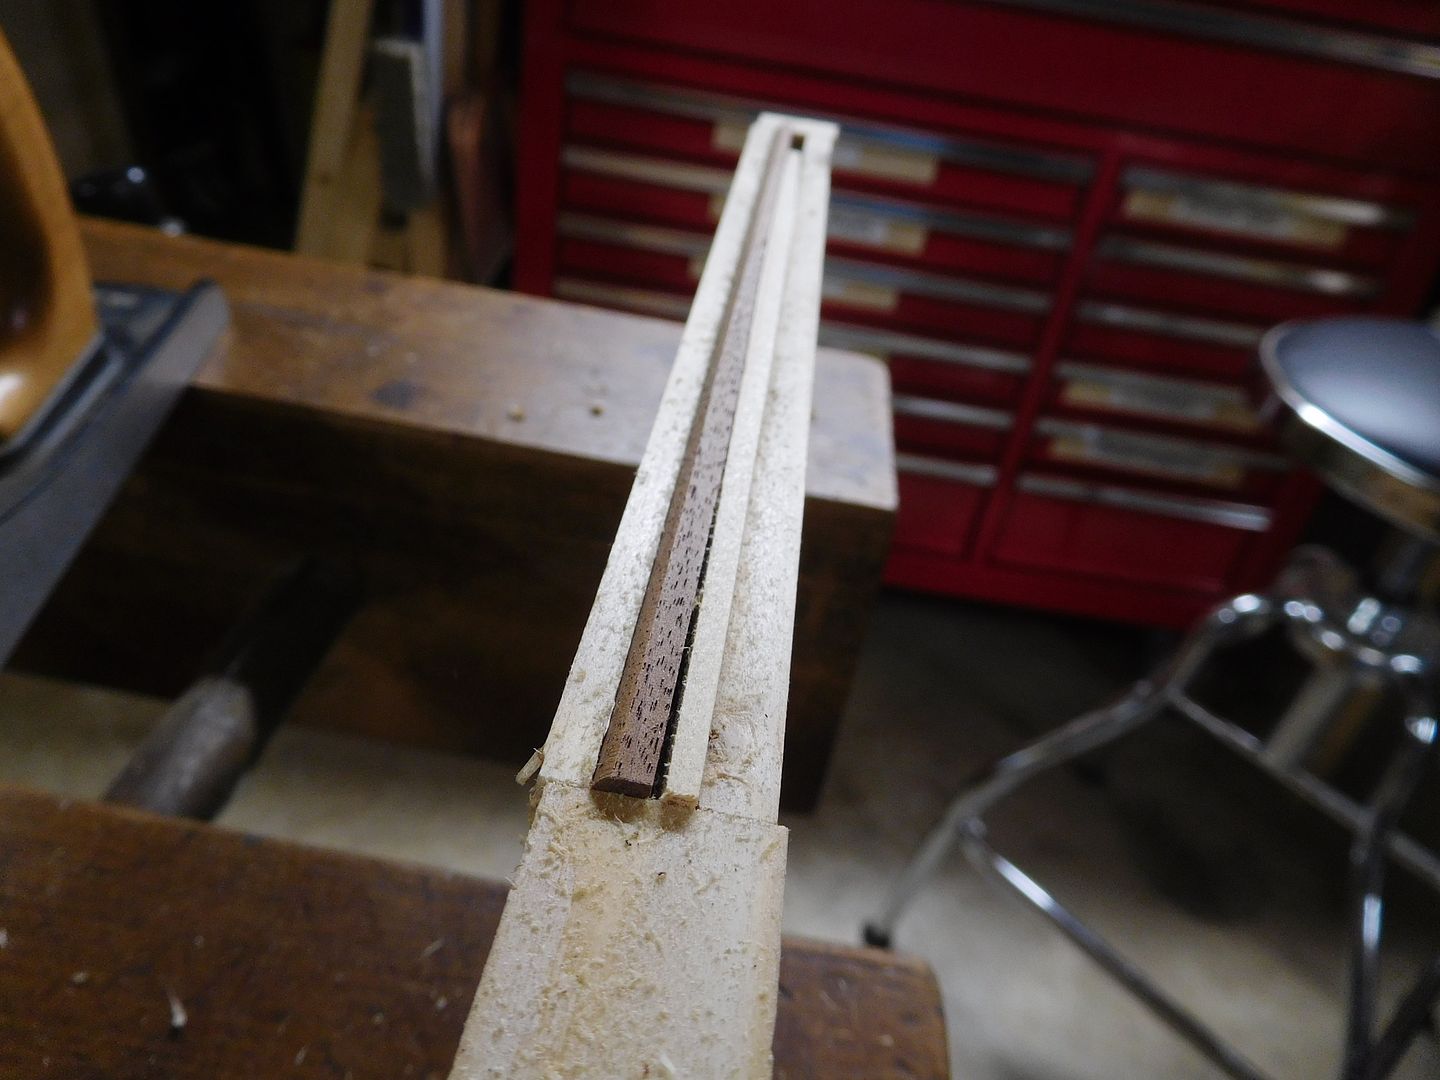
DSCN3060.jpg


Done.

DSCN3061.jpg


Trial fit looks great.

DSCN3063.jpg


So that is how you take a 1/4 dowel and turn it into a quarter round.

DSCN3065.jpg


This was easier than I thought. Hope the other trim is just as kind. Stay tuned.
 
To avoid these ads, REGISTER NOW!

drivesitfar

Well-known member
Joined
Oct 23, 2013
Messages
36,040
Location
Pacific Northwest
Jim: so i own a couple sets of those miter gauges and i thought i needed to be a machinist to use them. now i know i can use them with wood too.

nice work on the 1/4 round dowel (and PB so you could show us) and do you trim the 45's on a hand miter saw or do tell?

as always watching you and the others I learn something new almost every time i log on to this thread. making that Hickory plug for your hammer i would have searched for or bought a block to cut it even if i had 3/4 inch thick scraps laying in a box.

thanks again for all the tips

RR: keep up the great work and take and post up lots more pictures and information as you have the time cause i'm sure i'm not the only one thinking i want to build a table top or bench like you are doing some day.

good luck
 

rrich1

Well-known member
Joined
Oct 7, 2015
Messages
793
@drivesitfar. Thanks. Pics will definitely be up during the process.


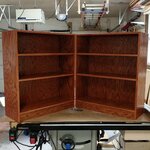
Finally got the bookcases done. They won't be out of my way until the end of the week though. 50bd6a277f0eedfa2247ff5c949c59da.jpg

Sent from my Pixel XL using Tapatalk
 

Attachments

  • 50bd6a277f0eedfa2247ff5c949c59da.jpg
    50bd6a277f0eedfa2247ff5c949c59da.jpg
    84.5 KB · Views: 1

rrich1

Well-known member
Joined
Oct 7, 2015
Messages
793
@jimreed2160
@autonomous
@mefast

Thanks! Go for it. I put the toe kick in as deep as the oak trim. Original plan was to dado them in but I got ahead of myself and put the edge banding on before that. So the shelves are just pocket holed in. It is cherry stain on red oak ply with red oak edge banding. Let me know if you want more pics. The shelves are 8" 9" and 12" high (for her school books).

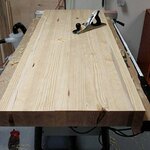
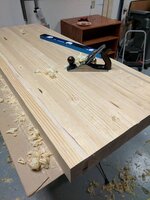
Got the bench top out of clamps. I decided to tackle the top with planes. I only have a #5 and a #4. This is the first time I planed anything. I started with the bottom to see how it would go. I was able to dial in the planes and went to work. It turned out really well for a very first time. Will tackle the top possibly tomorrow. It's not absolutely perfect but it is close enough. I don't need machines precision. 0d3e6b9c03f26f86cb3453e18b16fa5a.jpg63ea4272fca01cb39ee1d6c0df2d2971.jpgc6f7f74cb307def442cc2ef347e02c2d.jpg

Sent from my Pixel XL using Tapatalk
 

Attachments

  • 0d3e6b9c03f26f86cb3453e18b16fa5a.jpg
    0d3e6b9c03f26f86cb3453e18b16fa5a.jpg
    85.2 KB · Views: 2
  • 63ea4272fca01cb39ee1d6c0df2d2971.jpg
    63ea4272fca01cb39ee1d6c0df2d2971.jpg
    104 KB · Views: 2
  • c6f7f74cb307def442cc2ef347e02c2d.jpg
    c6f7f74cb307def442cc2ef347e02c2d.jpg
    99.5 KB · Views: 2
OP
J

jimreed2160

Well-known member
Joined
Aug 7, 2016
Messages
3,589
Location
Tallahassee FL
rrich--The top looks great. Glad you got to use your planes on it. The precision of a #5 plane is a wonder to behold. You can do amazing things with bench planes that are dialed in and ready to work.
 
OP
J

jimreed2160

Well-known member
Joined
Aug 7, 2016
Messages
3,589
Location
Tallahassee FL
With the Photobucket hairball in full swing, I am very limited in what I can post. I know the rules--no pictures--didn't happen. Well, my persistence has had limited success and I have been able to post a few shots. I will share what I can and just let the other stuff stack up and wait. In the meantime all us minions sucking on the internet teat need sustenance.

The little quarter round is receiving some finish. I think the original box was finished in orange shellac. I found some amber shellac and hope it matches. Let's see.

DSCN3066.jpg


Here is my paintbrush--a piece of paper towel.

DSCN3067.jpg


And here is the test piece.

DSCN3068.jpg


Wow. The amber shellac really does bring out the red of the walnut. Once this dries I will compare it to the original project.
 

ScottsGT

Well-known member
Joined
Jan 1, 2014
Messages
4,883
Location
Lake Wateree, SC
Here's a little project I've been working on. Can't see too good in the photo, but the orange face is beveled and curved around the sides to contour it like a gas pump. Made of poplar with a Masonite back with shelf paper on it.
I've got to go get my lexan cut for it now.
This is the first of 4 or 5 I need to build for my diecast car collection. But this one was a major learning curve for the next ones to be built. I've first got to make room though.

6F37611F-0DF5-491D-8683-D6E02D12A3BF_zpsjtcu4tra.jpg
 

R_einan

Well-known member
Joined
Aug 29, 2016
Messages
461
Location
Eastern WA
Jim, nice work in that quarter round, I would have never thought to just make it.

Rrich, those really turned out great!

Scott, I'd love to hear about your process on building that, it looks really nice but some explanation of what steps you took to get there would maybe teach us all a new trick or two.
 

ScottsGT

Well-known member
Joined
Jan 1, 2014
Messages
4,883
Location
Lake Wateree, SC
It started out as a simple box on the wall that was going to have a square frame. But then I got a wild hair and it exploded on me!
I'm planning on doing a write up on the next run now that I'm experienced at it. I used the Kreg pocket hole jig and their shelf pin jig. Learned a very valuable lesson since some of my holes are out of registration and had to twist my flats on the pins at an angle to keep the shelves from rocking.
 
OP
J

jimreed2160

Well-known member
Joined
Aug 7, 2016
Messages
3,589
Location
Tallahassee FL
Finishing the mallet

Well mysteriously this morning, Photobucket arose from the dead. Let's take advantage of this temporary picture service. :willy_nil

When we last left the Garland mallet, we were watching the glue dry on some hickory scraps. My next move was to take it to the bandsaw to square up the block.

DSCN3049.jpg


So here is the block ready for turning.

DSCN3050.jpg


First thing I need is some kerfs. By the way, this hickory is tough--just ask the wheezing bandsaw.

DSCN3069.jpg


I use a rawhide mallet to set the headstock into the kerfs.

DSCN3070_1.jpg


All chucked up and ready to go.

DSCN3071.jpg


Taking down the sides is best done slowly.

DSCN3072_1.jpg


I use calipers to judge the correct diameter.

DSCN3074.jpg


Almost there.

DSCN3073.jpg


Done. I left it a tad bit oversized for final fitting.

DSCN3076.jpg


Sawing these apart is not easy. Remember the hickory is very hard. I need some help and Mr HotGlue comes to my rescue.

DSCN3077.jpg


Here we go.

DSCN3079.jpg


OK. Two pieces down and my fingers are getting veeeerrry close to that blade. I need some backup.

DSCN3081.jpg


Whew!

DSCN3082.jpg


Here are our new hickory faces, ready for installation.

DSCN3083.jpg


Stay tuned. The next part is real fun.
 
OP
J

jimreed2160

Well-known member
Joined
Aug 7, 2016
Messages
3,589
Location
Tallahassee FL
Installing the hickory mallet faces

I tried a chisel and a plane. Turns out the OSS is the way to go.

DSCN3086.jpg


So the first thing it did was grab the piece from my fingers and send it flying behind the workbench. Here is the where's Waldo photo.

DSCN3087.jpg


I retrieved it and sanded it to fit. Remember that huge rosewood mallet? Well it got its first job in many years.

DSCN3089.jpg


I wanted to get it seated evenly and the mallet did a great job. Once the insert was halfway home, I used the hammer to fix itself. It did a great job seating the insert.

DSCN3090.jpg


Check it out.

DSCN3091.jpg


So now it is time for insert #2. Remember when the OSS bit@h slapped the first insert? Well it did the same thing to the second one. Where is Waldo in this shot?

DSCN3092.jpg


Then it happened again. Fool me once, shame on you. Fool me twice, shame on me. Fool me thrice, and it is time for granddaddy to pay more attention to the job at hand. Time to get medieval on the insert.

DSCN3093.jpg


I sanded the inserts into a tapered cylinder shape. Once the taper got started I could hold it OK by hand.

The second one went in a little uglier than the first as that socket was more abused.

DSCN3094.jpg


Normally I would leave it alone, but this overspray was a little much even for me. I got out a Japanese chisel and went to work (carefully). I needed to chop the hickory against the steel head and a hard Japanese chisel was just the tool to use.

DSCN3095.jpg


Yes. The chisel did take some abuse but I sharpened out the dents with sandpaper in about two minutes. I used a beater chisel on the lesser issues.

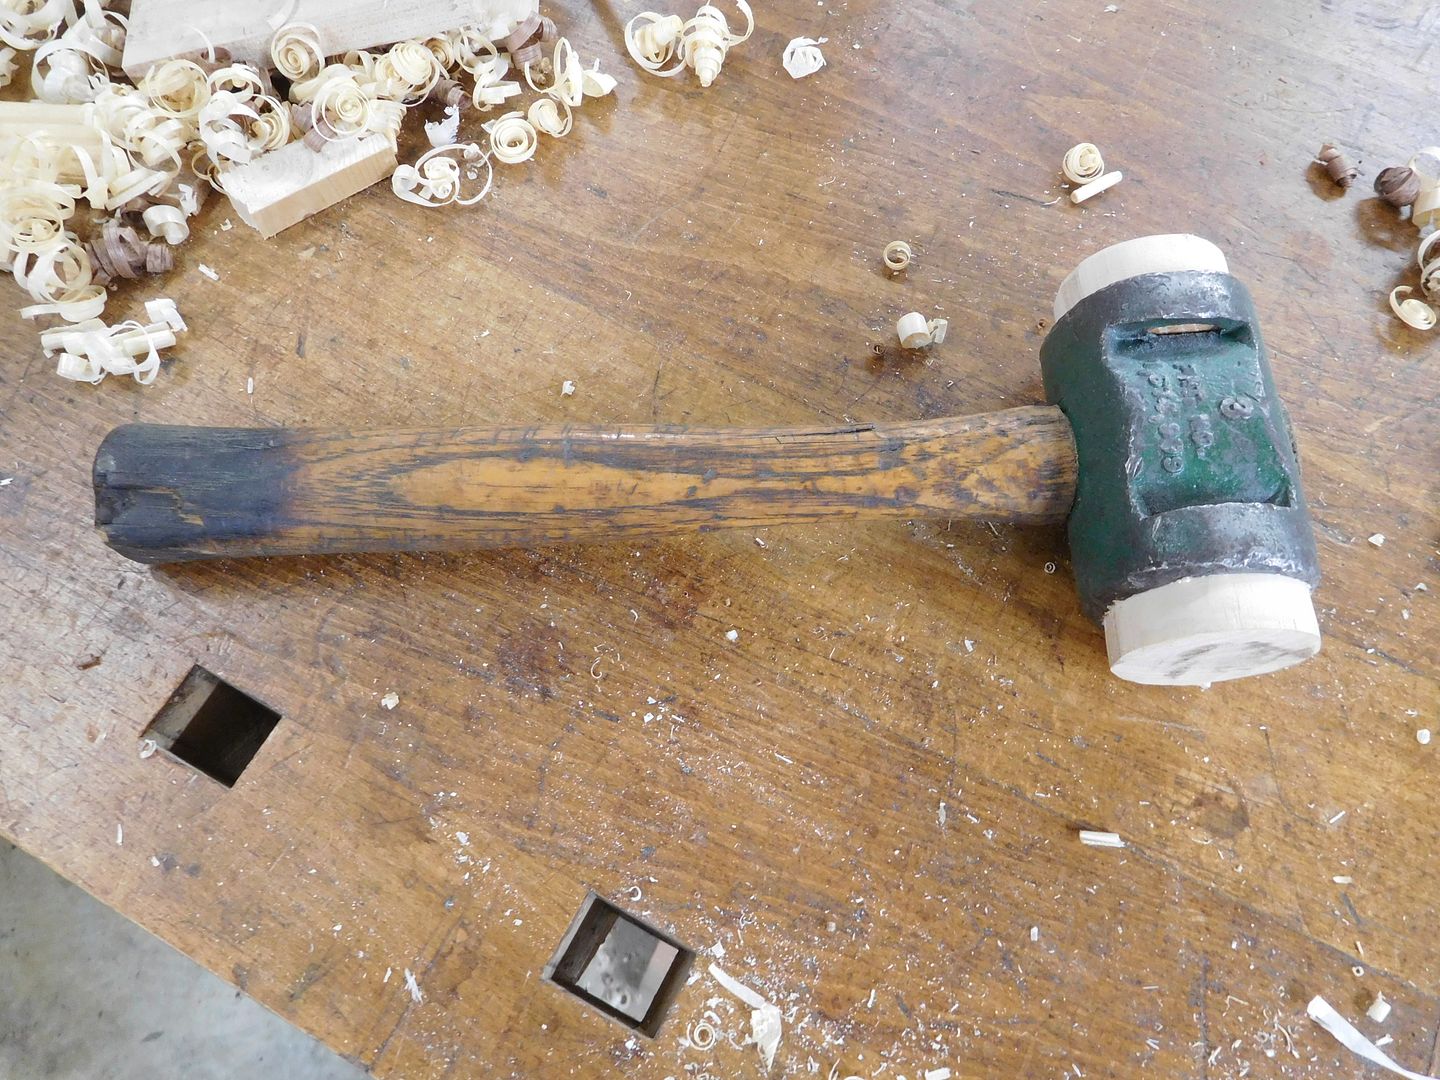
And here is the refurbished Garland beater hammer.

DSCN3096.jpg


I gave it a place of honor on the wall-o-beaters.

DSCN3097.jpg


It feels good to get these tools back on their feet. The bonus is having more specialized tools around. With all of the vise work that I do, I am sure that a hickory faced hammer will come in handy. Especially when it means that I can protect my special woodworking mallets from abuse.
 
OP
J

jimreed2160

Well-known member
Joined
Aug 7, 2016
Messages
3,589
Location
Tallahassee FL
gt--Thanks for the tip. I bookmarked it. I have a Homecraft bandsaw from the 1940s that needs new tires. This site will be great help once that project comes up. I did it myself the last time, but I was 12 then and forgot how I did it. :willy_nil
 
To avoid these ads, REGISTER NOW!

ez-duzit

Well-known member
Joined
Jun 24, 2013
Messages
5,101
Location
Marina del Rey
...the first thing it did was grab the piece from my fingers and send it flying...

The oscillating spindle sander is the wrong choice for such a sanding job. Better is a stationary disc (or even belt) sander, so it does not try to spin the cylindrical workpiece. The flat of the workpiece rests on the table.
 
OP
J

jimreed2160

Well-known member
Joined
Aug 7, 2016
Messages
3,589
Location
Tallahassee FL
The oscillating spindle sander is the wrong choice for such a sanding job. Better is a stationary disc (or even belt) sander, so it does not try to spin the cylindrical workpiece. The flat of the workpiece rests on the table.

You are correct, Sir. My first tool of choice would have been a disc sander with a tilt table. My current range of tools does not include that particular one but it is on my list.
 

ez-duzit

Well-known member
Joined
Jun 24, 2013
Messages
5,101
Location
Marina del Rey
Decades ago, when Sydney Sabots sold out to Catalina Yachts, I bought his Delta belt/disc sander for $350. It had been well used by a maintenance department or school even before he got it. I had to replace a side cover plate and bearings in the upper roller. It has been a wonderful machine.
 

rrich1

Well-known member
Joined
Oct 7, 2015
Messages
793
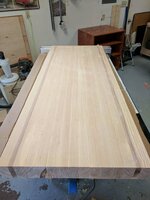
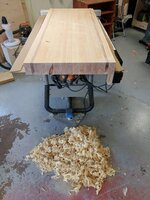
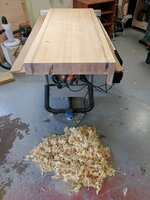
Top is done. Not 100% flat but darn. Lose. The lip is gone and I'm happy. Doing by plane really wasn't that bad. Good experience and learned a lot. Whatever finish I put on will really make the two woods stand out. 96eda7e740f9ee487932a9a8a2ab349a.jpgbb50ba292f8982b4864b262a3b1e25f4.jpg

Sent from my Pixel XL using Tapatalk
 

Attachments

  • bb50ba292f8982b4864b262a3b1e25f4.jpg
    bb50ba292f8982b4864b262a3b1e25f4.jpg
    114.3 KB · Views: 1
  • 96eda7e740f9ee487932a9a8a2ab349a.jpg
    96eda7e740f9ee487932a9a8a2ab349a.jpg
    91.3 KB · Views: 1
Last edited:

bj383ss

Well-known member
Joined
Sep 29, 2011
Messages
3,166
Location
TX
Great job on the mallet Jim. That Hickory looks very similar to Pecan. It is hard as nails as well. Really hard to make a cut or use the router on it without it burning. Now I want to find one of those hammers.

Bret
 
OP
J

jimreed2160

Well-known member
Joined
Aug 7, 2016
Messages
3,589
Location
Tallahassee FL
Great job on the mallet Jim. That Hickory looks very similar to Pecan. It is hard as nails as well. Really hard to make a cut or use the router on it without it burning. Now I want to find one of those hammers.

Bret

Thanks for your kind words. So true about the burning. My bandsaw acted like I was resawing a 16/4 piece of hard maple when it was just a 8/4 piece of hickory. AND it smelled like smoke.

As for finding a good basher, Garland still makes the hammers but they are a little more than the $13 I paid for this one. That famous on line auction site has a few but shipping is a bear. Good luck in your quest.
 

drivesitfar

Well-known member
Joined
Oct 23, 2013
Messages
36,040
Location
Pacific Northwest
Jim: your anvil looks pretty pristine so if it were mine i'd only use it for hot metal pounding and get a chunk of RR track to beat on or a flat piece of 2 or 3 inch think steel plate. if you keep your eyes open a few members make cool (and shiny) anvil shaped objects out of a hunk of RR track.

on the other hand your method looks like it worked and nice improvement with the hammer.

RR: your table/bench is coming along nicely and looking forward to your staining. do you put your stained rags in a metal can with a top or hang them on a line to air dry?
 

rrich1

Well-known member
Joined
Oct 7, 2015
Messages
793
@drivesitfar I usually just leave them out on the bench until they get hard.

Sent from my Pixel XL using Tapatalk
 

rrich1

Well-known member
Joined
Oct 7, 2015
Messages
793
@jimreed found them. ab0d1dde50b71452b4411cf5d50c3a48.jpg

Sent from my Pixel XL using Tapatalk
 

Attachments

  • ab0d1dde50b71452b4411cf5d50c3a48.jpg
    ab0d1dde50b71452b4411cf5d50c3a48.jpg
    271.7 KB · Views: 2

drivesitfar

Well-known member
Joined
Oct 23, 2013
Messages
36,040
Location
Pacific Northwest
RR: many a garage and house has burnt down from a stained rag combusting so you might want to change your habits. I heard that in the past, but my neighbor showed me up close and personal when he put his deck stained rag on his 1.250 thick plywood bench and the spot where the rag was started to smoke. luckily he caught it before his bench and garage turned to flames, but i should get a picture of his bench next time i can and his plywood looks like a charcoal briquette. not sure what Jim found but i'll just keep watching.
 

cheechi

Well-known member
Joined
Feb 29, 2012
Messages
4,384
Location
Triad, NC
The oscillating spindle sander is the wrong choice for such a sanding job. Better is a stationary disc (or even belt) sander, so it does not try to spin the cylindrical workpiece. The flat of the workpiece rests on the table.

You are correct, Sir. My first tool of choice would have been a disc sander with a tilt table. My current range of tools does not include that particular one but it is on my list.

HF has a 6x48 belt/9" disc sander that I have found very handy, and recently picked up a 12" disc sander to complement it. The 12" is a newer design and/or built in a newer facility, much cleaner casts and much quieter motor, in general there is nothing wrong with the belt/disc sander but this direct drive sander is very very nice in comparison.

on both, the miter gages are lacking. the table is much nicer on the newer sander but both are functional. the angle gage on the disc/belt sander is lacking but when i lock it in place it stays, and since it's meant to be put on either the belt or disc a little slack is acceptable to me.

Also in the case of the disc/belt sander I am all in at about $30, they didn't want to lift it at the end of one of the sidewalk sales and sold it to me with a broken power switch, trip to grainger was all I needed for that.

If you want a recommendation I would get the 12" disc though, unless you expect to have a lot of use for a stationary belt also.
 

ez-duzit

Well-known member
Joined
Jun 24, 2013
Messages
5,101
Location
Marina del Rey
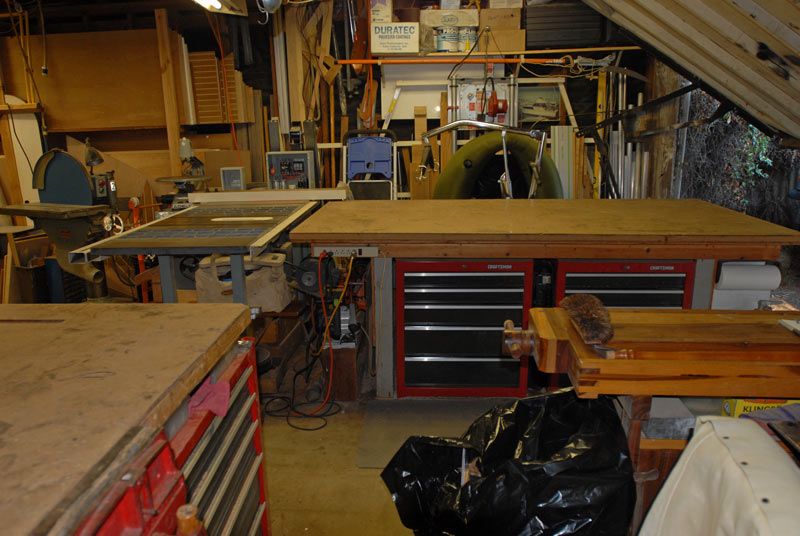
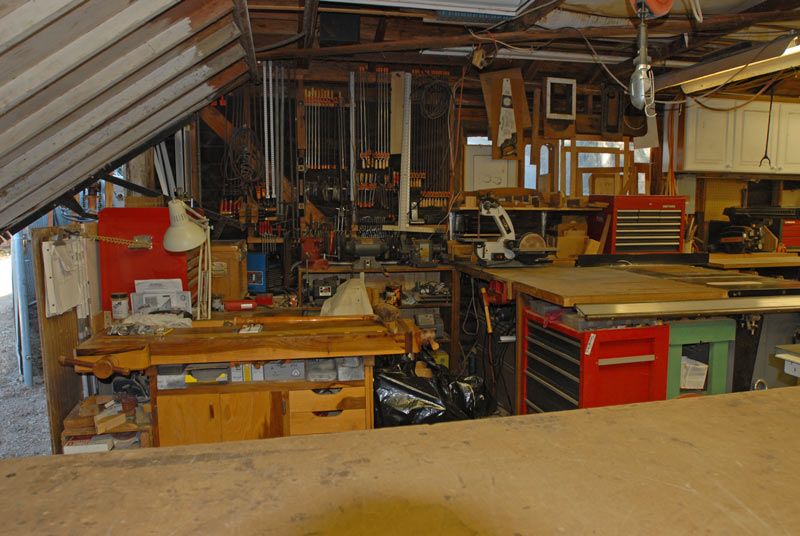
It is handy to have a very coarse (~40-grit) belt for rapid rough shaping,and a somewhat less coarse (~60-grit) disc for smoother sanding. Photos show my 6"x48" belt/12" disc Delta, 24" disc State, and benchtop 1" belt/ 8" (?) disc Wilton.

shop-11_zpssj1eqdqp.jpg

shop-6_zpsm5lv8nfv.jpg

shop-7_zpsugsm9fca.jpg
 

derosa

Well-known member
Joined
Oct 19, 2010
Messages
1,078
Location
Oceanside, NY
My delta lathe came with a 10" sanding disc and a table that bolts to the bed, with the 5 speed option of the lathe it can do an amazing job. The table has angle and height adjustment. 220 grit at slow speed allows for trimming to pencil mark or fine polishing. 30 grit at high speed can launch an objuct across the shop or turn in into a toothpick in record time. The 30 grit discoveries were interesting lessons that let me know if I didn't go get sleep I was gonna get hurt.
Sanders are something you can't have too many of. I've picked up the 1x45 belt and 4x36 delta belt sanders at yard sales, both have 6" disk and have a sears 6x48 with 9" disc, each allows for a certain level of control and ease of use. I need an osculating spindle sander soon, I've noticed the lack of one at times while trying to make others do its job.
 
OP
J

jimreed2160

Well-known member
Joined
Aug 7, 2016
Messages
3,589
Location
Tallahassee FL
Jim: your anvil looks pretty pristine so if it were mine i'd only use it for hot metal pounding and get a chunk of RR track to beat on or a flat piece of 2 or 3 inch think steel plate. if you keep your eyes open a few members make cool (and shiny) anvil shaped objects out of a hunk of RR track.

Sorry you had to wait so long for a reply. Let's just blame it on the Photobucket outage. Here is a better shot of my HF anvil.

DSCN3105.jpg


Metalworkers bash its quality (pun intended). But I really like it. I am a woodworker, not a blacksmith. For years I used it only as a background for stamping when I had my blade business. The blades were O-1 flat ground stock and I stamped identifying numbers on the ends. My workbench absorbed too much of the blow and my early stamps were light. But the anvil fixed that. I even built a stand for it. Again, a ww anvil stand, not a blacksmiths stand. This one has splayed legs and presents the anvil surface at about mid chest. Great for stamping but too high for smithing. Right now it lives on the benchtop. I use it to flatten plane blades and straighten saws. Pretty light work for an anvil. It looks good because I made a cover for it.

DSCN3106.jpg


This simple cardboard cover has protected the surface for about 20 years. Even when the garage was not dehumidified, this simple cover kept it from rusting. I think most rust is due to water from condensation and the cover prevents that issue. It also works for planes that are stored in the shop. Where the soles rest on wood, there is little or no rust.

A while back, I did acquire a piece of RR track. I think I was inspired by the GJ vise crowd. This one is a nice size and the face was OK once I took the Dremel wheel to it.

DSCN3104.jpg


But it is not as good for general bashing as one might expect. The top is still crowned so an exact hit is necessary or really bothersome vibrations will result. It is OK for some tasks but really needs to be surface ground to be really good. Let this be a lesson to others. If you are looking for a piece of RR track, look for one that has been surface ground. Crown bad. Flat good.
 
To avoid these ads, REGISTER NOW!
Top Bottom