drivesitfar
Well-known member
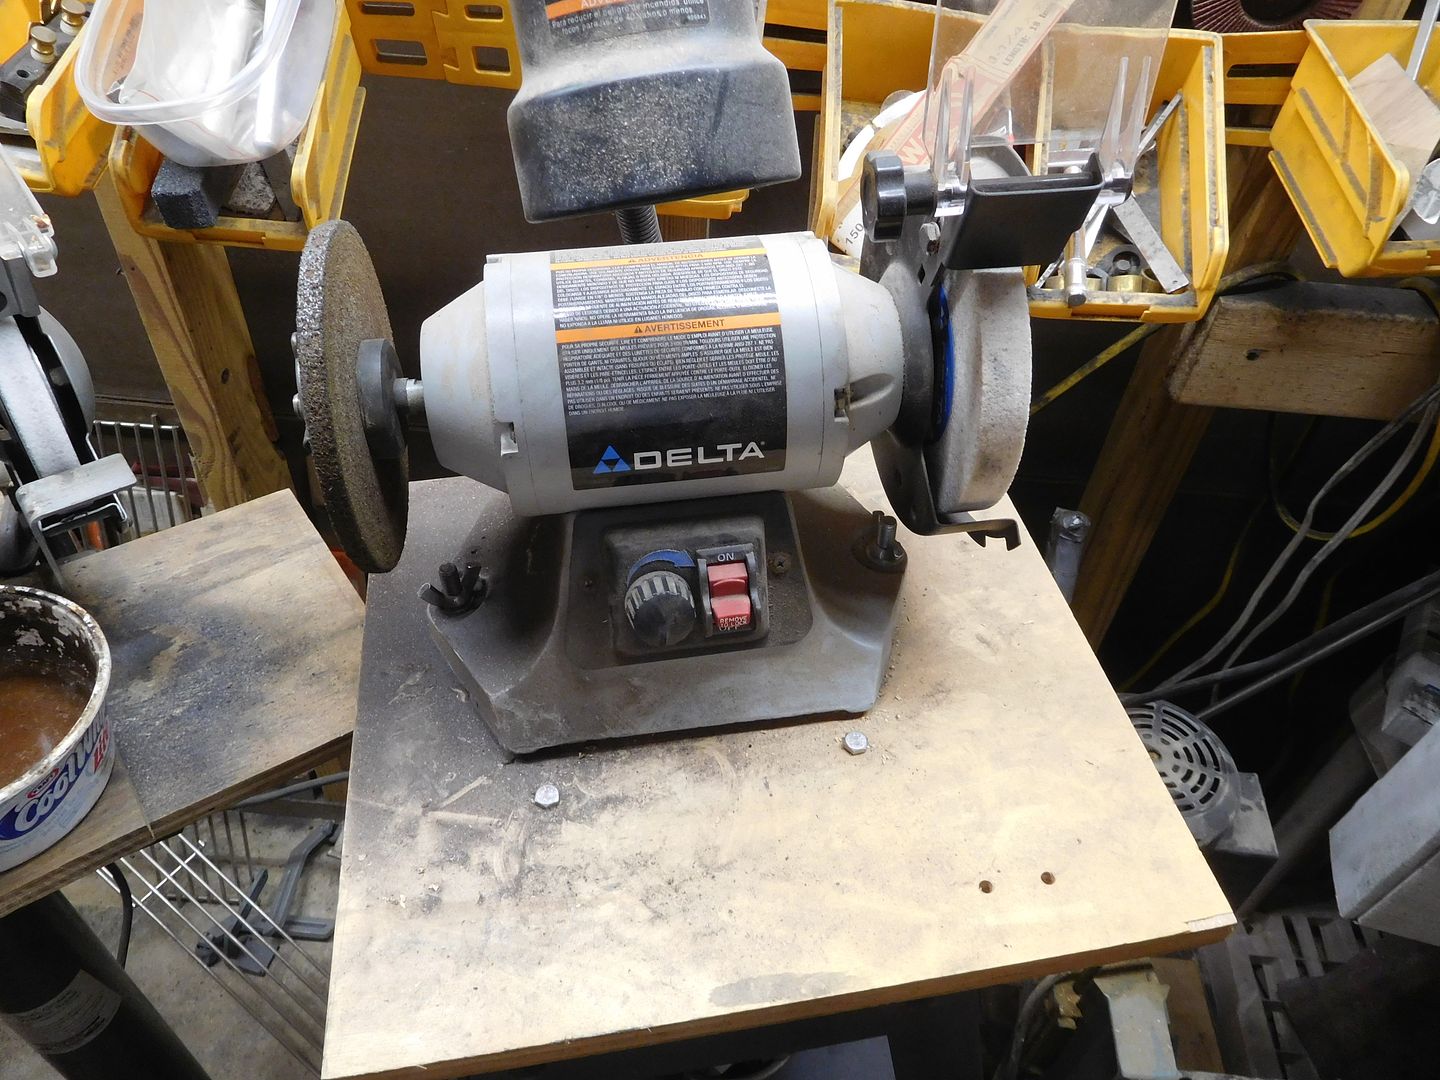
JIM: great grinder tutorial and love the safety and maintenance tips too!! thanks for the great write up and pictures.


PP--a lift is unnecessary.
PP--a lift is unnecessary.
Why do you say that?...

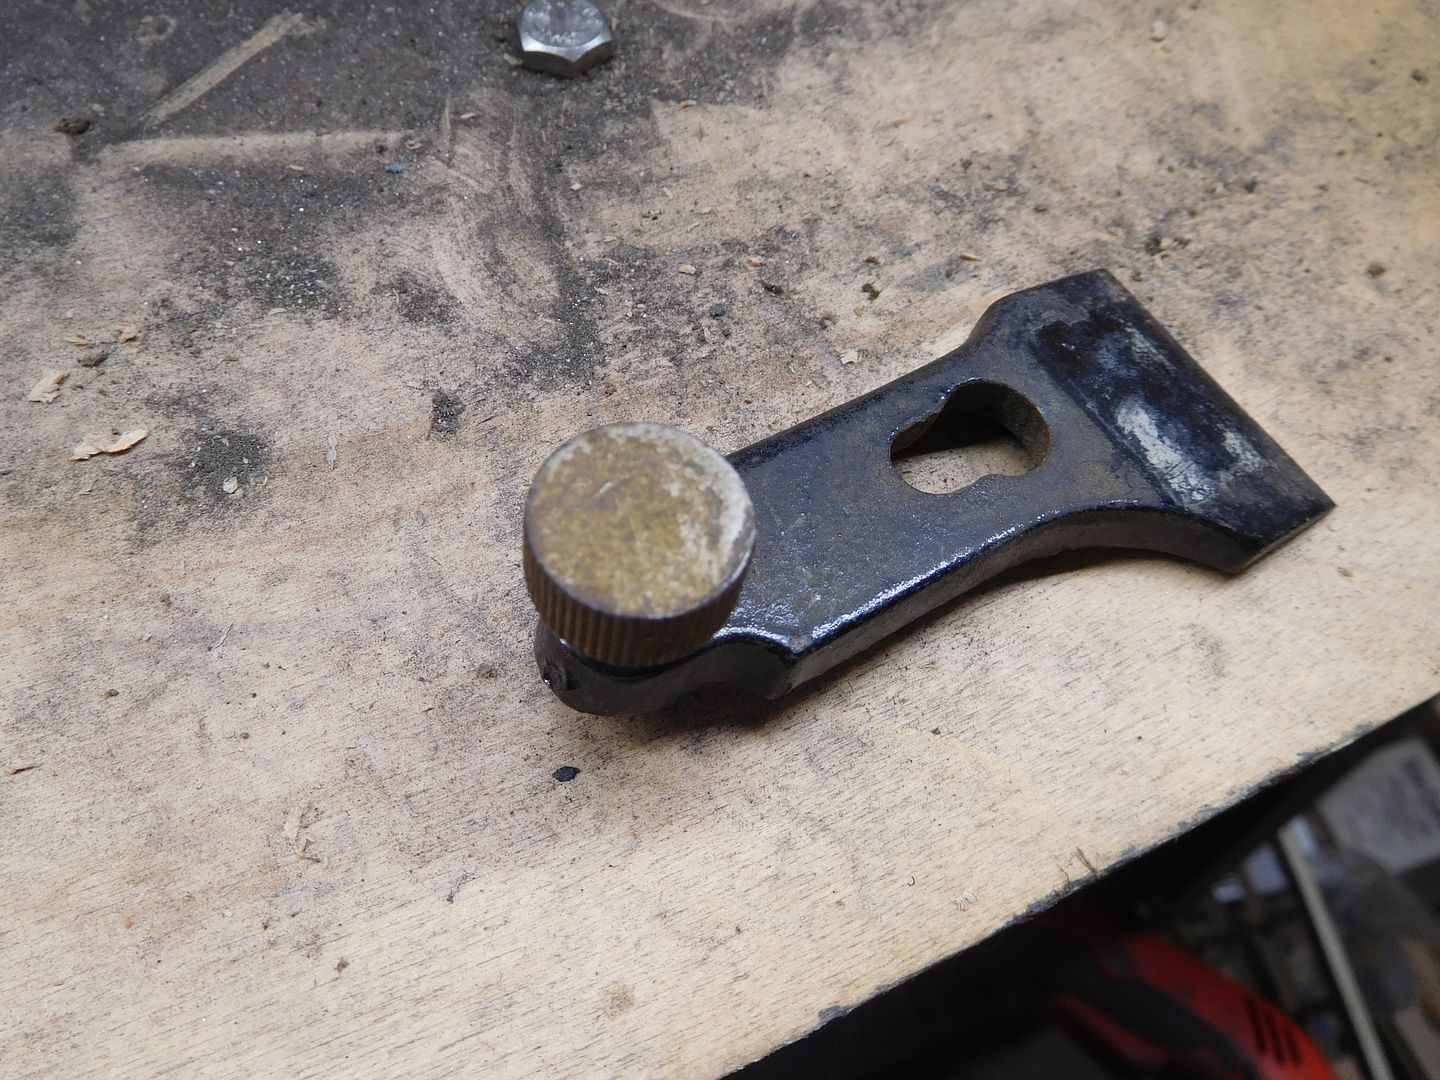
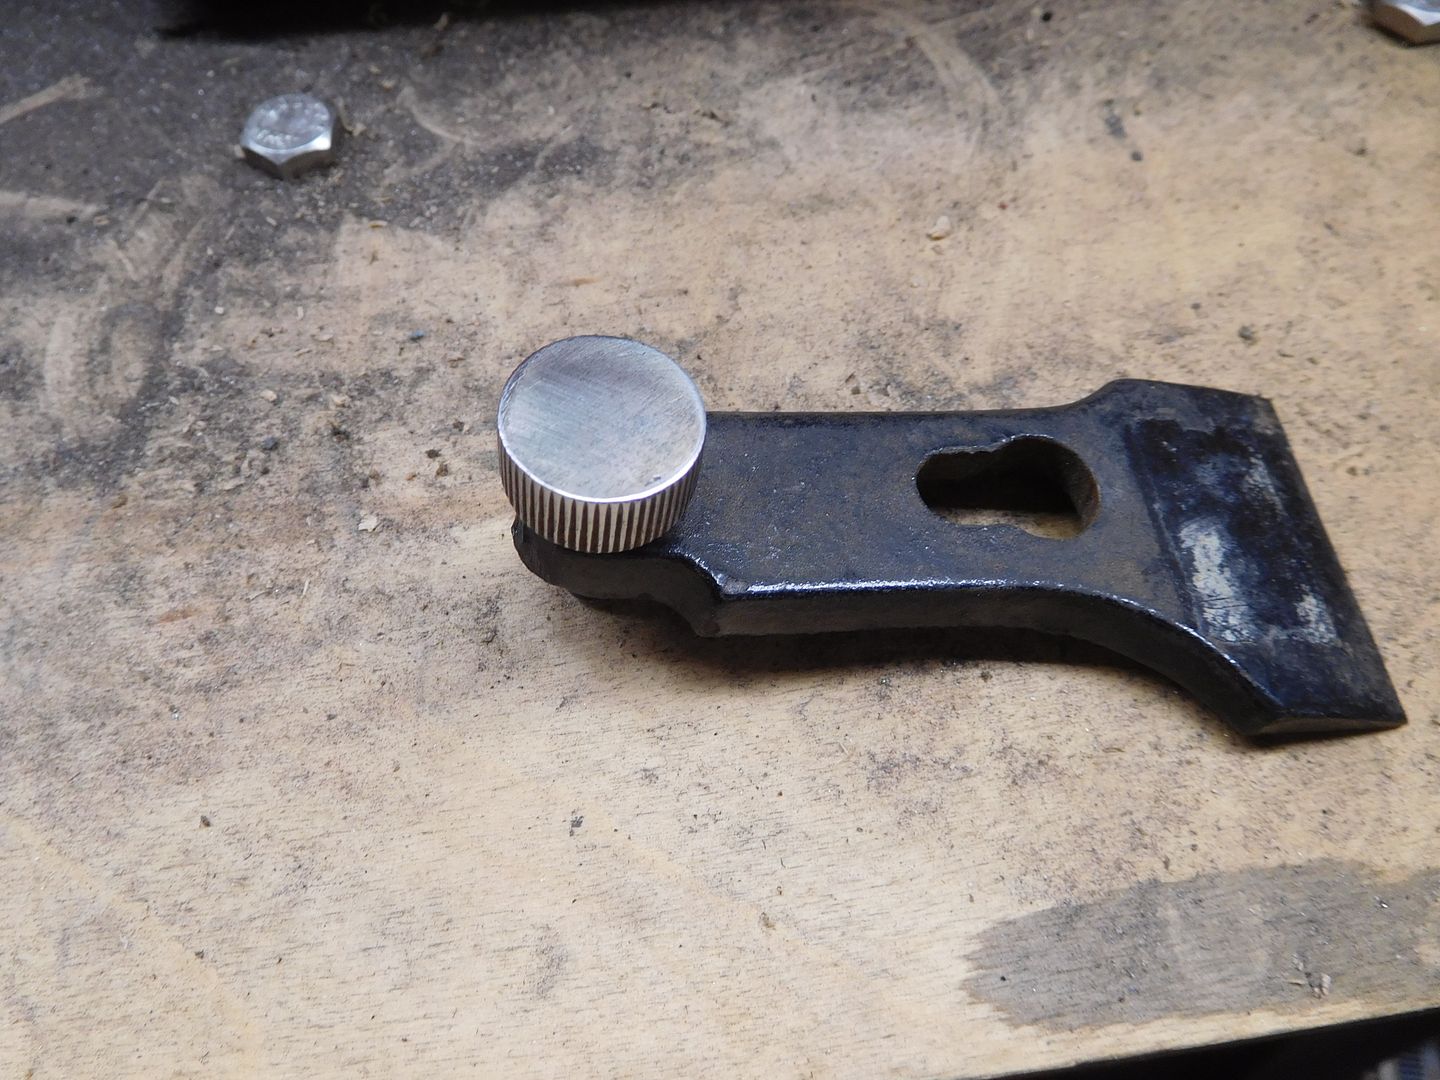
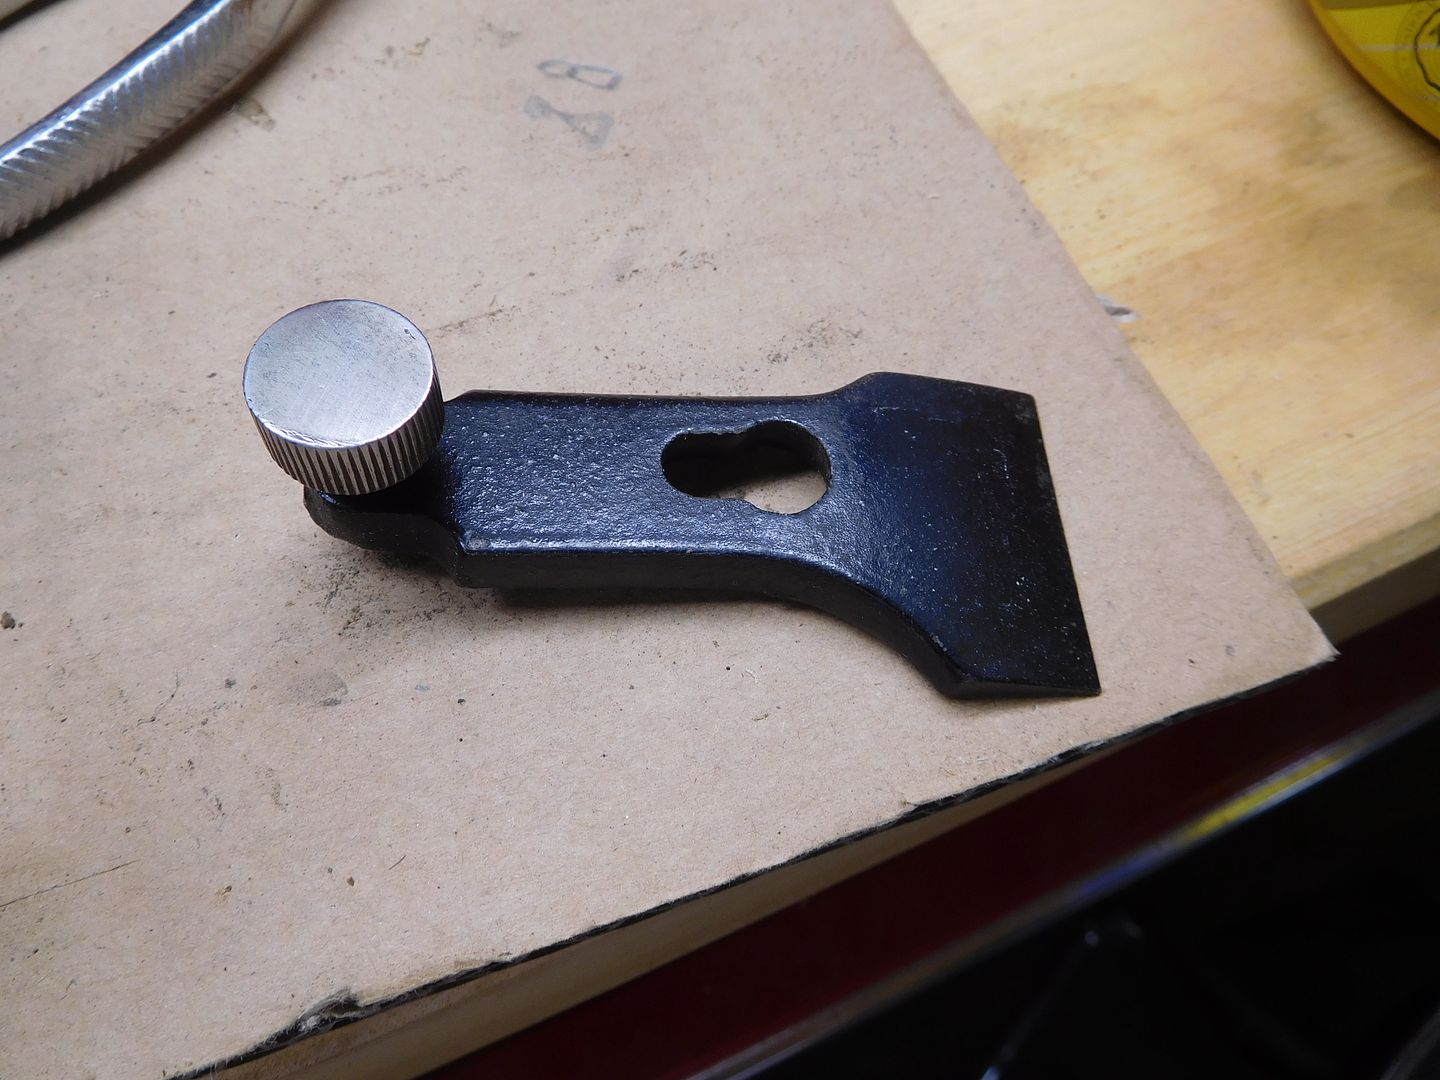
Years ago, I found a cheap addition to the router, maybe $5 spent, that is basically a hollow tube with threaded end that allows for fine adjustment via the knob on the other end.


Have you ever set up a lock miter bit?

ALL:
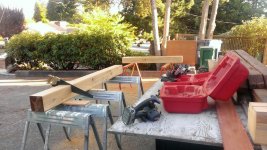
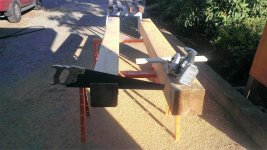
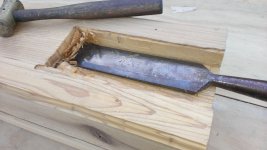
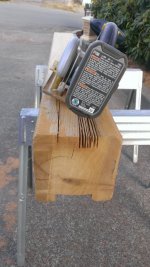
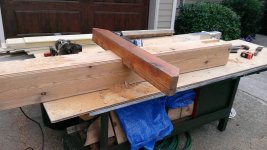
that said i do have a couple routers, a couple skill saws, a hand saw that you can see in the picture and probably a few other tools at my reach.
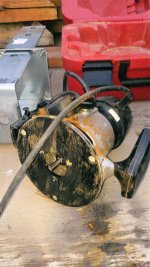
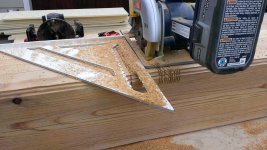
so my question is how would you cut a one inch deep inset so i can mount it with a couple bolts? i tried to freehand with one of my rounters that had a little cutting bit on it (sorry i don't know the official name of the bit, but here's a picture of it). i'm thinking to be a bit more exact maybe i'll make a few cuts an inch deep with my little Ryobi 18v skill saw and then router out the middle and top. any thoughts or good ideas are always welcome.


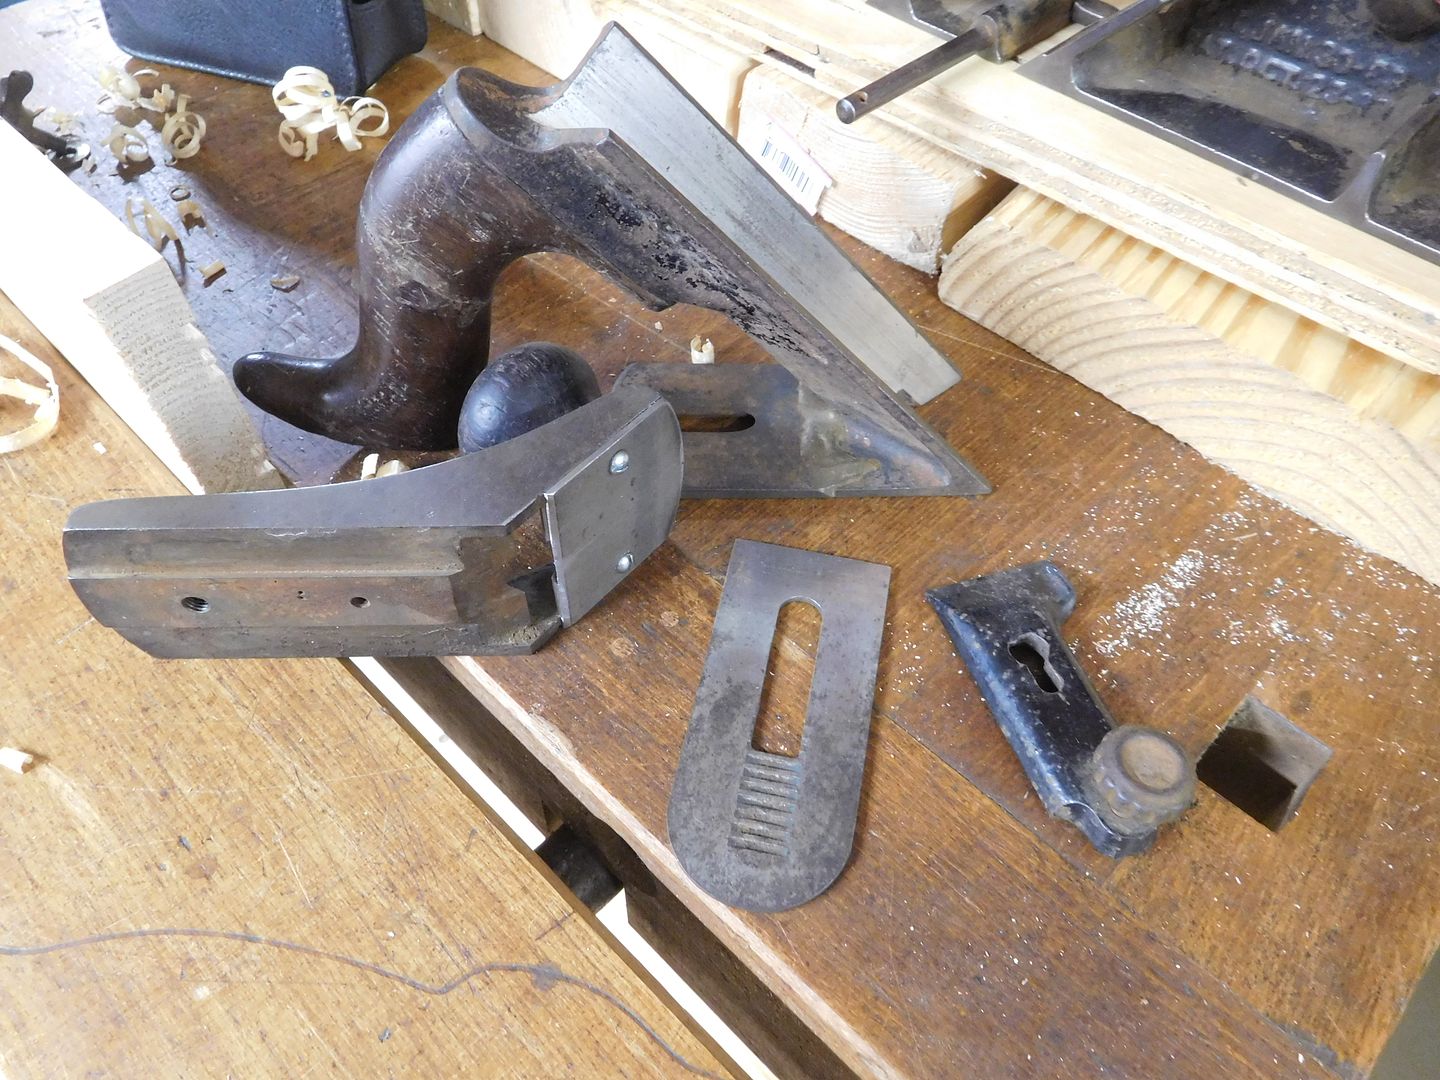
Hunter--Those should clean up nicely. The 45 looks like an early one with a bonus fence thrown in the deal. The #4 looks like it is in good shape. All of these should clean up well.
Teen--Glad you got lucky finding parts for your plane. Sometimes parts can be a challenge.
Hunter--Also glad to hear you found the center section for your plane. Since it is an early version without the blade depth adjuster, it takes any 1/8" thick cutter. I have lots of sets but it seems the 1/8" wide cutter is my favorite. Make sure you get one of those.
What types of projects/tasks do you find yourself using the 45 on mostly?