Michaelstover
Member
One of the best collection of woodworking bench all over the internet.
Thank you all.
Thank you all.


First you need to think about how do you plan on accurately drilling the handle to put the rod in if that's how you assemble I don't know. But if you have to drill all the way through then you're in full size lathe range to drill on the lathe or drill while its still square and turn it around the hole. If you have to drill all the way through and are able to before turning it then look at a 16 or 18 inch long lathe. Harbor freight sells a 16 inch which should be just fine as long as you know its limits. And since you're talking about making fishing pole handles I don't see you putting a tree stump on it and expecting it to be fine so it'll work fine. Harbor freight also has a twenty dollar set of turning tools start on that I still use most of mine. Learning to turn, for videos watch some videos on how to do things but specifically if you watch a video on how to use each tool individually that can help. Biggest thing is practice and feel. One of the lathes I have access to use has recommended speeds for the size I'm always turning much faster so learn to go by the feel of how its cutting. And the best way to know you've got it down is duplication. If you can make two of the same thing then you've got skill. That's how I practiced a lot was trying to duplicate things. I don't know anything about a Klein mini lathe. Some donts of turning. I see videos of people in long sleeves and gloves while turning. I've got a nice shredded flannel sleeve. So I would say long sleeves gloves and any necklace hanging outside of a shirt is a dont. A do that helps a lot. Keep the lathe tool rest as close to the work as possible and always touch the tool to the rest before your work
Sent from my P027 using Tapatalk
")
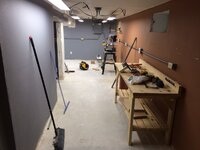
nuts--There are Shopsmith lovers and Shopsmith haters. My friends who have them love them. The lathe seems to be the most used tool. Your space challenged shop is exactly what the SS was made for. If you can get it for the right price, I say jump.


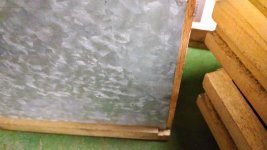
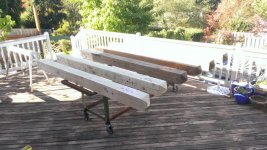
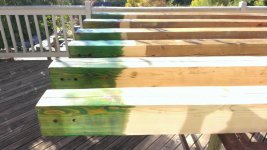
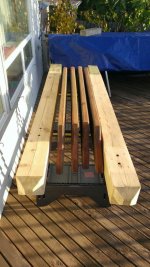
I have not figured it out. In top right corner it has a nice redish tint to it. Whatever it is I think its a beautiful 30 dollar slab.Hey Teen,
Have you figured out what wood species you have there? My guess now that it is sanded would be spalted maple.


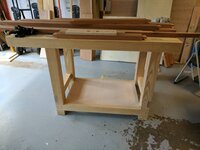
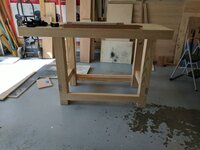
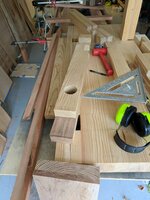
 oh well it will be fine. Maybe tonight or tomorrow I will do a glue up with the braces into the legs. I cut the dowels as well for the glue up. Getting closer! Still need to finalize a design for the leg chop though.

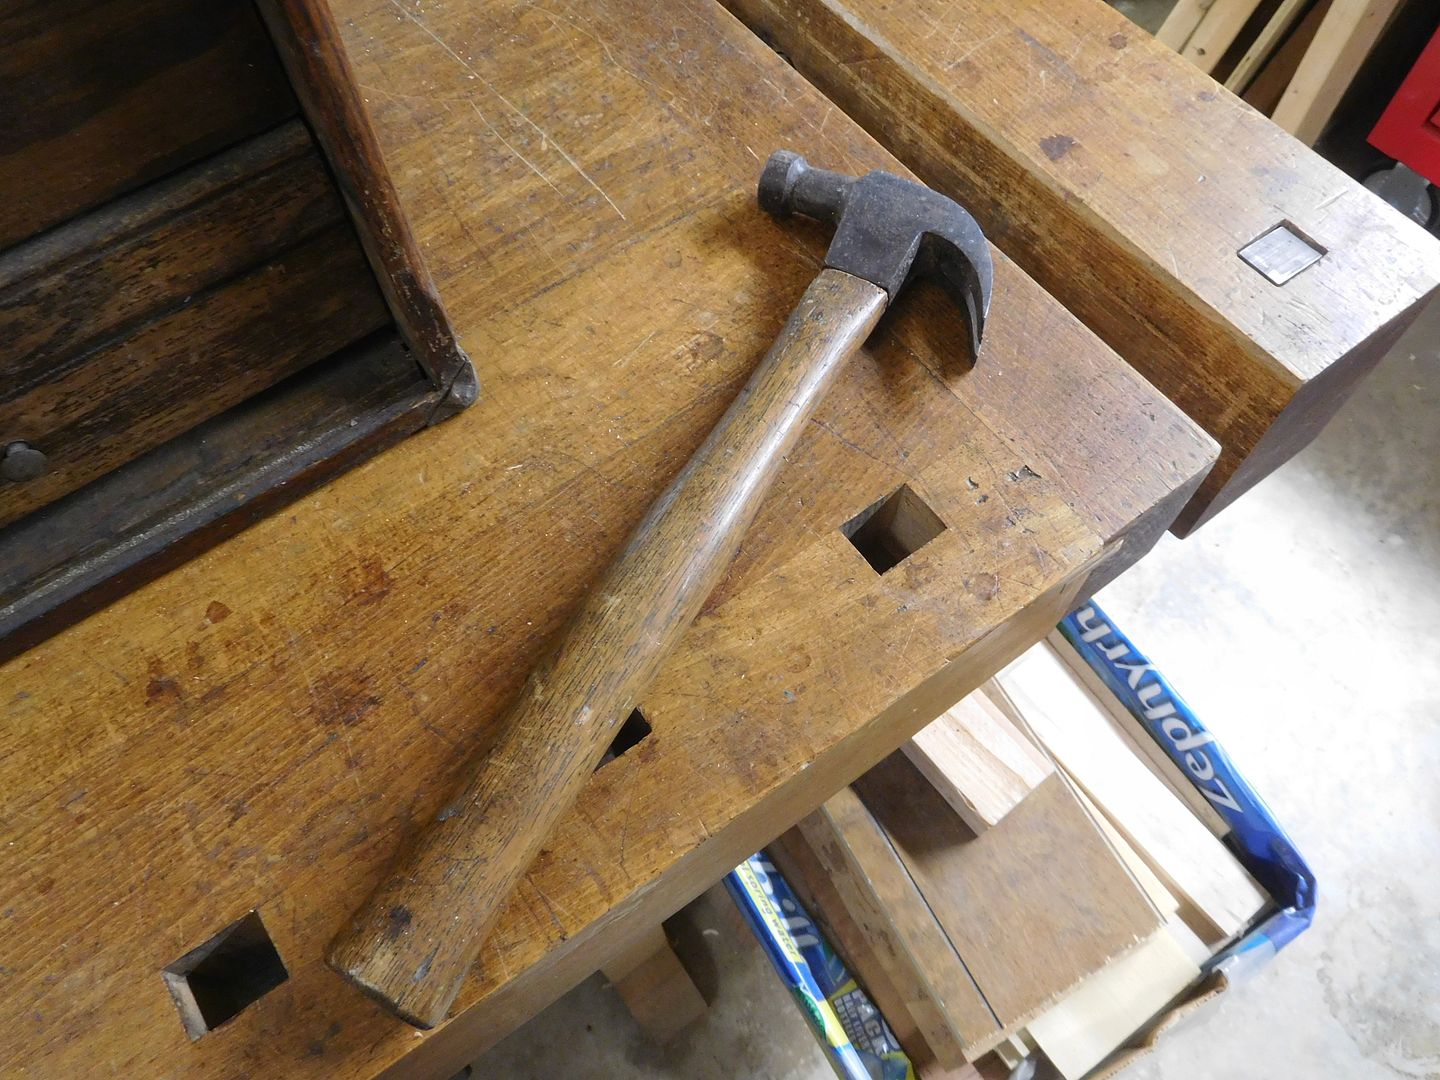
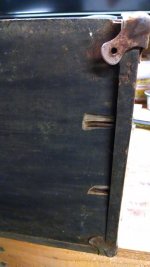
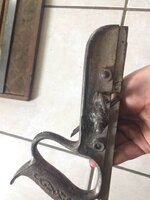
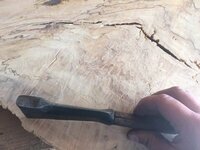
...I stamped his grandpa's name into the end of the handle...
Am I the only one who views this as a kind of vandalism? Seems a shame to do this to a valued antique. When buying used tools I generally pass up anything that has been engraved or otherwise personalized by a previous owner.

Am I the only one who views this as a kind of vandalism?
...How about a few positive comments every now and then ez-duzit...


Yes. How about a few positive comments every now and then ez-duzit.

I like ez's blunt honesty, although I don't know I would have used the word vandalism. Is defacing a better word?
Jim (and others that this might apply to), don't take any of the comments that we say to heart. As if we were hanging out together in your shop, it's good to challenge one another's thinking. If you're happy with it, that's all that should really matter at the end of the day. However, if there's something that we think might cause you to loose a limb or burn down the shop, well, that's something entirely different.


I also need to 45 off the 4 sides on the top part so guesing just use guides and a circular or worm drive or is there a better way?


![WP_20170619_003[36457].jpg](/forum/data/attachments/558/558340-c94baac7b412a9b4f22942469fff4db9.jpg)