OP
jimreed2160
Well-known member
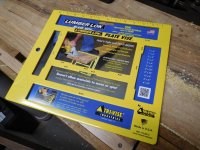
Kreg wins
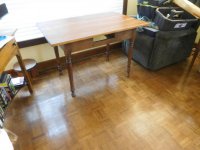
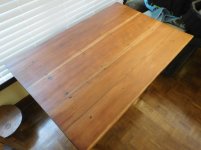
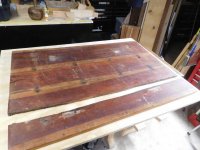
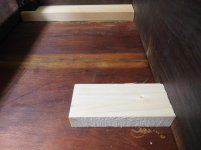
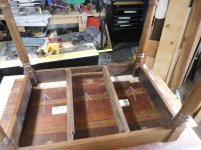
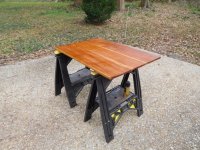
My second test for the Kreg came up quickly. The table top project is at a point where it needs the bottom frame. BUT the bottom frame is my desk. So today I replaced the bottom frame with a banquet table. The plywood top fit just fine and happens to be EXACTLY the width of the plywood desktop. But the desk needed an upgrade--not enough flat surface. At 48 x 24 inches it is just not deep enough for all of my desk requirements. So I decided to build UP. What I needed first was a riser.
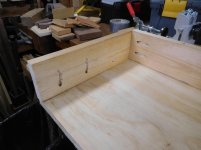
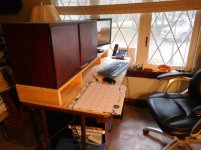
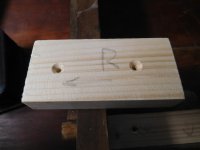
Nature abhors a vacuum just like a woodworker abhors unused cutoffs. I bought a piece of plywood to make my bench wider and accommodate the table top. It was 4 x 4 and I cut a 12" piece from one side. I spied that 48 x 12 cutoff over in the corner and Kreg'ed two three sided boxes on it from a scrap furring strip. This riser now holds the monitor, 2 speakers, and the mahogany pigeon hole box that I have been refurbing. I like it so far and will alter as time goes on. Now I need to get busy and finish the refurb of the box.
The Kreg worked great. I was not sure if I would use it much but it has really come in handy lately. Me like. Thanks to all you Kreg fans who encouraged me to take a leap of faith.
My second test for the Kreg came up quickly. The table top project is at a point where it needs the bottom frame. BUT the bottom frame is my desk. So today I replaced the bottom frame with a banquet table. The plywood top fit just fine and happens to be EXACTLY the width of the plywood desktop. But the desk needed an upgrade--not enough flat surface. At 48 x 24 inches it is just not deep enough for all of my desk requirements. So I decided to build UP. What I needed first was a riser.
Nature abhors a vacuum just like a woodworker abhors unused cutoffs. I bought a piece of plywood to make my bench wider and accommodate the table top. It was 4 x 4 and I cut a 12" piece from one side. I spied that 48 x 12 cutoff over in the corner and Kreg'ed two three sided boxes on it from a scrap furring strip. This riser now holds the monitor, 2 speakers, and the mahogany pigeon hole box that I have been refurbing. I like it so far and will alter as time goes on. Now I need to get busy and finish the refurb of the box.
The Kreg worked great. I was not sure if I would use it much but it has really come in handy lately. Me like. Thanks to all you Kreg fans who encouraged me to take a leap of faith.


")