OP
jimreed2160
Well-known member
Yeah, what they said. It was 4430 from 16 Jan.


Rikon 10-324.1--what bandsaw do you have?


hunter--Good job on the bookcase. Your dovetails look well done. Be careful though as DTs can be addictive. You might find yourself adding them to every project. Since your wife was pleased with the project, you have the green light to acquire more tools. Don't miss this opportunity.


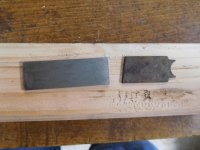
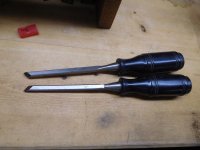
Hunter--I hear ya on the dovetail chisels. I suggest you make your own. When I had a DT project come up some 20 years ago, I went to Big Lots and bought two nice 1/4" chisels. I ground the tips flat at 45 degrees to the edge. Then I replaced the 30 degree bevel on a skew. One of them is right handed and the other is a lefty. They really get into DT corners for cleanout.
My buddies did 30 degrees but I found the 45 more to my liking. I even found an inexpensive lot of chisels and doubled my money by selling pairs.
Find chisels with nice handles and grind away. All it takes is time and lots of water for frequent quenching.


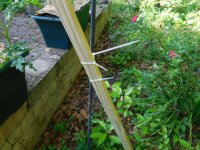
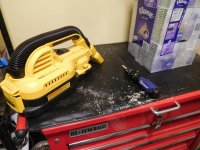
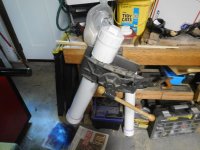
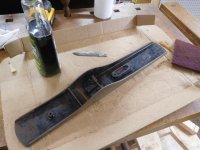
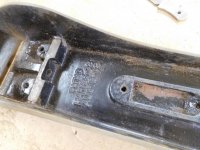
...and as I moved my fence for the last adjustment for the sides, the hand snapped off. I contacted delta for a warranty replacement part. They approved it and will hopefully be here next week. Until then...
It's what I planned on doing. Luckily I have just enough of the snapped off part to take to the hardware store to get a bolt. Not sure when I can get to the store though.Oof. But that's just a handle. In the meantime, you could get a bolt at the hardware store in the same threading, and get back to work.
FWIW, I modified my fence handle years ago. My saw is in a tighter spot than I'd like, and I'd get hit in the nuts by that damned handle every time I walked past the freezer. Now, my handle is removable. But that mod required some welding.
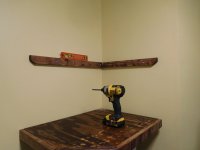
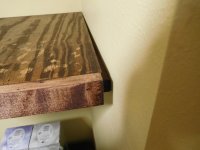
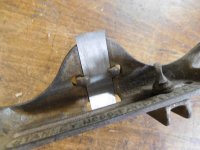
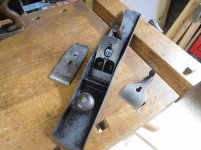
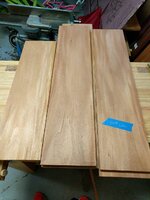
Are you sure your edges are square? And do you use any cauls during glue up to keep the boards flat?So I struggle with gluing up panels. It seems that I have a hard time getting the joint to line up flat.
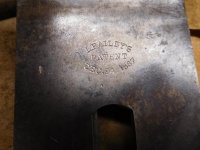
I was thinking that next time I may do tongue and grove with my Stanley 45.
This would be a solid wood side for another book case. Any reason why I should not do it this way?
Sent from my iPhone using Tapatalk

Are you sure your edges are square? And do you use any cauls during glue up to keep the boards flat?
Sent from my Pixel XL using Tapatalk