drivesitfar
Well-known member
Jim: what's floor space? stay tuned and i'll let you know if i find any here. nice looking box and sorry to hear you had to return one cause of a defect.
ALL: I sort of thought this was a thread on Computers this week and happy to see some of you got your tech stuff figured out. Just an FYI I just posted these 6 large pictures all at once so GJ's tech crew got that issue fixed where I (and maybe we) could only load one or two pictures at a time.
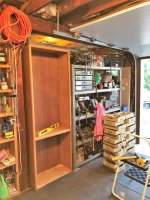
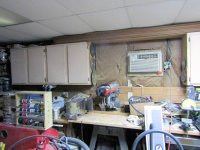
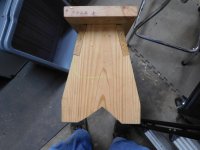
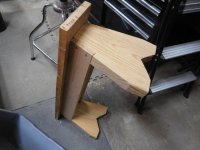
I hope it's ok to show my prototype which is actually a nice oak book cabinet that I cut to size to see how it looks before i maybe build one to house these old wood bins and my stuff.
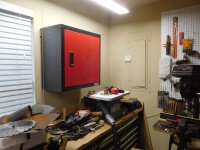
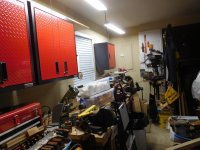
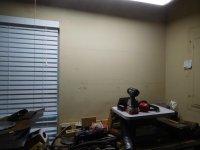
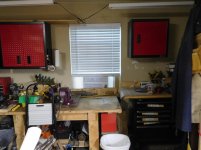
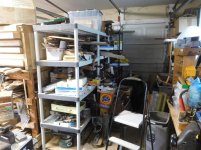
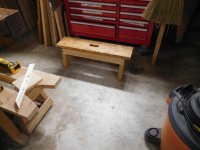
with the garage railing on my side of the garage at 82 and the cabinet at 83.75 and pretty close the right 30 inch width I picked this oak cabinet up and did a little modifying. I didn't have to bring out my bigger saws and my Ryobi 18v did the job trimming 1.875 off the bottom and we'll see how it looks filled up now that it fits the spot I have. since i'm encroaching in my bride's side of the garage I needed to move the metal cabinets that I liked so she doesn't hit them with her car door any more. Oak is a little more forgiving and doesn't chip the paint.
ALL: I sort of thought this was a thread on Computers this week and happy to see some of you got your tech stuff figured out. Just an FYI I just posted these 6 large pictures all at once so GJ's tech crew got that issue fixed where I (and maybe we) could only load one or two pictures at a time.
I hope it's ok to show my prototype which is actually a nice oak book cabinet that I cut to size to see how it looks before i maybe build one to house these old wood bins and my stuff.
with the garage railing on my side of the garage at 82 and the cabinet at 83.75 and pretty close the right 30 inch width I picked this oak cabinet up and did a little modifying. I didn't have to bring out my bigger saws and my Ryobi 18v did the job trimming 1.875 off the bottom and we'll see how it looks filled up now that it fits the spot I have. since i'm encroaching in my bride's side of the garage I needed to move the metal cabinets that I liked so she doesn't hit them with her car door any more. Oak is a little more forgiving and doesn't chip the paint.
Attachments
-
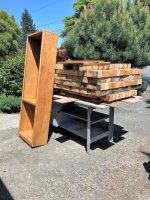 picked up free Oak cabinet for old bins.jpg143.6 KB · Views: 54
 -
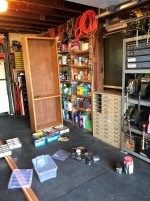 moved metal cabinet (2).jpg147.4 KB · Views: 55
 -
 cut 2 inches off bottom of oak cabinet 1.jpg147.5 KB · Views: 52
 -
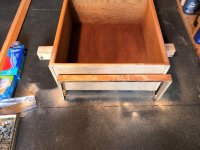 cut 2 inches off bottom of oak cabinet.jpg145.7 KB · Views: 50
 -
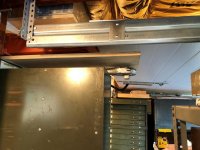 railing too low hence cutting oak cabinet.jpg147.2 KB · Views: 47
 -
 modified oak cabinet fits in sp.jpg137.4 KB · Views: 48
 -
 00j0j_dOfxlIrNItO_1200x900.jpg96.3 KB · Views: 47
Last edited:


")