HINGE TIP
When I mentioned to my brother that I was putting hinges on a project, he gave me this tip. It's actually very simple to do but it's difficult to describe.
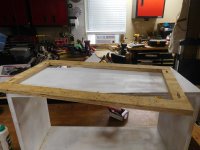
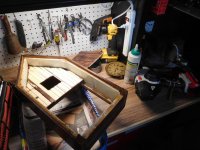
First, close the hinge and put a piece of painter's tape on top of the half that is going to be mounted. (I had already screwed one part of the hinge to the project and was leery about mounting the other part because that's where I usually have trouble with misalignment.)
Second, put tape on the hinge and another piece on the wood where the hinge would be mounted.
Third, when you are ready, put a dab or two of hot melt glue on the non-sticky side of the tape on either the wood or the hinge.
Fourth, before the glue starts to harden, align the two parts and press gently. Hold them in place for a minute or two.
The tape will stick to the wood and to the hinge. The glue sandwich will hold both parts together temporarily while you drill the pilot holes for the second part of the hinge.
The reason for using painter's tape is that it is low-tack. It's easy to remove and will not leave mastic behind to spoil the project. You may want to scuff up the shiny side of the tape with sandpaper so that the glue will grip better.
I hope this description and accompanying pictures make sense because it is a terrific tip. I'm sure I'll find other uses for it like temporarily attaching guide blocks.