acer66
Well-known member
Learned this somewhere (maybe here)
To keep stripper from evaporating over time lay down plastic drop cloth over the top

So it works longer on the paint?


Learned this somewhere (maybe here)
To keep stripper from evaporating over time lay down plastic drop cloth over the top
So it works longer on the paint?
Yea thats the gist of it. No air layer on it. Stay wet longer.
Good to know, did you press the plastic into the stripper?

Yea where i could. It gets a little sloppy and sticky so it wasnt perfect.
Went out earlier (18hrs since applying) and it was wet enough to scrape easy but still may need another pass.

One time we had to lay out a very large, gentle radius for a large circle top window. It took two sticks nailed together to make a 20ft stick, with two sheets of plywood end to end for the layout. Out in the parking lot, of course, one guy holding the center point trammel end of the stick, in the asphalt, and the other walking the trammel across the plywood.Henry--You touched my heart when you mentioned using trammels for your layout. Great work. I love my trammels.
One time we had to lay out a very large, gentle radius for a large circle top window. It took two sticks nailed together to make a 20ft stick, with two sheets of plywood end to end for the layout. Out in the parking lot, of course, one guy holding the center point trammel end of the stick, in the asphalt, and the other walking the trammel across the plywood.
I always preferred the Stanley #4 trammel points. They clamp to various size sticks, and, being shorter and sturdy, have much less tendency to wobble. I still have two pair of them tucked away with all my other millwork hand tools. I also still have several sets of C.S. Osborne compasses for smaller radius work.


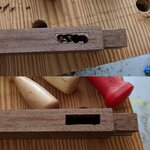


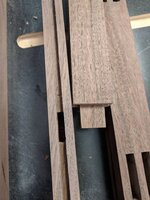
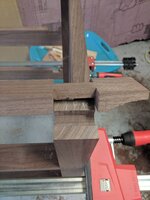
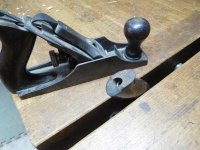
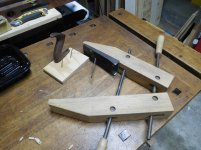
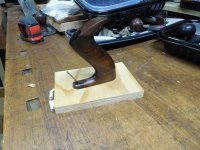
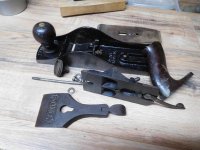
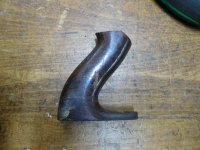
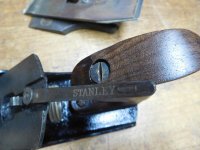
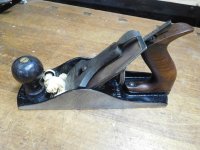
Very nice job on the tote repair Jim! What stain do you use to match the walnut and rosewood? Can we see a pic of the finished tote when it's ready please?
I've got four vintage Stanley planes that I need to repair the totes on. Most of those repairs are where the tote has broken in half but one is the repair you've shown here. Thanks for sharing!


Router question....
We cut holes (usually about 4" spare with radius corners) through 3/4 MDF type furniture and sometimes laminated surfaces over MDF. Looking at getting a router, brass bushings and making a jig so the job is easier.
Is this something that should/could be done with a palm router? Or better off sticking to a full size?


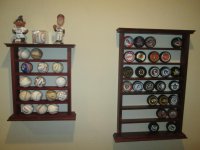
") Here are a couple of pics...
Here are a couple of pics...