j p smith
Well-known member
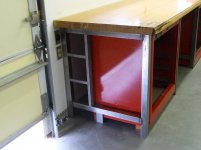
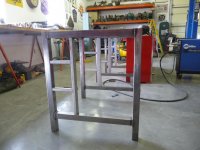
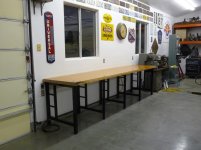
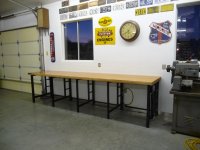
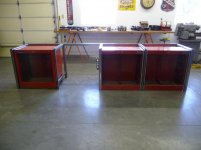
So I started out to replace my bench I have had for 18 years. I thought about trying to see how many ideas I could borrow from the forum and still make it work with what I already had. This where I started this morning and how far I got today. I still have one more feature to add. I would like to add a steel storage area between the boxes and the wall.
Attachments


Last edited: