Jeff,
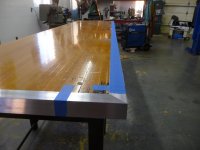
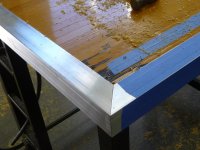
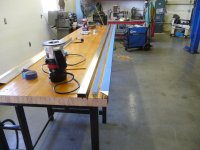
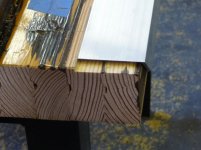
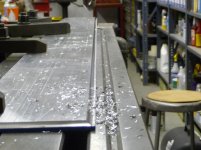
Great looking bench! The aluminum trim and backsplash is a nice touch. It’s looking to be an heirloom-quality piece which I’m sure you’ll put to good use. A couple of custom benches are on my long list of “to-do’s”…
There is bowling alley on C-list right now
Where do you pick your raw material (aluminum, steel tubing, etc.) up from? Do you have a good source on the west side of the valley? I’ve been going to Davis Metals on 32nd street and Washington. Would be nice to have a good alternative closer to home.
I have the best luck with Valley Steel, 75th Ave & Olive, also there is a place at 112th Ave & Buckeye, Advanced Metal Sales up by I-17 & Deer Valley, Glendale Steel, east of 59th Ave on Bethany Home
Also, someone else made mention of your stand-alone vise and stand – I currently only have that small-ish vise attached to my little mobile work table and would like something a little larger. What’s your thoughts on the stand-alone vise versus the typical unit attached to a bench? I’m a little cautious of adding yet another “thing” that takes up valuable shop square footage. Do you have some specific use of it, or feel the mobility and/or frequent use justifies the extra footprint?


")