Eds_tls
Well-known member
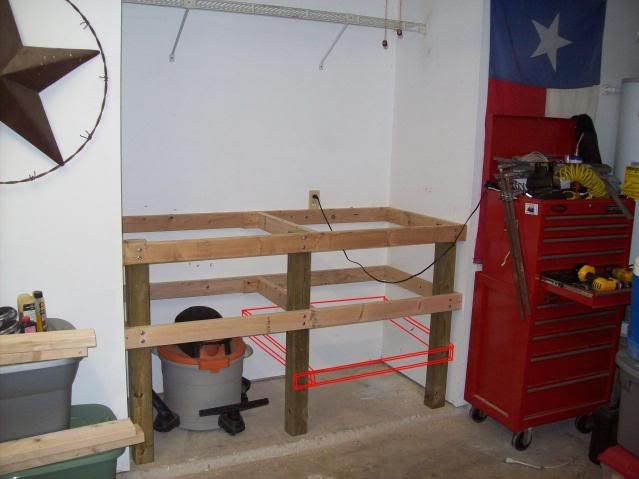
I framed the top and bottom completely. And then tied the vertical posts to them


I made this one out of 2x4's and mdf. The top is three layers of 3/4 inch mdf with dog holes drilled for clamps. It has 6 layers of poly with sanding in between each coat. 7 years old and still looks like new. the casters let me take it any where I want. It gets used every day.


heres mine... Found an old wood door and used it at the top portion of the surface...

When you guys are building a free-standing bench, what do you start with? What I mean is, do you lay out the posts on the floor and tie them together, then stand it up?


For those of you using casters - what are you using? I'm looking for something that will be pretty stout and the ability to lock.
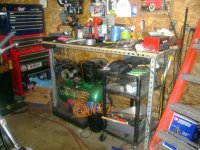
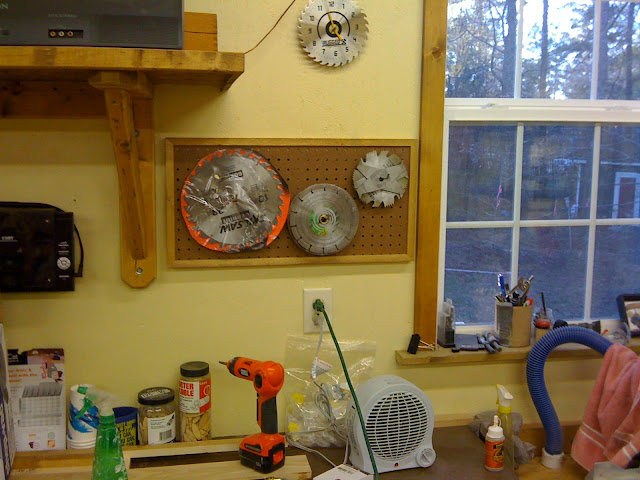
I'm starting to organize my garage and the new mantra is "if it's not bolted down it needs to be on wheels".
And ya, lap joints cut on a circ saw are a royal pain in the @$$.
") But then again I do use them for shelves I build. I mortised and tenoned full 2x4 into the douglous fur 4x4. Guess i need to take some pictures.
But then again I do use them for shelves I build. I mortised and tenoned full 2x4 into the douglous fur 4x4. Guess i need to take some pictures.


Should take at most 5 min a joint
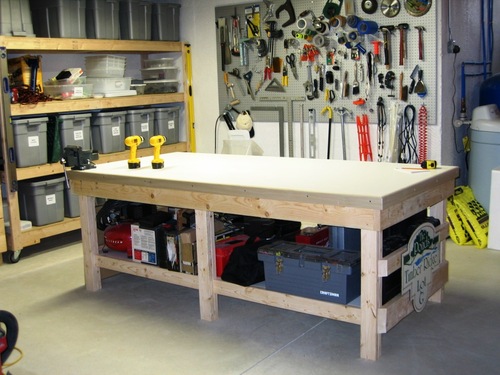
No clue... but I'm 6'4" 235 and I sat on it and it didn't move or make a creak at all.cobra... how much weight will that bench hold? i like it... looks clean.

A couple more screws and that last shelf, and it will be ready for its top sheet.
That looks really nice... wish I had a basement sometimes. I like the hanger bar... was that a random pipe already there or something you built?
What about access to that outlet? Surely the top sheet will get in the way...
Yeah I like it... if it doesn't get in the way. Good for haning towels and you could hang a dirty shirt w/ a coat hanger etc. etc.Yes, the bar was already there. I was actually going to take it down, but now I am not sure. It works good for hanging clamps from.
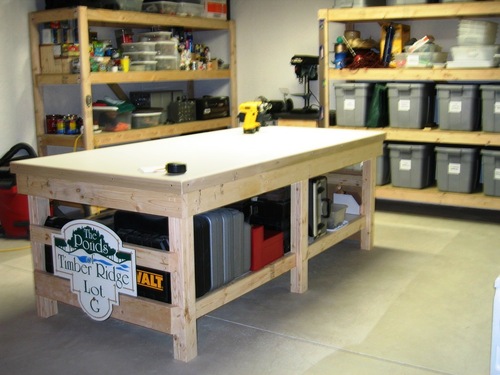
I just got done building mine this weekend. It's basically two 4' benches with a 2' space in the middle so I can get really close with my work stool. The perimiter on the top is 2x6's with 4 2x6 supports front to back, then 2x4 perimiter about 13" off the floor with 3 supports front to back. The corners are 4x4's notched. Each bench is like this and then 2 layers of 3/4" ply for the top spanning the entire 10' length. Each side is screwed to the wall. For the 2' span there is a 2x6 along the back and then 2 2x6's laying flat to support the middle. It should be plenty strong for anything I want to do.
Home Depot has an Internet special sale on the Simpson Strong Tie workbench kit KWB1 at $35 right now so I went ahead and ordered one tonight. The brackets and screws would have been well over $60 purchased separately.
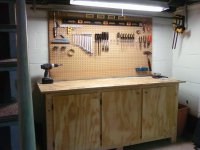
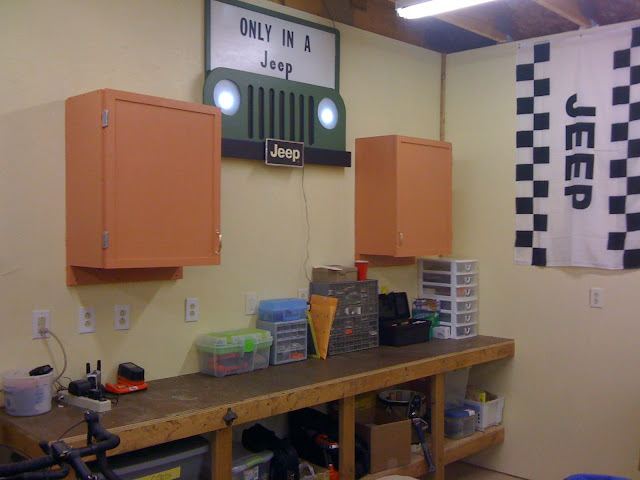
I built this bench in my basement last week. It gives me a place to store some tools in the house and also work on some small projects when it is too darn cold to go out and work in the garages. I still need to get a coat of paint on it.
Mister B,
Come on now, are we to believe that's the way your bench always looks??? The tools are just too neat and tidy.


I wanted a bench that I could really hammer on, so the top is glued 2x4's with threaded rods for extra measure. There is also a 30"x30"x3/8" steel plate for welding/hammering, etc.
...