OP
Lucky13driver
Well-known member
Scottsgt thanks I'd like to see your build. I'm really enjoying this project.


Tagging along. This is the first thing I plan on doing when I have my shop finished up, probably a few months from now.
I'm going with Gladiator chests since I got a killer deal on them and a bunch of cabinets. I plan on something very similar to what the OP is doing. I'll remove the center chest to have some leg room and I'll have two upright cabinets bookending the bench. So very similar.
Keep us posted.
-Clint

Scottsgt thanks I'd like to see your build. I'm really enjoying this project.
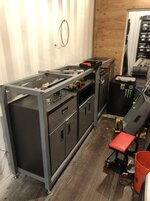
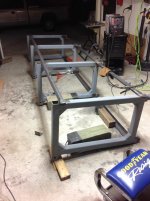
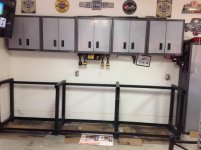
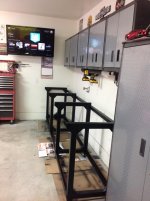
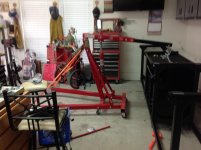
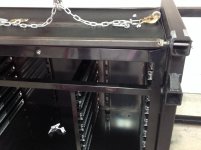
Today's work has me very close to the finish line.


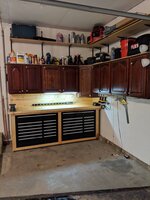
You guys with the welding skills are impressive! I stuck with wood for mine, but similar purpose. 2 HF boxes from Black Friday and 3 sheets of plywood from Menard's produced this nice little upgrade in the corner of my garage that was a disorganized mess before.
Sent from my Pixel 3 using Tapatalk


Cderalow the drawer measurements are: 19-9/16"deep; the taller drawers are 4-3/8" high/tall; and the shorter ones are 2-1/2" high/tall. The top drawer is 36-1/2" wide; the medium is 22" wide; and the small are 12" wide. These are the second generation boxes. I hope this information helps.
 and tools so this is the current status of my shop build: