OP


Fantastic work! Are you located in the big city, or outside? If you are looking to scrounge building supplies, I have some great leads. Wait for the 220 heater to go on sale at Princess. I've put many of them in, and they are the best bang for the proverbial buck


One step closer this weekend..
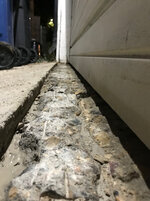
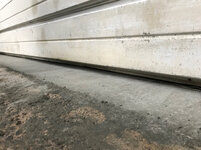
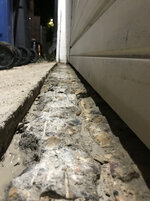
With the new concrete footer cured and ready, it was time to put the door in.
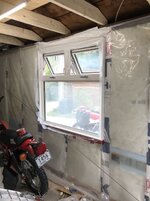
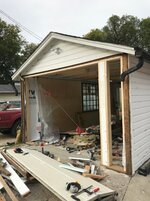
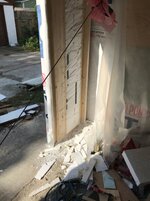
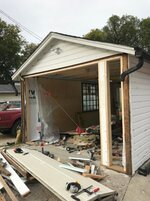
Started on Friday night by prepping the materials at my Dad’s shop. Then early Saturday morning I took the old door out and knocked the wall out right down to the slab. It didn’t take long for the scrap metal guys to spot my old door and come take it away for me.
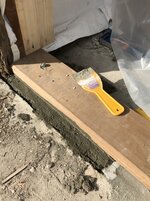
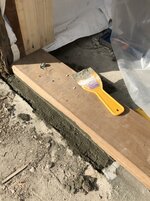
I used 2x6 pressure treated lumber for the new bottom plate, secured with two concrete anchors. There were some gaps under the plate, so I poured a thin layer of the same bonded topping mix onto the slab first, then bolted the bottom plate down. Now I’ve got a strong and mouse-proof footer along that wall.
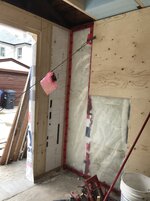
Built up the frame and used some rigid foam insulation we found at the local dump, with the thinking that it might just help that wall stay a bit more rigid. There isn’t much ‘wall’ there to start with on account of the door. With the narrower door, rigid foam, and 1/2” plywood sheeting inside and out, it’s certainly stronger than it was before though.
By the end of Saturday we had the wall framed and exterior sheeted. I covered it with a sheet of Tyvek and tacked some plywood in behind for overnight.
Sunday morning I sheeted the inside of the wall with 1/2” as I mentioned, glueing the sheets in place with PL300, joining all the plywood with splines, and screws every 6 inches on every stud and top/bottom plate. It looks like an old riveted sheet metal plane with all these fasteners!
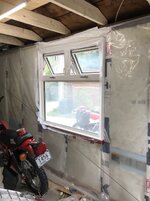
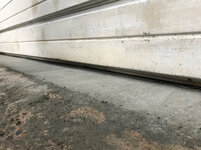
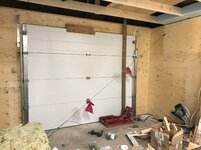
Door went in next. It was a pretty standard affair, but the good news is we have a near perfect seal along the bottom and sides. A bit of fine tuning and it’ll be really tight.
The upper rails will have to wait until I finish sheeting the ceiling, hopefully later this week even.
So, half the walls are now done… one step closer as the temp starts to drop.
Looks pretty-good. The extras you're doing should help it to outlive you.
I have a 1-car with shear walls on the gable end walls and for several feet down each side wall from the roll-up gable-end door. The P.E. designed the shear walls with 3/4" PT plywood. The fasteners are closely-spaced, fastened to 18 ga galvanized steel framing members, which is what is used instead of 2 x 6's.
I suggest you use some quality fasteners and through-bolt the perforated L-angles for the tracks, rather than just using lag bolts. Through-bolt them at least twice on each strap. Use fender washers for the other side of the through-bolt opposite the L-angle. Something even stouter might be better.
3/4", that's a solid wall! I've got 1/2" on both sides. What's your thinking about through-bolting the garage door tracks instead of lag bolts? To make it that much harder for someone to pry their way in? I was intending on adding more L-brackets as they only included 3 per side.
The door is small - 8' wide, 6.5' tall, but still, I'd like it to be solid.


More progress on the garage last night:
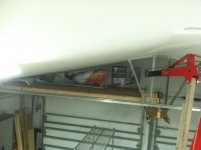
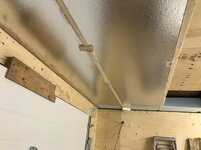
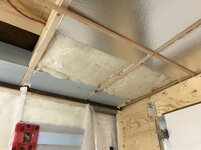
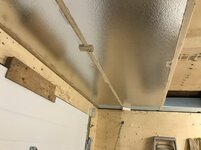
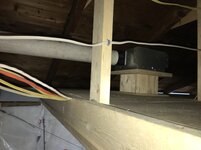
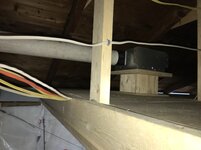
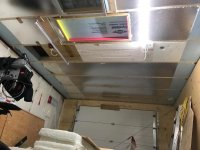
I spent a few hours starting the ceiling insulation. Originally I was planning on using R20 batting with vapour barrier under, but I’ve decided to change it up a bit. I’m still using the R20, but under that I’ll be putting in an additional piece of DuroFoam polystyrene insulation, glued around it’s perimeter to the joists, with no poly vapour barrier.
https://www.homedepot.ca/en/home/p.eps-rigid-insulation-96inch-x-48inch-x-15inch.1000116860.html
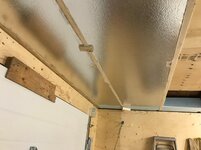
My reasoning for this is that I can create a vapour barrier in the ceiling by sealing/gluing the DuroFoam to the joists, and taping the seams where it meets the blue rigid foam wedges I glued along both edges of the roof. That leaves me with a bare wood surface on the bottom of the joists to screw AND glue my ceiling sheeting to.
Since the car door wall of the garage was leaning more than the man door side, I want to create as much strength as I can to resist twisting again. The first thing I did was install a narrower door. Now I’ll add additional strength with 3/8 sheeting, grooved with splines along the edges, then glued again to the joists, with screws every 6 inches. I think that’ll provide a lot of resistance to the building leaning to the side.
RE: Winnipegtibook - I do have a man door already - check the first page I think, I bought a commercial steel door off Kijiji for a great price. Steel frame too. The only weird thing is that it has a small window on the BOTTOM! My guess is a manufacturing error, hence the great price! It’s really solid. I tripled the studs on both sides and added a new dead bolt. I need to fab a plat to cover the deadbolt from would-be thieves though, as an added measure of protection. I was thinking some 1/8” steel plate welded to the door or something.
I also need to insulate the door. Right now it just has some cardboard beehive stuff in there to keep it quiet. I was thinking of cutting the top edge open a ways, pulling all that out, then filling it with rigid foam. It would be a little tricky working around the window and door, but could be done. Then I’d weld the door back together. Just a thought at this point. The ‘easy’ option would be simply adhering some rigid foam to the inside face of the door.
Tonight I’ll finish all the batting in the ceiling and cutting the DuroFoam to size. Later this week I hope to have the ceiling completely sheeted and finished, leaving only the remaining two walls to sheet, and the floor…..oh that floor.
Also, oh man. Working in a one car garage when it’s been raining for days is getting a bit silly here. Not enough room for materials and tools!!
Sent from my iPhone using Tapatalk


Good job! I have a question, and I’m certainly no expert. It doesn’t get quite as cold in Iowa as it does in Winnipeg, so construction methods are probably different. Here, we do not put a vapor barrier in the ceiling, so the vapor can escape. Usually blown-in insulation or unfaced fiberglass bats. Especially with unheated space above. If you start seeing ice or moisture on the inside of windows, your ceiling vapor barrier will be why.
Walt


Very nice work on the outside trim and siding installation.
What color(s) are you thinking for the interior plywood?
How many exterior electric plugs do you have?