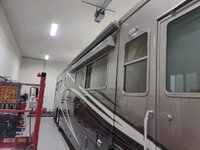
Last night I tackled and finished up a not so fun job that I have been dreading for the past couple of years. But seeing as how I still have the scissor lift that I rented from my neighbor, I'd try to get it off my "to do" list.
I had a seal tear at the front of my curbside slideout on our coach last year. It wasn't a bad tear but it started getting worse with use so I ordered a new double bulb seal from Uni-Grip a few months ago in preparation for this task. Here I have begun removing the old seal at the back of the slideout. I found a wide flat pry tool worked good for sliding the grip off of the lip and then just pulling it out as I went. The removal went relatively quick. The rear of the slide and top still looked fantastic, it was just up near the top, near the slide lock at the front that the seal was torn but I opted to replace the entire thing. I've seen some people cut a 45-degree at the upper corners and just replace what is damaged or replace in three pieces to ease installation, but I opted to replace it in the manner in which Monaco installed it nearly 23+ years ago.
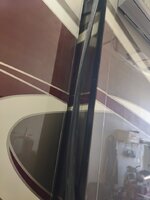
The new double bulb seal from Uni-Grip.

I started at the rear lower edge of the slide, working my way up the rear most edge, around the corner and along the top. The vertical section at the rear of the slide wasn't too bad to do by hand. Just tuck the seal inside and pull out as I went just until the U-channel slips halfway over the metal lip and push it on with my fingers. But when it came to the top section it was a bit more problematic. Firstly, because I had to reach up and over the slideout's outermost edge and even with the slide slightly retracted, the lip was still about 16-18 inches away so I didn't have much leverage in that small gap between the opening and the roof of the slide box.
I stood looking at it trying to come up with options that wouldn't scratch or damage the surface of the slide and figured I would throw a piece of heater hose on the end of a flat bladed prybar and then wrap with electrical tape.
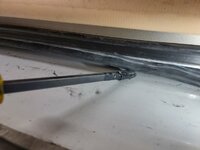
This worked perfectly. I would tuck the seal inboard about 18 inches ahead of me, then just pull it out until the U channel slips halfway around the lip and chase it with the prybar raising it up and pressing the metal U clip of the seal up onto the lip. This did require a fair bit of pressure as the metal inside the rubber seal is quite tight and needs to be in order to grip firmly onto the .125" lip, but this top section actually moved along at a decent pace.

Now with the rear and the top of the seal installed, I had to turn my attention to the front section which was a bit tighter clearance and what I was dreading the most.

With the seal fully installed, I stood back licking my wounds and admired the finished job. My hands got cut up and were sore as hell afterwards, but glad it's done. Here is the rear of the slide with the new seal installed.
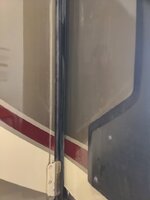
Front of the slide with new seal.

I had a couple areas near the locks that I added a bit of weatherstrip adhesive to in order to aid in keeping it intact, plus a little clear silicone sealant at the top two corners where the opening is squared off and the bulb seal rounds the corner slightly to seal off any potential leak so I left the slideout extended for the evening and cleaned up tools and called it a night.
I still need to give the area a wipe down with Final Inspection to clean off a bunch of sweaty handprints and then I can have my son help me to reinstall the slide topper and finish this job up.
Thanks for looking.