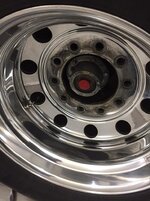
With the air drier so hard to access on these S-Series chassis, I figured while I had the left rear tag tire/wheel off I would rebuild the purge valve. It hasn’t given me any issues but over time they can begin to build up deposits in the valve itself and then not seal completely resulting in an air leak. With 130k miles on the coach I opted to tear it apart, clean it and reassemble with new software components.
The Wabco/Meritor kit that I purchased came with all of the internals so in they went.

It was due as there was some buildup just waiting to cause an air leak. Nothing too awfully bad though, just enough that I feel good about my decision to rebuild it.

New parts in the background, old in the foreground.

I’ve seen people leave these steel washers out by mistake but it’s important to put them in place to keep the steel spring from gouging into and wearing the brass valve as well as the plastic cone.

One steel washer goes into the seat of the plastic diffuser cone. I put a little of the supplied grease on the washer which helps hold things together during assembly.
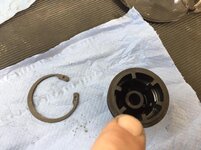
The other steel washer goes on the brass valve, again using some grease to hold everything together plus lube then new o-rings and seal.
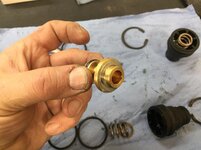
One o-ring on either side of the steel seat before installing and the grease helps hold things in place. Usually if doing this on the bench it’s not so important but I didn’t feel like removing the entire air drier to just rebuild the purge valve so I’ll be inserting the parts up into the drier and fighting gravity.

Parts greased up and installed into position.

Now comes the fun part and the hardest part when doing this on the coach. The plastic diffuser end has to go in place and you must compress the spring enough to install the heavy snap-ring into place. If your lucky enough to have three hands you’re all set otherwise you have to devise a plan to push the diffuser up into the bore far enough to then install the snap ring and the spring is fairly stiff.

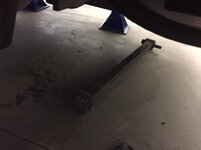
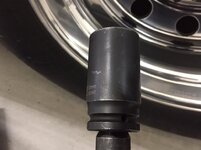
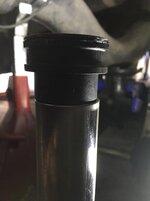
I grabbed a piece of steel tubing approx. 2’ long that just fit around the reduced section of the diffuser.
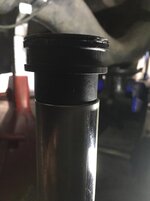
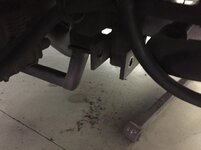
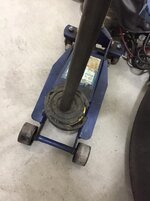
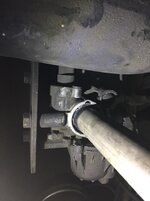
Then grabbed my floor jack and positioned it directly below the purge valve. I raised the floor jack GENTLY and just enough to push the plastic diffuser into place. Be sure to put the snap ring over the tubing prior to using the floor jack.

Then simply use a pair of snap ring pliers to compress and put into place. Easy peasy.
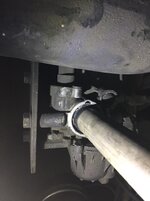
Purge valve rebuild complete.

Thanks for looking.


 Not good companions on long descents.











 and when finished realize hey I could have just...
 I know Eh.


