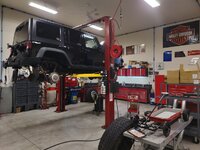
Last night before our winter storm hit Northern Utah, I pulled the truck into the shop in order to commence the facelift on the ole' girl. I also pulled the Jeep into the shop to widdle a bit on the engine cover and tweak my airflow frequency table just a tad.

The last couple of times I have driven the Jeep since the valve spring replacement I had noticed a very slight vibration at idle while in gear. It sounded like it was behind the dash so I had removed the glove box looking for a loose connector flopping around or something in the glovebox and I could not find anything out of the norm. The wife only heard it once but it was driving me absolutely nucking futs.
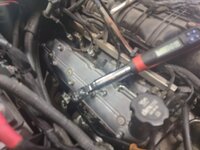
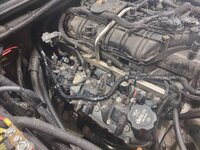
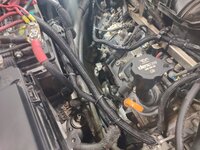
As I was walking out to leave work yesterday I thought to myself I wonder if it could be something in the engine bay. I popped the hood and noticed that the OEM plastic engine cover was slightly touching one coil on each bank. I tapped the cover a few times and thought maybe that could be it so I removed it and tossed it in the back for the drive home just to take it out of the equation. Sure as shittin', that was the source of the vibration. Nice and quiet all the way home and at each stoplight.
Upon arriving home, I pulled the Jeep in the shop and went to work figuring how much to trim from the bottom. I put some masking tape along the bottom edge on either side and figured I'd start small and only removed about 5/16" to start with.

I don't get to use my Snap-on PTS1000 pneumatic saw very often but when I do I sure enjoy it. I have a Matco air saw as well, but this old Snap-on air saw is so much smoother and easy to control. The Matco one isn't too bad but the newer Snap-on one is a bit larger and seems to have a longer stroke therefore I don't care for it as much.
The air saw makes short work of a little trimming.
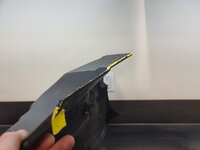
Next take a regular razor blade.

And drag is backwards along the freshly cut edges, think negative rake. This will cause the plastic to kind of curl up behind the blade and does a great job of "deburring" the plastic. I like to work my way around the edges to put that factory appearing radius on the edge.
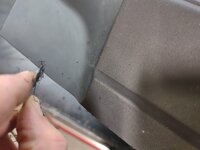
Here if you look closely after only a half dozen passes with the razor blade the edge has a nice smooth radius that looks factory.

Other side that was trimmed and radiused.

Looks factory and can't even tell it was altered.
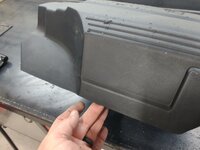
And more importantly, it now clears the coils with a good 3/16"-1/4" clearance.
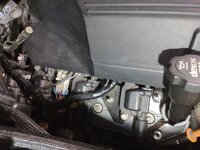
Ready to go.

While it was in the shop I thought I'd plug the laptop into it and tweak the airflow frequency every so slightly just one more time. I adjusted them last spring when I installed the shorter air intake duct after changing the battery and TIPM orientation and the trims were very, very good reading around 2.7 to 3.9 positive on LTFT. They remained very consistent and never went above 5% but I wanted to get them just a little lower and closer to zero if possible.
I adjusted the calculation by 2.5% additional last night. I figured it was under-reporting just by a little and didn't want to go too far negative on my trims. I adjusted the trim table by multiplying it by 1.025 and hit the nail on the head. Took it for a spin last night and not only was it smooth as silk with no vibrations at stoplights, but my LTFT's running down the road at speeds from 40-55 MPH and light throttle, the trims settled around -.7 to 0.0. Then driving to work at freeway speeds from 60-75 and light throttle I was sitting about the same with much of the drive right at 0.0. Occasionally upon a few "rollers" in the freeway and just increasing throttle ever such a small amount I saw 0.7 positive but it would settle right back to 0.0 as the road leveled.
The last 20 or so miles now it has varied from -0.7 to positive 0.7 so that is about as perfect as I think I can get it as far as fuel trims are concerned.


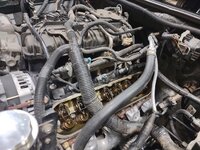




















 , right, wrong, or indifferent.