niget2002
Well-known member
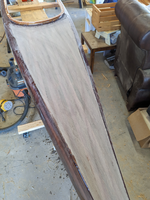
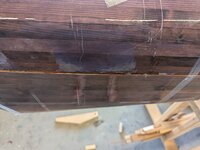
This will be a build thread for the cedar stripped kayak I've been working on. I've been posting updates in the 'What did you do in the garage' thread, but thought this project might deserve it's own space. This is my first kayak build. I've read the book by Nick Schade called 'The Strip-Built Sea Kayak' and have watched quite a few of his build videos. I've also watched a few other build videos.
The boat design I picked out is Schade's MicroBootlegger design. It is a a 2 person kayak. The design only has a single shared cockpit. I picked this design because I liked the looks. I also know that a lot of times I may be paddling by myself. With the single larger cockpit, I will be able to move the front seat back behind the centerline of the boat for a more balanced kayak. It will also give me more cockpit room for carrying a small cooler or some gear if I decide to take it out fishing. The boat is 17.5' long and ~28" wide ( I think ).
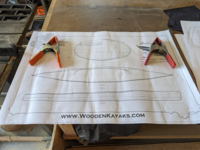
My background is in amature woodworking and my dad and I built a plywood sailboat design by Glen-L when I was in high school.
This is by far the longest running project I've worked on for woodworking. Most other projects have been 1-2 weekends at most.
Without further ado... I'll start from the beginning. I brought home lumber and dove into the strongback on September 16, 2023.
The strongback is made from a ripped 1/2" sheet of plywood. I plan on re-using this on future builds, so I made a boxed 2"x4" structure. I could have just used a 2x4. The frames have 2x4 rectangles cut in them and are slid over this boxed tube. The holes in the frames are oversized so you can adjust them up/down/left/right/rotationally to line up the vertical and horizontal centerlines.
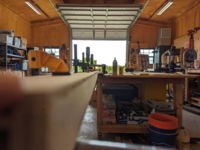
Then I made a rolling cart to put the kayak on while I work on it. It's a 2x12@12' long. I made it just a tad too tall I think, but It's not horrible. The cart was later modified to add some 2x4 shelves to put tools while I worked.

I then spent a few days cutting out the frames. First tracing and rough cutting with a jigsaw/bandsaw. Then cleaning them up on my disk sander.

The strongback is rested on risers to lift it off of the build platform to clear the frames.

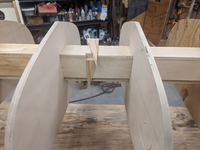
The frames are held apart by small U-shaped pieces of plywood. Then two wedges are used to put pressure and hold everything in place. I didn't do the best with designing these pieces. The Wedges 'work', but could have been cut different so they didn't overlap.
That gets us to the frame ready to accept strips. Looking at date stamps of the photos, this took until October 3rd.
The boat design I picked out is Schade's MicroBootlegger design. It is a a 2 person kayak. The design only has a single shared cockpit. I picked this design because I liked the looks. I also know that a lot of times I may be paddling by myself. With the single larger cockpit, I will be able to move the front seat back behind the centerline of the boat for a more balanced kayak. It will also give me more cockpit room for carrying a small cooler or some gear if I decide to take it out fishing. The boat is 17.5' long and ~28" wide ( I think ).
My background is in amature woodworking and my dad and I built a plywood sailboat design by Glen-L when I was in high school.
This is by far the longest running project I've worked on for woodworking. Most other projects have been 1-2 weekends at most.
Without further ado... I'll start from the beginning. I brought home lumber and dove into the strongback on September 16, 2023.
The strongback is made from a ripped 1/2" sheet of plywood. I plan on re-using this on future builds, so I made a boxed 2"x4" structure. I could have just used a 2x4. The frames have 2x4 rectangles cut in them and are slid over this boxed tube. The holes in the frames are oversized so you can adjust them up/down/left/right/rotationally to line up the vertical and horizontal centerlines.
Then I made a rolling cart to put the kayak on while I work on it. It's a 2x12@12' long. I made it just a tad too tall I think, but It's not horrible. The cart was later modified to add some 2x4 shelves to put tools while I worked.
I then spent a few days cutting out the frames. First tracing and rough cutting with a jigsaw/bandsaw. Then cleaning them up on my disk sander.
The strongback is rested on risers to lift it off of the build platform to clear the frames.
The frames are held apart by small U-shaped pieces of plywood. Then two wedges are used to put pressure and hold everything in place. I didn't do the best with designing these pieces. The Wedges 'work', but could have been cut different so they didn't overlap.
That gets us to the frame ready to accept strips. Looking at date stamps of the photos, this took until October 3rd.

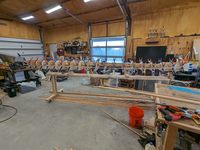
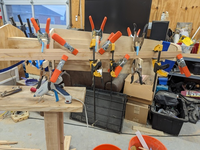
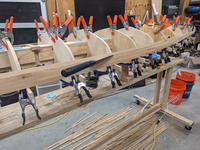

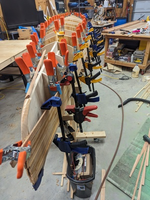
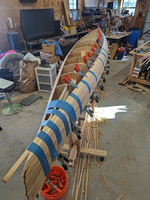
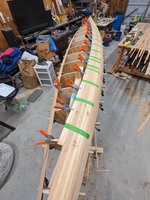
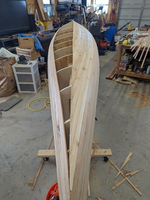

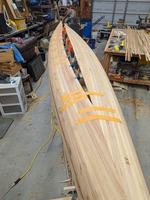

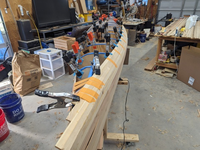

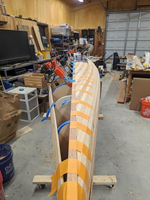
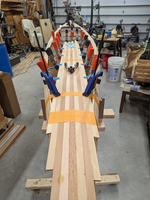
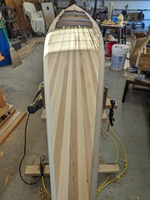

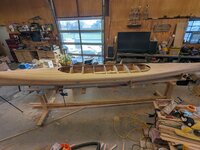



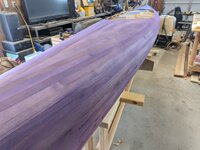


 Amazing how tiring putting all those spring clamps in place can get on your grip.