Is it next yet?
Mike, it's guys like you that make it so much fun to do this thread, honest and truly. I've been off flying but I'm back now so.........yes, it's next yet! Thanks for being so patient.

Since this post will detail some woodwork on a cabinet base, a little woodworking machine background material might be in order.

A jointer is a machine that will cut a flat, straight surface, be it the edge or face of a board. Here an 8' (2.4 m) piece of Sycamore is getting the edge straightened up. With a large, long piece of lumber like this having a jointer with long in-feed and out-feed tables is very helpful. As you might remember this jointer is referred to as a 16" (40.6 cm) jointer.

That's due the approximate width of its cutting knives. That's the maximum width it can cut if need be. Unusually the cut made is much narrower, such as the edge of a board or whatever the width of a board might be.

Here's a side view of one of the knives circled. This cutter head holds 4 such knives and rotates clockwise as seen.

That's the jointer motor data plate.

This jointer was from a pattern makers shop in a foundry and is 5 H.P. uses 3 phase, 440 volt power, pretty common in factories.

Since I already had 3 phase 220V in the wood shop, these Jefferson transformers were used to step up each leg of the 220 voltage to 440V. They were purchased brand new, in the crate, from government surplus for $10 apiece, of course that was over 30 years ago. The two older main switches left and right on the bottom are Trumbull Electric, 30A, 4 pole with 7.5 max H.P. rating. They were sourced from dumpster diving when the University of Illinois was doing some building remodeling a few years back. Your tax dollars at work. They were perfectly good switches.
")

To accomplish a cut, the in-feed table, see on the right, will be lower that the out-feed table on the left. Note the distance under the ruler. If a board were fed into the cutters with it set like this that distance (about 1/2"- 1.3 cm) is the amount of wood that would be cut. But you would never make a cut that deep, that's just for illustration.

With the in-feed table raised and adjusted to a more normal setting, here about a 1/16" (.2 cm) lower than the out-feed table. When a board is now passed over the knives, (from right to left) 1/16" is the amount of material that will be removed. That in-feed table is raised and lowered by...


...this large 19.5" (49.5 cm) hand wheel. That hand wheel connects via a worm gear that turns...

...the threaded shaft in the center, circled red, which pushes or pulls the table up or down on precise ways on the left and right edge of the table, the left way is circled yellow here and across from it you can see the corresponding right side way. This jointer is made from 1/4"- 3/8" (.6 - 1 cm) cast iron and the tables themselves weigh hundreds of pounds. That's why the hand wheel is so large, to give added leverage.

This is a side view of the in-feed table with the upper part of the way circled yellow. The is in the up position, note the narrow distance between the top of the table on the knife guard circled red and...

...here it is with the table lowered. You can see more of the way, circled yellow, is now exposed. Note the distance from the top of the table to the knife guard, circled red.
So that's basically how a jointer works. The fence can be tilted also to angle the edge of a board if need be. A board has one edge straighten and one face flattened prior to running the board through a thickness planer, but we'll save that for another time.

With those long, 4' (1.2 m) in-feed and 4' out-feed tables this machine can produce some very straight boards.
That was a round about way to explain that the sycamore board seen in the first photograph was taken from rough lumber to...

...these finished boards.

I was given this stacking cabinet from a gas station that was shutting down and the cabinet needed a base so I used some of that sycamore...

... for the outside perimeter of the base and I used some...

...scrap fir I had that is over 100 years old for blocking material that the cabinet will sit on. That fir's got a very tight grain and is quite hard.

The blocking will allow the cabinet to sit about 1/2" below the top of the perimeter wood and was glued and screwed to the sycamore...

...which was stained and then given a couple coats of Varathane.

The inside corners were reinforced with fir blocking which was glued and screwed from the inside so no fasteners were visible on the outside.

When all done and dry, the cabinet was set into the base which had enough clearance for the doors to open.


I used a simple **** joint on the corners, nothing fancy...

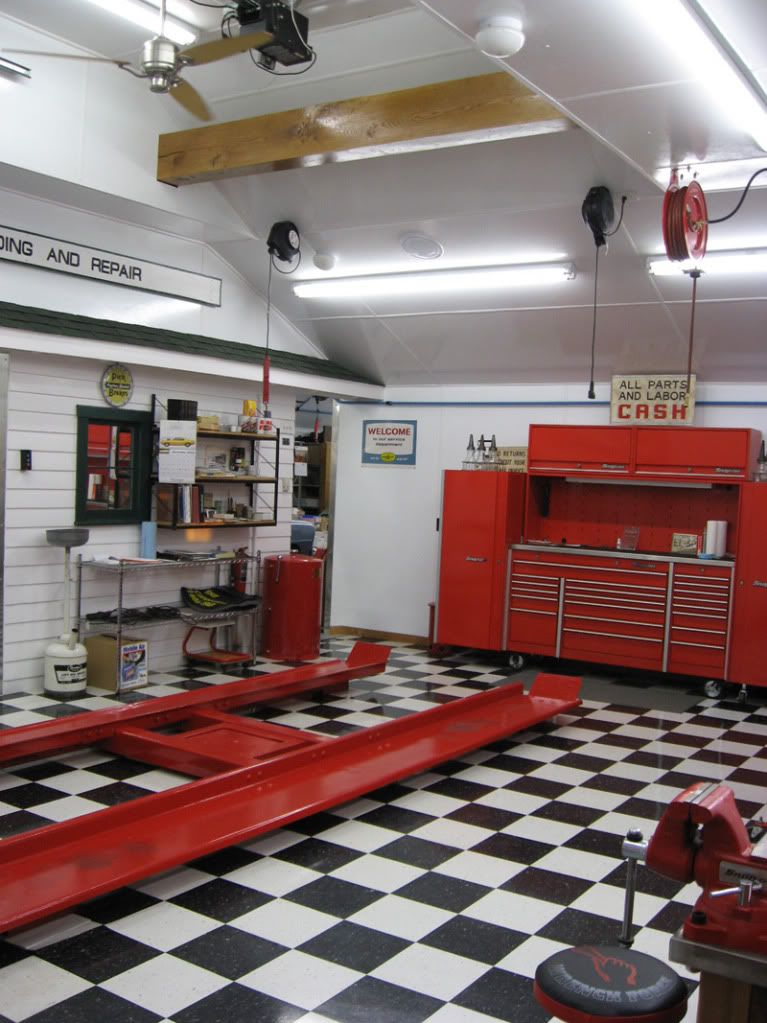
...but it looks fine. I think the occasional wood trim in the barn visually softens the hard metal edge look seen everywhere. The cabinet will then be secured to the wall for additional stability. That's another step in getting the barn squared away to my liking.
Thomas
Last edited:
 I guess you are both correct.


 What was I thinkin'??