customcab
Well-known member
Hey E-tek, now that I've seen the Canadian heads, you HAVE to go with the flattie. That will be sweet. Good luck, Phil

 I hope you have not mentioned that word over on the HAMB.
 Been down that road..... When I type over there I am careful say "Rod". not Rat!
")


Next up - quarter sections:

What are the new wheels off ?
E-tek for some reason I thought you were a "computor nerd"
Man was I wrong I have read through this entire thread and was
so enlightened to find out the truth
I must admit that this old dog has learned a few new tricks from you
conserning resto stuff cuz I'm an old bodyman from the 60's
Thanks for openly sharing
Don
Ed, now that the bulk of the rust/bondo is cut out, how well fitting/accurate are the quarter panel patches above?
I swear sometimes you and I are the only ones in this thread Simon!

I thing they would be off a Model A, somewhere in ab out 1928-1930.
Actually Ed, if you are speaking of the wheels in post #768, I think those are from a later (32+) Ford. The V-8 emblems in the hubcaps indicate that they are not Model A.
I thing they would be off a Model A, somewhere in ab out 1928-1930.
Actually Ed, if you are speaking of the wheels in post #768, I think those are from a later (32+) Ford. The V-8 emblems in the hubcaps indicate that they are not Model A.


I swear sometimes you and I are the only ones in this thread Simon!

 ). Now just think of the work to make them fit.
 Whilst on the subject of reproduction panels that do not fit. A fellow rodder not far from me got a set of reproduction running boards (from a well known US firm) for a car he was working on only to find they had been made to an odd size than original. (bigger one end than the other I believe
A lot of the patch panels I've seen over the years look like they've been formed over a stump, with a sledge hammer
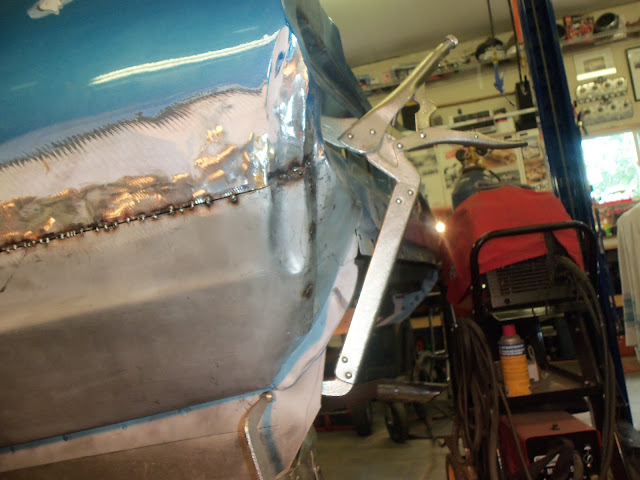
Once it's all set up, I ran my cut off wheel down the top of the patch panel - which will give me the right gap for a **** weld:
Sooo in a **** weld the panels don't actually **** against each other?? I have always read and heard you can't fill in a gap that the metal must be touching.
Sorry if that is a stupid question my inexperience has me at a disadvantage.


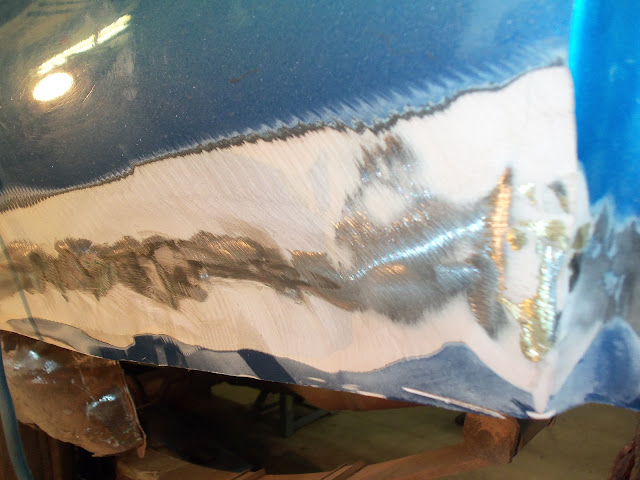
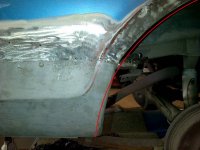
The Cougar has been in a major rear-ender at some point in it life, where the end panel was replaces and the quarters where buckled. ......Below, you can see how the end panel had been replaced and didn't quite line up. As well, the welds had been drilled or broken loose and then not re-welded. The entire panel was tacked on with fewer than 6 welds.
The Cougar has been in a major rear-ender at some point in it life, where the end panel was replaces and the quarters where buckled. From the outside, the repairs were well-hidden and it looked OK with all the parts on. Once it was taken apart for restoration however, there are a lot of signs of a poor initial repair - or shaky foundations if you will. This leads to rust issues (slide hammer holes, welds holes left open), fitment issues (panel overlap, changing gaps, thick filler) and more.
Below, you can see how the end panel had been replaced and didn't quite line up. As well, the welds had been drilled or broken loose and then not re-welded. The entire panel was tacked on with fewer than 6 welds.
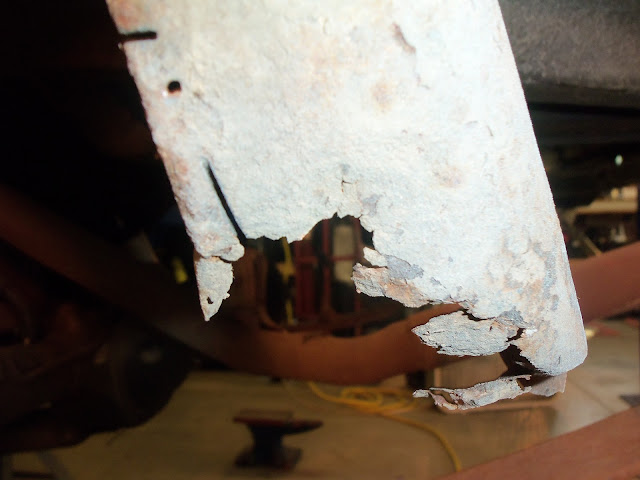
Here are some of the many slide-hammer holes that were filled over with filler. This can allow moisture to enter from the backside and allows rust to start behind the filler.
The filler was thick enough in places I could use the air chisel to remove it. Like doing sculpture work. Behind this chunk were 5 or 6 slide hammer holes, again only filled by filler.....
 The other was a '67 Chevelle. The rear quarter had a few bubbles under the paint. He told me that the car was all original and never had any body work done to it. I grabbed the grinder and with an 80 grit disc, started to grind the rust bubbles. Holy Chit!!!!Metal mending tape stretched from the wheelwell opening to the back bumper and probably up 12" or better and all covered with bondo. As soon as I hit it, it caught and ripped all of it out of there.
 Are you thinking twice about fixing the cougar?!?! (or is this a customer's car?).
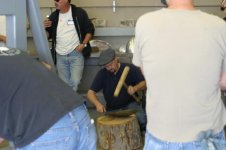
Oh...I spent the weekend at the Cuesta Metal Meet, in Central California...so I spent the whole weekend with hot rodders, while they were learning to shape metal. I did a presentation for them on using solid rivets in their projects and spent the weekend refreshing my metal shaping skills.
M_P
Ed, the Mustangs of that vintage had a rubber gasket on the perimeter of the tail light where it sealed against the inside of the rear panel, and typically would hold water for the eventual rust around the tail lights. Do you think this may have been a similar replacement of the tail light panel, or is it obvious body damage? I see some green paint there, is that the original stuff?
nice work sir. I figure if i get a door ding its totaled. Body work is something I know nothing about. But I would like to. What I has thinking is to get some junk panels and try. is this a good idea???
He backed up the mud with shop rags and steel wool
nice work sir. I figure if i get a door ding its totaled. Body work is something I know nothing about. But I would like to. What I has thinking is to get some junk panels and try. is this a good idea???
What ... no tin foil?That must've been sweet and, unfortunately, fairly common. My '67 Galaxie had the "butchers trifecta" going on when I bought it: Rags, steel wool and cardboard all backing up major amounts of bondo....fun stuff.
I did the front end of an MGA once. The body to fender seams are notorious for rust. Someone before me patched the body by taping on about 10 sq. in. of tin foil then loaded about 3/4" of filler on top of it. That same car had concrete trowelled into the frame to repair another common rust spot.