I see...
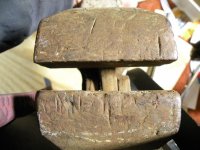
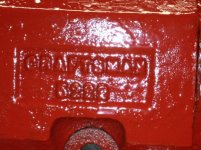
???ERT MFG. Co.
WAYNESBORO
PA
TICER or TIGER or VICER
6 1/2 IN NO 39
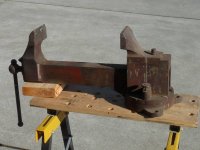
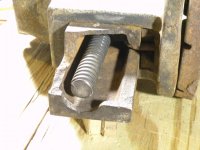
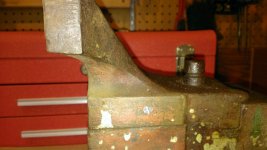
Looks like a wood vise handle welded on to the lead screw, busted slide, and IDK about where the dynamic meets the slide. But I've never seen this brand, so rare/ish maybe...
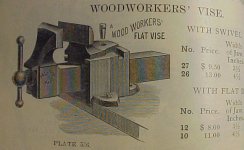
The 'patternmakers' style vise made by the Emmert Co, of Waynesboro, Pa. is common, and somewhat 'famous' amongst woodworking folk. They also made a 'machinists' style vise with a unique angular positioning system, which are relatively quite rare. This is the first I've ever seen, of a standard or common type of machinists' vise built by the Emmert Co.
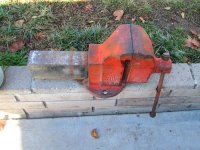
It looks like that handle repair is a common pipe tee, one of those 'don't knock it, it works, doesn't it?' type of 'quick, cheap, and dirty' repairs commonly done, yeas ago.
cheers
Carla